MIG Welding Patterns for Beginners
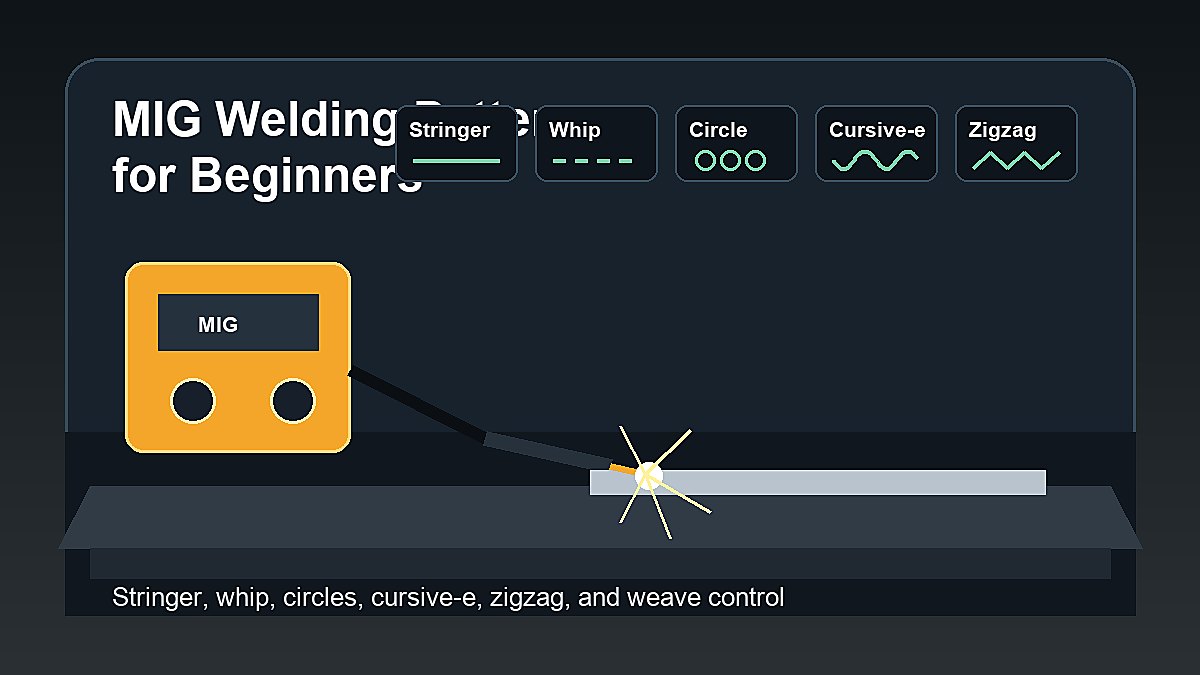
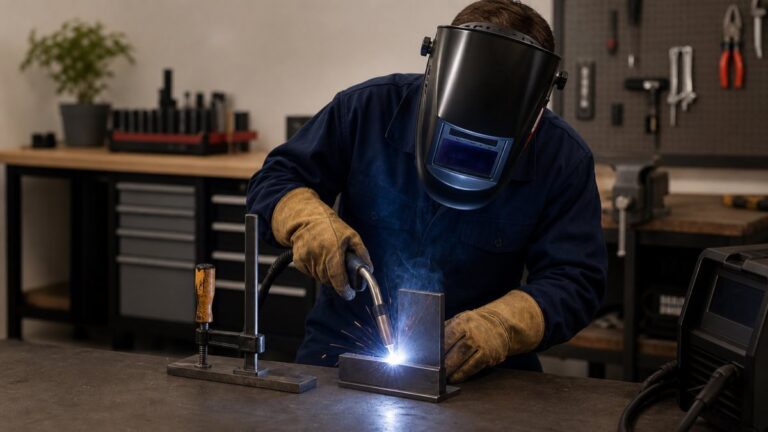
MIG welding patterns for beginners include straight stringer beads, small circles, cursive-e movement, slight zigzags, and controlled weave patterns. The best beginner pattern is usually the simplest one: a steady stringer bead that lets you watch the puddle and tie into both sides of the joint.
Patterns are not magic. A pattern cannot fix dirty metal, bad settings, poor gas coverage, wrong stickout, or weak fit-up. MIG welding patterns are only helpful after the machine is set correctly and you understand what the weld puddle is doing.
Mark Dawson beginner note: do not use a fancy pattern to hide poor technique. A clean, steady stringer bead is often stronger and easier to inspect than a wide decorative weave. Learn control first, then add movement only when the joint needs it.
Quick Answer: Best MIG Welding Pattern for Beginners
The best MIG welding pattern for beginners is usually a straight stringer bead. It is easier to control, easier to repeat, and easier to inspect. Once a beginner can run consistent stringer beads, small circles, cursive-e patterns, slight zigzags, and narrow weaves can be practiced on scrap metal.
Use patterns carefully. On thin metal, too much side-to-side movement can add heat and cause burn-through. On thicker joints, a small controlled movement may help fill the joint, but a wide weave can trap defects if the puddle is not managed well.
Before Patterns: Get the Basics Right
Beginner welders often want to learn bead patterns before they can control stickout, travel speed, gas coverage, and settings. That order makes learning harder. A pattern adds movement. If the basic bead is already unstable, extra movement usually makes it worse.
- Clean the metal before welding.
- Set voltage and wire speed from the machine chart.
- Use the correct shielding gas and wire.
- Keep stickout consistent.
- Use a stable gun angle.
- Watch the puddle edges, not only the arc.
- Practice on scrap before trying a real project.
If you need the foundation first, read MIG Welding Techniques for Beginners.
How Settings Affect Welding Patterns
A pattern will feel different when voltage, wire speed, travel speed, and stickout change. If wire speed is too high, the wire may stub into the plate and make any pattern feel jumpy. If voltage is too low, the bead can sit high and cold. If heat is too high, a small pattern can quickly become a wide overheated bead.
Before practicing a new pattern, run one straight bead using the same settings. That straight bead is your baseline. If the baseline bead looks bad, fix the setup first. If the baseline bead looks good but the pattern bead looks bad, the issue is probably movement, timing, or travel speed.
Common MIG Welding Patterns Compared
| Pattern | Best Beginner Use | Main Risk |
|---|---|---|
| Stringer bead | First practice, clean straight beads, most beginner joints | Moving too fast or too slow |
| Small circles | Puddle control practice and filling slightly wider beads | Too much heat or uneven overlap |
| Cursive-e | Learning rhythm and edge control | Making the loops too large |
| Zigzag | Simple side-to-side control on practice joints | Pausing too long at edges |
| Weave | Wider joints after basic control improves | Excess heat, slag/defect trapping, poor fusion |
| Whip | Special practice or process-specific technique | Can create inconsistent heat if overdone |
1. Stringer Bead Pattern
A stringer bead is a simple straight bead with little or no side-to-side movement. For most beginners, this should be the first MIG pattern to learn. It teaches travel speed, stickout, gun angle, and puddle control without adding unnecessary motion.
To practice a stringer bead, set up clean mild steel scrap, hold the gun at a steady angle, keep stickout consistent, and move in a straight line. After the bead cools, inspect the width, height, edge tie-in, spatter, and consistency from start to finish.
Stringer beads are also useful because they show whether the machine is tuned correctly. If you cannot make a decent straight bead, do not jump into circles or weaves. Use stringers to dial in wire speed, voltage, gas coverage, stickout, and travel speed first.
2. Small Circle Pattern
The small circle pattern uses tiny circular movements while moving forward. Beginners sometimes like it because it gives a rhythm and can help them see the puddle. The danger is making the circles too large. Big circles add heat and can make the bead uneven.
Use small circles only on practice pieces after straight beads improve. Keep the circles tight, move forward steadily, and watch whether the weld ties into the edges. If the bead becomes wide and lumpy, return to stringers.
3. Cursive-E Pattern
The cursive-e pattern is a looping motion that resembles a series of small lowercase e shapes. It can help beginners learn rhythm, but it should stay small and controlled. Large loops often create inconsistent heat and bead shape.
Practice the motion without welding first. Then run a short bead on scrap. Keep each loop similar in size and avoid pausing too long. If the bead edges are undercut or the center piles up, your motion may be too wide or your travel speed may be wrong.
4. Zigzag Pattern
A zigzag pattern moves side to side while progressing along the joint. It can help fill a slightly wider area, but it also makes it easier to overheat thin metal or leave poor tie-in at the edges. Beginners should use a very narrow zigzag when practicing.
The goal is not to draw a dramatic lightning shape. The goal is controlled edge-to-edge movement. Watch both sides of the joint and keep the forward travel steady. If you pause too long at one side, the bead may become uneven.
5. Weave Pattern
A weave pattern is a wider side-to-side movement. It can be useful in some wider joints, but beginners should not use wide weaves as their default MIG technique. Wide weaves add heat and can make defects harder to spot.
If you practice weaving, keep it narrow and intentional. Pause just enough at the edges for tie-in, then move across smoothly. On thin metal, avoid weaving unless you have a specific reason because heat builds quickly.
Thin Metal vs Thick Metal Patterns
Thin metal usually needs less movement and less heat. A straight stringer bead or short stitch welds are often safer than circles or wide weaves. Too much pattern movement can overheat the panel and cause burn-through or distortion.
Thicker practice material can tolerate more heat, but that does not mean a wide weave is automatically better. You still need the weld to tie into the base metal. A narrow controlled movement is usually better than a wide decorative pattern that leaves cold edges or trapped defects.
6. Whip Pattern
A whip motion moves slightly forward and back while traveling along the joint. It is more common in some welding processes and specific situations than as a default gas MIG beginner pattern. Beginners can practice it on scrap to understand puddle control, but it should not replace basic steady travel.
If the whip is too aggressive, heat becomes inconsistent. The bead can look stacked but fail to tie in properly. Keep the motion small and compare it with a clean stringer bead to see whether it actually improved the weld.
Gas MIG vs Flux Core Pattern Differences
Gas MIG and self-shielded flux core can both use wire-feed guns, but patterns do not always transfer perfectly between them. Gas MIG usually has less slag and cleaner visibility. Flux core creates slag, so dragging and slag control matter more. A pattern that looks smooth with gas MIG may trap slag when copied carelessly with flux core.
If you are using no-gas wire, review Gasless MIG Welding for Beginners and Flux Core Welding Tips for Beginners. Do not mix technique advice without checking which process the advice is for.
Pattern Choice by Joint Type
The best pattern depends on the joint. On flat practice plates, start with stringers. On lap joints, watch the edge of the top plate and the lower plate so the weld ties into both. On T-joints, keep the bead centered enough to wet into both sides. On butt joints, fit-up and gap control matter more than fancy motion.
| Joint | Beginner Pattern | What to Watch |
|---|---|---|
| Flat bead practice | Stringer bead | Consistent width and travel speed |
| Lap joint | Stringer or tiny weave | Tie-in to top edge and lower plate |
| T-joint | Stringer or small side-to-side motion | Both sides of the corner |
| Butt joint | Stringer first | Fit-up, gap, and edge control |
| Wider practice joint | Narrow weave | Heat buildup and edge tie-in |
When Not to Use a Pattern
Sometimes the best pattern is no pattern. If the material is thin, the joint is simple, or your settings are not dialed in, a steady stringer bead may be the best option. Extra movement can create more heat and make troubleshooting harder.
This is especially true when practicing on small coupons. Short welds heat up quickly, so a pattern that seems fine for the first inch can overheat the last inch. Let practice pieces cool between beads and compare results carefully.
- Do not weave to hide poor fit-up.
- Do not use large circles on thin sheet metal.
- Do not switch patterns halfway through a practice bead.
- Do not copy a pattern without understanding the joint.
- Do not judge a bead by appearance only.
How to Practice MIG Welding Patterns
- Start with clean mild steel scrap.
- Run five stringer beads with the same settings.
- Clean and inspect each bead.
- Practice small circles on short beads.
- Practice cursive-e on a separate coupon.
- Try a narrow zigzag only after stringers improve.
- Compare bead width, spatter, edge tie-in, and heat marks.
- Write down which pattern produced the best bead for the joint.
Focused practice beats random practice. If you change pattern, speed, angle, and voltage all at once, you will not know what caused the improvement or the problem.
Four-Session Practice Roadmap
A simple practice roadmap helps beginners avoid jumping too quickly into patterns. Use clean scrap from the same material thickness so your results are easier to compare.
- Session 1: run only stringer beads. Focus on stickout, travel speed, and bead consistency.
- Session 2: compare stringers with small circles. Keep settings the same and inspect heat buildup.
- Session 3: practice cursive-e and narrow zigzag movements on short beads.
- Session 4: try lap joints and T-joints using the pattern that gave the cleanest tie-in.
At the end of each session, mark your best bead and write down the settings. Over time, those notes become more useful than memory or guesswork.
How to Inspect Pattern Beads
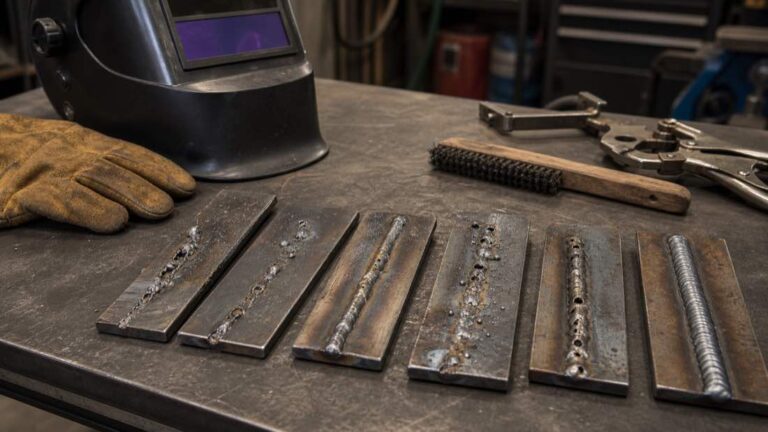
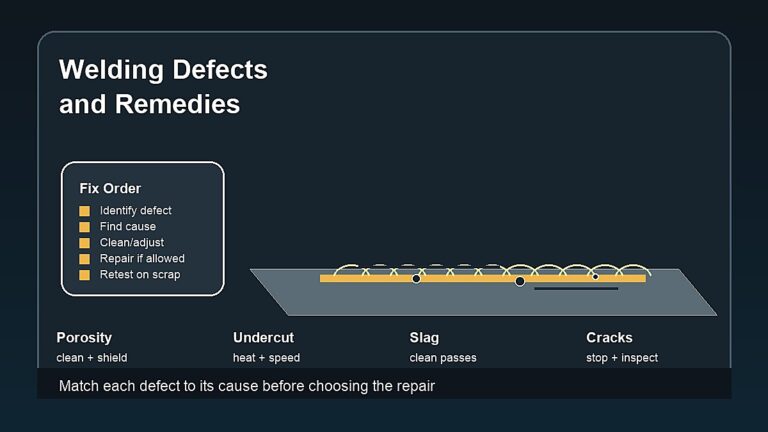
After welding, inspect the bead instead of only asking whether it looks nice. Look at width, height, edge tie-in, undercut, porosity, spatter, and consistency. A decorative-looking bead can still be weak if it sits on top of the base metal or traps defects.
- Consistent width: your rhythm and travel speed are improving.
- Undercut: heat, angle, or travel may need adjustment.
- Cold lap: the weld may be sitting on top instead of tying in.
- Porosity: check gas shielding, metal prep, and drafts.
- Wide heat marks: the pattern may be adding too much heat.
For defect help, use Welding Defects and Beginner Welding Mistakes.
Pattern Troubleshooting Guide
| Pattern Problem | Likely Cause | What to Try |
|---|---|---|
| Bead gets too wide | Pattern too large or travel too slow | Use a stringer or reduce side movement |
| Edges look cold | Moving too fast or not pausing enough | Slow slightly and watch puddle tie-in |
| Undercut appears | Too much heat, angle issue, or edge pause problem | Adjust travel speed and reduce heat if needed |
| Bead looks lumpy | Inconsistent rhythm or stickout | Return to short stringers and steady hand position |
| Porosity appears | Gas shielding or contamination problem | Check gas, drafts, prep, and nozzle cleanliness |
This is why the baseline stringer bead matters. If every pattern suddenly looks bad, go back to the straight bead and see whether the issue is the pattern or the setup.
Safety Notes for Pattern Practice
MIG pattern practice still involves UV radiation, fumes, hot metal, sparks, fire risk, and electric shock hazards. Use a welding helmet, safety glasses, gloves, flame-resistant clothing, ventilation, and a fire-safe work area. Do not practice on unknown coated metals or sealed containers.
Do not use beginner pattern practice on vehicle frames, trailers, pressure vessels, lifting points, structural supports, or safety-critical repairs. Pattern practice belongs on clean scrap and non-critical projects.
FAQ
What is the best MIG welding pattern for beginners?
The best beginner MIG welding pattern is usually a straight stringer bead. It is simple, repeatable, and easier to inspect than a wide weave or decorative movement.
Should I weave when MIG welding?
Only weave when the joint calls for it and you can control heat and edge tie-in. Beginners should start with stringer beads and narrow movements before trying wider weaves.
Are circles good for MIG welding?
Small circles can help some beginners practice rhythm and puddle control, but large circles can add too much heat and create uneven beads.
Why do my MIG beads look lumpy?
Lumpy beads can come from inconsistent travel speed, too much pattern movement, poor settings, dirty metal, or changing stickout. Return to a straight stringer bead and diagnose one variable at a time.
Can a good-looking pattern still be weak?
Yes. Appearance alone does not prove weld strength. A bead can look neat while lacking fusion, trapping defects, or failing to tie into the joint properly.
Final Advice
MIG welding patterns for beginners should start simple. Learn stringer beads first, then practice small circles, cursive-e, zigzag, and narrow weave patterns only on scrap. Use patterns to improve puddle control, not to decorate the weld. A controlled, clean, well-tied bead matters more than a fancy shape.
Safety References
- OSHA welding, cutting, and brazing hazards and solutions
- OSHA welding, cutting, and brazing standards
- American Welding Society safety and health fact sheets
Continue with the MIG Welding hub for the complete beginner path, including setup, settings, technique, troubleshooting and related guides.