MIG Welding Tips and Tricks for Beginners
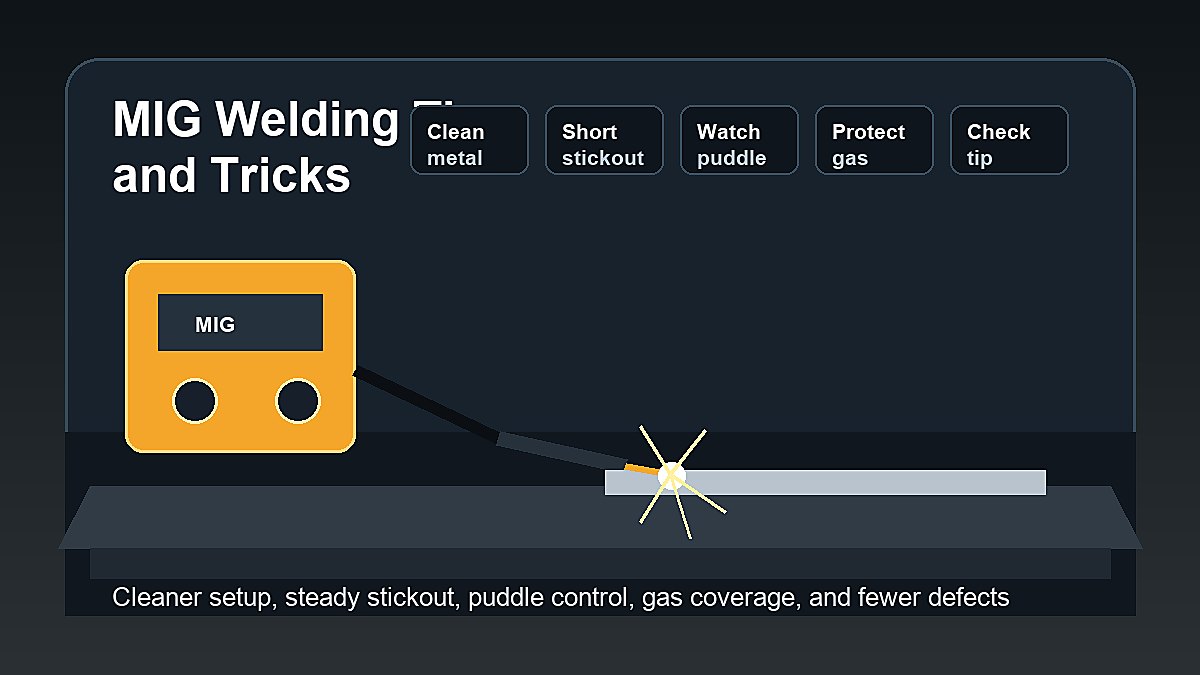
MIG welding tips and tricks for beginners are most useful when they make your practice more repeatable. The goal is not to memorize random tricks. The goal is to set up the machine correctly, prepare clean metal, keep a steady gun position, protect the shielding gas, watch the puddle, and inspect each bead before changing settings.
MIG welding is beginner-friendly because the machine feeds wire through the gun automatically. That gives new welders one less thing to coordinate compared with TIG or stick welding. But MIG still requires clean material, correct voltage and wire speed, stable stickout, safe gas coverage, and good travel speed.
Mark Dawson beginner note: a good MIG weld is not made by one secret trick. It is made by stacking small habits: clean prep, correct setup, steady movement, and honest inspection. If you skip the basics, the tricks stop working.
Quick Answer: Best MIG Welding Tips for Beginners
- Clean the metal before welding.
- Start with the machine chart, then test on scrap.
- Keep stickout consistent.
- Use a comfortable gun angle and stable body position.
- Protect shielding gas from wind and drafts.
- Watch the weld puddle edges, not only the arc.
- Change one setting at a time.
- Inspect every bead before moving to projects.
1. Start With Clean Metal
Clean metal is one of the easiest ways to improve beginner MIG welds. Paint, oil, rust, moisture, mill scale, and coatings can cause porosity, spatter, poor fusion, and ugly bead shape. Beginners often blame settings when the real problem is contamination.
Use clean mild steel for practice. Grind or wire-brush the joint area, clamp the work firmly, and avoid unknown scrap until you understand the hazards. Clean prep makes the weld puddle easier to read and the result easier to diagnose.
2. Use the Machine Chart as a Starting Point
Most beginner MIG welders include a chart for material thickness, wire size, voltage, and wire speed. Use that chart as a starting point instead of guessing. The chart may not be perfect for every joint, but it usually gets you close enough to run a test bead.
After the first test bead, adjust slowly. If you change voltage, wire speed, stickout, and travel speed all at once, you will not know which change helped. One setting at a time is boring, but it works.
Match Wire and Gas to the Job
MIG welding tips only work if the wire and gas match the material. Beginners usually practice on mild steel, often with common solid wire and a shielding gas recommended by the machine, wire, or manufacturer chart. If you switch to stainless, aluminum, flux core, or a different wire size, the setup changes.
Do not assume every wire-feed setup behaves like the last one. Solid wire with gas, self-shielded flux core, stainless wire, and aluminum wire all have different needs. If the weld suddenly gets worse after changing consumables, go back to the label and manual before changing your hand technique.
3. Keep Stickout Steady
Stickout is the distance from the contact tip to the workpiece. If it is too long, the arc can become unstable and spatter can increase. If it changes while you weld, the bead changes with it. Many beginner MIG problems come from moving the gun closer and farther without noticing.
Use your machine and wire guidance as a starting point, then focus on consistency. Clean the helmet lens, improve lighting, and position your body so you can see without pulling the gun away from the joint.
Brace Your Hands and Body
One simple beginner trick is to make your body more stable. Rest your forearms, wrists, or hands where it is safe to do so, and plan your movement before pulling the trigger. If your body position forces you to reach, twist, or move awkwardly, the bead will show it.
Before welding, do a dry run along the joint with the gun off. Check whether you can move the full length smoothly while keeping angle and stickout steady. This takes a few seconds and prevents many messy beads.
4. Watch the Puddle Edges
The weld puddle tells you whether the bead is tying into the base metal. Beginners often stare at the bright arc, but the useful information is around the puddle edges. You want the molten metal to wash into the joint, not pile up on top like a cold bead.
Run short practice beads and ask one question after each bead: did the puddle tie into both sides? If not, check travel speed, heat, gun angle, and metal prep before trying a decorative pattern.
5. Use a Comfortable Gun Angle
A modest gun angle usually works better than an extreme angle. Too much angle can affect bead shape and shielding gas coverage. For gas MIG on clean steel, many beginners practice with a slight push angle because it gives good visibility and a flatter bead. Pulling can be useful in some situations, but keep the angle controlled.
For more detail, read MIG Welding Techniques for Beginners and MIG Welding Patterns for Beginners.
6. Protect the Shielding Gas
Gas MIG depends on shielding gas. Wind, fans, drafts, long stickout, blocked nozzles, and poor gas flow can all cause porosity. If your weld suddenly gets holes, do not immediately change every setting. First check gas coverage, gas supply, nozzle condition, and drafts.
Do not use gas MIG outside in wind unless the shielding can be protected. If you need outdoor wire-feed welding, compare Gasless MIG Welding for Beginners and How to MIG Weld Without Gas.
A quick gas checklist helps: open the cylinder, confirm the regulator is working, check for hose leaks, keep the nozzle clean, block drafts, and avoid holding the gun too far from the work. If porosity appears suddenly, review this checklist first before changing machine settings again. It keeps diagnosis clean, repeatable, and useful for beginners.
7. Keep the Nozzle and Contact Tip Clean
Spatter buildup inside the nozzle can disturb shielding gas and make the arc harder to see. A worn or incorrect contact tip can affect wire feed and arc stability. Beginners sometimes ignore consumables until the machine feels inconsistent.
Check the nozzle, contact tip, and wire feed path during practice. If the wire burns back into the tip, the arc becomes unstable, or feeding feels rough, inspect consumables before assuming the settings are wrong.
8. Use Tack Welds and Better Fit-Up
Fit-up means how well the parts line up before welding. Gaps, crooked parts, and moving pieces make MIG welding harder. Tack welds hold the joint before the full bead and help reduce movement from heat.
For beginner projects, clamp the work, tack the corners, re-check alignment, and then weld. If the parts move during welding, the final bead may look bad even when your gun technique is improving.
9. Practice Stringer Beads Before Patterns
Stringer beads are straight beads with little or no side-to-side movement. They are the best first practice because they show whether your settings, travel speed, stickout, and gun angle are stable. Patterns can be useful later, but they can also hide bad habits.
Run five straight beads with the same settings. Clean and inspect each one. If the bead gets more consistent, then try small circles or a slight weave on a separate practice coupon.
10. Change One Variable at a Time
Beginners often make three changes after one bad bead: more wire speed, different angle, faster travel. That makes troubleshooting harder. Change one thing, run another bead, then compare. This turns practice into feedback instead of guessing.
Use Scrap From the Same Thickness
If you are practicing for a project, use scrap that is close to the same thickness as the project material. Settings that work on thick practice plate may burn through thin tubing. Settings that work on thin coupons may sit cold on heavier joints. Similar practice material gives you better feedback.
This is especially important for small beginner welders. A 120V machine can be useful, but it still has limits. Match your practice to the machine’s chart and avoid pretending one setting fits everything.
| Problem | First Things to Check | Why It Matters |
|---|---|---|
| Porosity | Gas coverage, drafts, dirty metal, nozzle | Air or contamination can enter the weld |
| Too much spatter | Settings, stickout, wire, prep | Arc may be unstable or poorly tuned |
| Cold bead | Voltage, travel speed, puddle tie-in | Weld may sit on top instead of fusing |
| Burn-through | Heat, thin metal, slow travel | Too much heat for the material |
| Uneven bead | Body position, travel speed, stickout | Motion may not be steady |
11. Learn to Stop and Restart
Real welds are not always one perfect continuous bead. You may need to stop, reposition, or restart. Beginners should practice starts and stops on scrap. A rough restart can leave a lump, crater, or weak-looking section.
When restarting, clean if needed, place the arc slightly back into the previous bead, and move forward smoothly. Do not leave craters at the end of practice beads without understanding how your machine and process handle them.
Control Heat on Small Parts
Small parts heat up quickly. A setting that looks good for the first bead can become too hot after several beads on the same coupon. Let practice pieces cool, move between coupons, or shorten beads if the metal is overheating.
Heat control matters for brackets, tubing, thin plate, and beginner projects. If the part starts glowing, warping, or burning through, the answer may not be a new pattern. It may be shorter welds, more cooling time, better fit-up, or different settings.
12. Listen to the Arc, Then Inspect the Weld
A steady arc sound can help, but sound alone is not proof of a good weld. Some settings may sound active while still leaving poor tie-in or porosity. Use sound as one clue, then inspect the bead after welding.
- Look for consistent bead width.
- Check whether the edges tie into the base metal.
- Watch for holes, undercut, and excessive spatter.
- Compare heat marks from one bead to the next.
- Write down the settings that worked best.
For more defect help, use Welding Defects and Beginner Welding Mistakes.
13. Build a Simple Practice Routine
- Prepare clean scrap and clamp it securely.
- Check wire, gas, polarity, and work clamp.
- Run three straight stringer beads.
- Change travel speed and run two comparison beads.
- Change gun angle and run two comparison beads.
- Practice one lap joint and one T-joint.
- Inspect every bead and write down the best setup.
This routine keeps practice focused. It also helps you notice progress because each session has the same structure.
Beginner Troubleshooting Workflow
When a weld looks bad, use a simple order instead of guessing. First check safety and material. Then check setup. Then check technique. This prevents you from blaming travel speed for a problem caused by no gas, dirty metal, or a loose work clamp.
- Confirm the metal is clean and suitable for practice.
- Check wire, gas, polarity, contact tip, and work clamp.
- Return voltage and wire speed to the chart.
- Run a short stringer bead on scrap.
- Inspect the bead after it cools.
- Change only one variable and test again.
This workflow is not flashy, but it saves time. Most beginner problems become easier when you stop changing everything at once.
14. Do Not Start With Critical Repairs
Beginner MIG practice should stay on clean scrap and non-critical projects. Do not start with vehicle frames, trailers, hitches, pressure vessels, lifting points, structural supports, or anything where weld failure could hurt someone. Those jobs need proper training, procedure, and inspection.
Good Beginner Projects for Practicing Tips
After your practice beads improve, choose small non-critical projects that let you repeat the same skills. Simple shop hooks, small brackets, welding cart accessories, practice frames, and scrap-metal coupons are better learning projects than important repairs.
Pick projects that require measuring, clamping, tack welding, and short beads. Those steps teach real welding habits without putting safety-critical loads on beginner welds.
MIG Welding Safety Tips
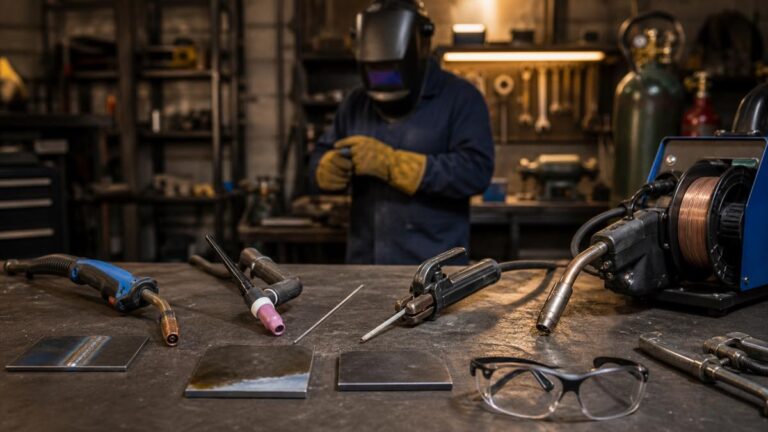
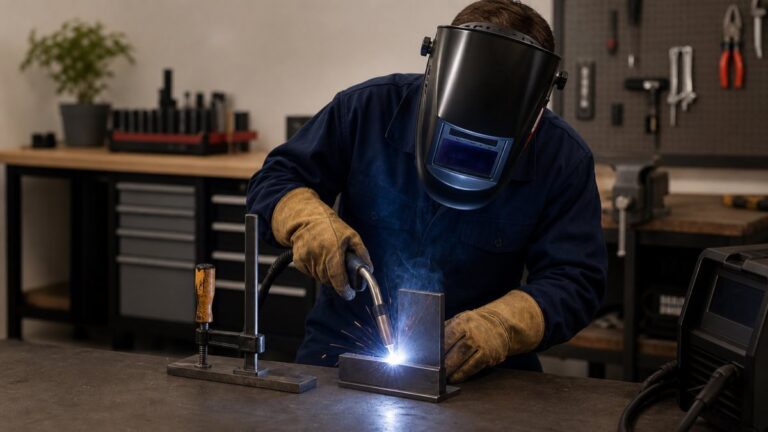
MIG welding can involve UV radiation, burns, sparks, fumes, compressed gas, fire risk, hot metal, and electric shock hazards. Wear a welding helmet, safety glasses, welding gloves, flame-resistant clothing, and appropriate footwear. Use ventilation or fume control, and keep flammable materials away from the weld area.
Do not weld on sealed containers, galvanized metal, unknown coated material, fuel tanks, or anything that may release dangerous fumes or explode. If you are unsure about the material, stop and identify it before welding.
FAQ
What is the best MIG welding tip for beginners?
The best tip is to clean the metal and use the machine chart before changing technique. Good setup makes every other MIG welding tip easier to apply.
Why are my MIG welds full of holes?
Holes are often porosity. Check shielding gas, drafts, dirty metal, long stickout, nozzle condition, and contaminated wire.
Should beginners push or pull MIG?
For gas MIG on clean steel, beginners often push for visibility and a flatter bead. Pulling can work in some situations. The best choice depends on joint, position, material, and process.
How do I make MIG welds look better?
Improve metal prep, keep stickout steady, use consistent travel speed, protect shielding gas, and practice stringer beads before trying patterns.
What should I practice first?
Practice straight beads on clean mild steel scrap. Then move to lap joints, T-joints, tack welds, and simple non-critical projects.
Final Advice
The best MIG welding tips and tricks for beginners are not complicated: clean the metal, start with the chart, keep stickout steady, protect the gas, watch the puddle, inspect the bead, and change one variable at a time. Build those habits on scrap before moving to real projects.
Safety References
- OSHA welding, cutting, and brazing hazards and solutions
- OSHA welding, cutting, and brazing standards
- American Welding Society safety and health fact sheets
Continue with the MIG Welding hub for the complete beginner path, including setup, settings, technique, troubleshooting and related guides.