Aluminum MIG Welding Wire Speed and Voltage Chart
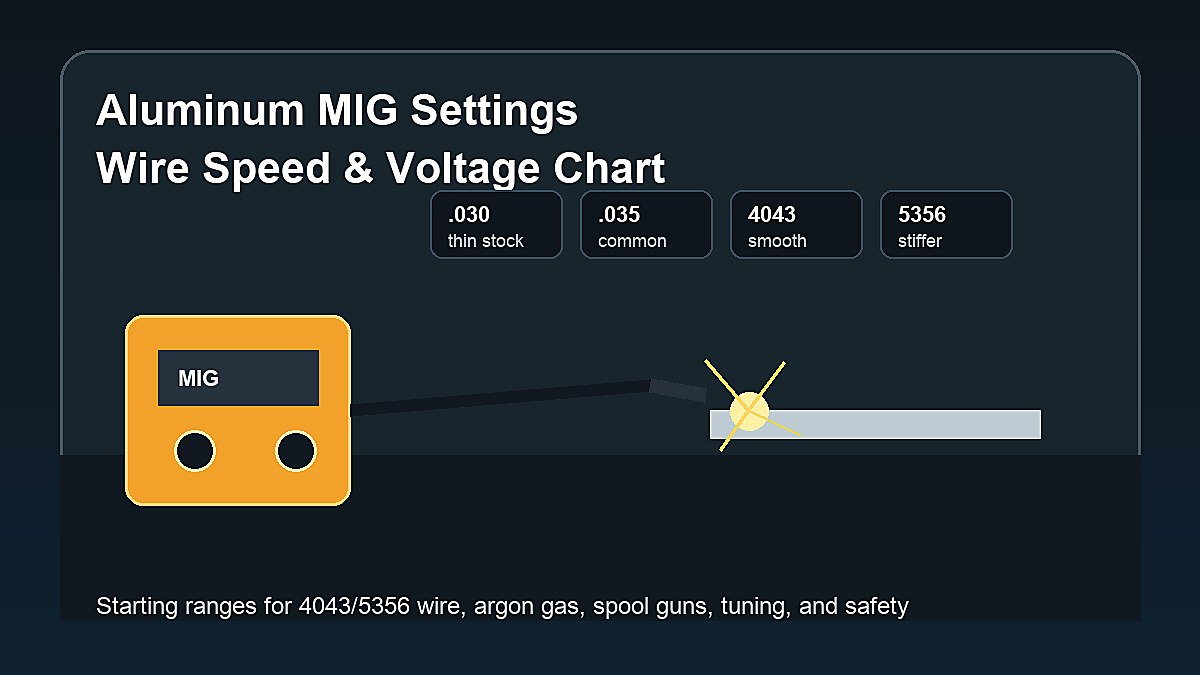
Aluminum MIG welding wire speed and voltage chart values should be treated as starting points, not universal final settings. Aluminum MIG depends on material thickness, wire diameter, wire alloy, shielding gas, transfer mode, spool gun or push-pull setup, machine output, joint fit-up, and operator travel speed.
Aluminum is different from mild steel. It conducts heat quickly, forms oxide, feeds less easily, and often needs higher travel speed. A setting that looks good on steel can make aluminum burn back, soot up, or pile a cold-looking bead on the surface. Use the chart below to get close, then tune on scrap.
Mark Dawson beginner note: never trust a chart more than the machine manual, wire data sheet, and test weld. Start conservative, practice on the same thickness scrap, then adjust one setting at a time.
Quick Answer
For beginner aluminum MIG welding, use 100% argon for most common setups, match 4043 or 5356 wire to the base metal and job, use a spool gun or push-pull system when needed, clean the oxide layer, and start with the welder’s chart. Thin aluminum may start around the lower voltage and wire-speed range, while thicker aluminum usually needs more voltage, more wire speed, and more machine output.
| Aluminum Thickness | Wire Size | Starting Voltage | Starting Wire Speed |
|---|---|---|---|
| 1/16 in. | 0.030 in. | 15-17 V | 250-350 ipm |
| 1/8 in. | 0.030-0.035 in. | 18-21 V | 350-500 ipm |
| 3/16 in. | 0.035 in. | 21-24 V | 450-600 ipm |
| 1/4 in. | 0.035-0.047 in. | 23-26 V | 550-750 ipm |
These ranges are broad because aluminum MIG machines vary. Some units show wire feed speed in inches per minute. Others use numbered dials or synergic programs. If your machine has a built-in aluminum chart, use that chart first and treat this table as a learning reference.
Why Aluminum MIG Settings Vary
Aluminum absorbs and spreads heat quickly. At the start of a weld, the joint may feel cold. After a few seconds, the part can become hot enough that the same setting suddenly feels too aggressive. This is one reason aluminum welds often need good travel speed and controlled heat input.
Wire feeding also changes the result. Aluminum wire is softer than steel wire, especially 4043. A long standard MIG gun can cause feeding problems unless the setup is built for aluminum. Spool guns and push-pull systems shorten or control the feed path and help prevent birdnesting.
4043 vs 5356 Wire
4043 aluminum MIG wire is often easier to feed and can wet nicely on many common aluminum jobs. 5356 is stiffer and can feed better in some setups, but it is not automatically the right wire for every aluminum alloy. Filler choice depends on the base metal, strength needs, service temperature, corrosion concerns, and finish requirements.
Do not choose wire only by what feeds best. Choose the filler that matches the base metal and service condition. If the part is structural, marine, heat-exposed, or safety-critical, verify the filler recommendation before welding.
4043 and 5356 Starting Notes
| Wire Alloy | Beginner Note | Watch For |
|---|---|---|
| 4043 | Often smooth and common for practice | Soft wire can need careful feeding |
| 5356 | Stiffer and sometimes easier to feed | Not correct for every alloy or heat condition |
| 0.030 in. | Better for thinner aluminum and smaller machines | Can birdnest if the feed path is poor |
| 0.035 in. | Common with spool guns and thicker practice | Needs enough output and travel speed |
A wire can feed smoothly and still be the wrong filler for the base metal. If you are unsure whether 4043 or 5356 fits the aluminum alloy, pause and verify before welding the real part. The wrong filler choice can create cracking, poor strength, or service problems later.
Shielding Gas for Aluminum MIG
Most beginner aluminum MIG setups use 100% argon shielding gas. Argon helps stabilize the arc and protect the weld pool. Mild-steel MIG gas blends such as 75/25 argon-CO2 are not the standard choice for aluminum and can create poor results.
Set gas flow according to the machine and procedure. Too little gas can cause porosity. Too much gas can waste gas and create turbulence. Wind can disturb shielding, so aluminum MIG is usually easier indoors or in a protected shop area.
How to Tune Wire Speed and Voltage
Voltage affects arc length, bead width, and wetting. Wire speed affects amperage and how much filler enters the joint. If wire speed is too low, the arc may feel long and unstable. If wire speed is too high, the wire may stub into the plate. If voltage is too low, the bead may sit high. If voltage is too high, the weld can flatten excessively, soot, or burn through.
Use the chart for the first test weld on scrap. Adjust one control at a time. If the weld is cold and ropey, increase voltage slightly or slow travel carefully. If the edge melts away or the bead is too wide, reduce heat or move faster. For general MIG technique, read MIG Welding Techniques for Beginners.
Spool Gun and Feeding Setup
A spool gun places a small wire spool near the gun, which shortens the distance soft aluminum wire must travel. This can reduce feeding issues compared with pushing aluminum wire through a long standard liner. Push-pull guns also help by controlling wire from both ends.
Use the correct drive rolls, contact tips, liner, and gun setup for aluminum. Keep the gun lead as straight as practical. Do not overtighten drive rolls and crush the wire. Feeding problems can look like bad settings, but the real cause may be mechanical.
Travel Speed and Gun Angle
Aluminum usually needs a faster travel speed than many beginners expect. Moving too slowly can overheat the joint and make the bead wide or dirty-looking. Moving too fast can leave poor wetting and lack of fusion. Watch the front of the puddle and keep the bead flowing into both edges.
A push technique is commonly used for aluminum MIG because it helps keep shielding gas ahead of the puddle and can improve visibility. Keep stickout consistent. A long stickout can make the arc unstable, while a short stickout can increase burn-back risk if the wire feed is not smooth.
Cleaning Aluminum Before MIG Welding
Aluminum oxide melts at a much higher temperature than the aluminum underneath it. Clean the joint before welding. Remove oil, dirt, paint, heavy oxide, and moisture. Use a stainless brush dedicated to aluminum or a clean abrasive made for the job.
Cleaning is part of the setting. Dirty aluminum can cause porosity, black soot, lack of fusion, and inconsistent puddle behavior. If a test weld looks bad, clean again before making large setting changes.
Common Problems and Fixes
| Problem | Likely Cause | Beginner Fix |
|---|---|---|
| Wire burns back | Feed issue, tip issue, too much heat | Check tip, feed path, and wire speed |
| Birdnesting | Soft wire feeding poorly | Check spool gun, drive tension, liner |
| Porosity | Dirty metal, gas issue, moisture | Clean better and check gas coverage |
| Black soot | Contamination, long arc, poor technique | Clean joint and tune arc length |
| Cold bead | Low heat or slow wetting | Adjust voltage/wire speed and clean oxide |
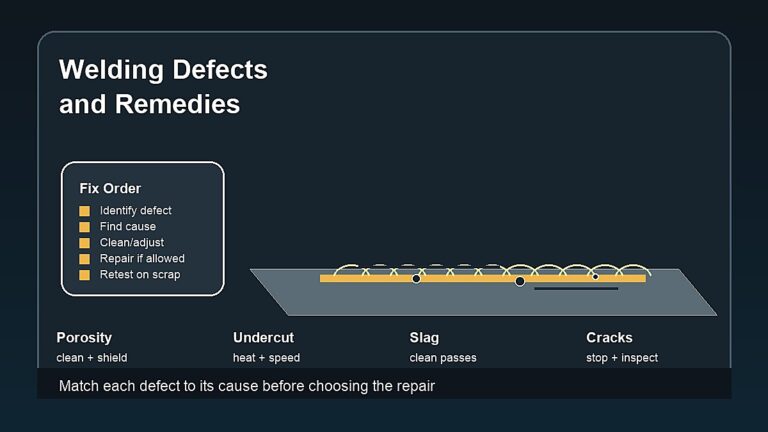
Use the Welding Defects hub when problems such as porosity, lack of fusion, burn-through, or spatter repeat after basic setup checks.
When the Chart Is Not Enough
The chart is not enough when the part is thick, structural, heat-treated, cast, contaminated, or safety-critical. Aluminum alloys vary widely. A structural bracket, trailer component, marine part, pressure part, or vehicle repair may need a qualified procedure and inspection.
The chart also may not fit pulse MIG, spray transfer programs, synergic machines, or manufacturer-specific aluminum modes. Those systems can use different numbers and controls. In those cases, the machine manual and procedure are more important than a general beginner table.
Test Weld Reading
A decent aluminum MIG test bead should wet into the sides without heavy soot, porosity, or a tall cold profile. The bead should not simply sit on top of the plate. If the weld looks gray, dirty, or full of holes, check cleaning and gas coverage before chasing voltage.
Let the sample cool, then inspect both sides when possible. Aluminum can look acceptable at the surface while still lacking fusion. Practice pieces are cheap compared with a failed real repair, so use them generously.
Thickness-Specific Tips
On thin aluminum, burn-through and warping are the biggest problems. Keep the joint clean, use tight fit-up, and avoid sitting in one place. Short practice beads are safer than long passes while you are still learning how fast the puddle changes.
On 1/8 inch aluminum, many beginners have an easier time because the material is thick enough to tolerate a short bead but not so thick that a small machine is completely overwhelmed. This is a useful practice thickness if your welder has enough output.
On 3/16 inch and 1/4 inch aluminum, machine capacity becomes more important. A small 120V machine may not have enough output for clean fusion. Larger machines, spray transfer, pulse programs, preheat, or multi-pass procedures may enter the picture depending on the job.
Common Chart Mistakes
- Using mild-steel gas instead of argon.
- Forgetting to clean aluminum oxide before welding.
- Trying to feed soft aluminum wire through a poor liner setup.
- Using 4043 or 5356 without checking the base alloy.
- Changing voltage, wire speed, and travel speed all at once.
- Following a chart made for a different machine or transfer mode.
- Assuming a smooth bead means the weld has proper fusion.
How to Record Your Own Settings
Once you find a setting that works, write it down. Record material thickness, wire alloy, wire diameter, gas, voltage, wire speed, gun setup, and travel notes. Your own tested settings become more useful than a generic chart because they match your machine and technique.
Keep those notes honest. If a bead looked good but had porosity after grinding, mark it as a failed setting. Over time, your notes will show which ranges work for your machine and which ones only looked promising at first glance.
Preheat and Heat Control
Some thicker aluminum jobs may benefit from controlled preheat, but beginners should be careful. Too much heat can reduce strength, distort the part, or make the puddle hard to control. Thin aluminum usually needs less heat, not more. If a machine cannot handle the thickness without excessive preheat or guesswork, the job may need a larger machine or a qualified procedure.
Stop if the aluminum keeps sooting, collapsing, cracking, or refusing to wet after cleaning and setup checks. More voltage is not always the answer. Wrong filler, poor gas coverage, contamination, or insufficient machine output can all look like a settings problem.
When in doubt, make another scrap test instead of changing the real part. Aluminum mistakes can become expensive quickly, especially on parts that need appearance, strength, or corrosion resistance under real service conditions in use later.
Beginner Setup Checklist
- Confirm the aluminum alloy and thickness.
- Choose 4043 or 5356 wire based on the base metal and job.
- Use 100% argon unless the procedure says otherwise.
- Use a spool gun or aluminum-capable feed setup.
- Clean oxide and contamination before welding.
- Use the welder’s own chart for the first test bead.
- Adjust one setting at a time.
- Stop if the part is structural or safety-critical and you lack a qualified procedure.
For process pros and cons before buying aluminum-capable equipment, review Advantages and Disadvantages of MIG Welding.
Safety Notes
Aluminum MIG welding can involve UV radiation, burns, hot metal, fumes, ozone, fire risk, compressed gas cylinders, and electric shock. Cleaning solvents, coatings, paint, and unknown contamination can add serious hazards. Never weld on closed containers or unknown parts.
Use a welding helmet, safety glasses, gloves, flame-resistant clothing, ventilation or fume extraction, and safe cylinder handling. Review OSHA welding hazards guidance, OSHA welding fume guidance, and AWS safety resources. For site basics, keep Welding Safety close while learning.
FAQ
What voltage should I use for aluminum MIG welding?
It depends on thickness, wire size, and machine. Thin aluminum may start around 15-17 volts, while thicker aluminum may need the 20+ volt range. The welder manual should be your first reference.
What wire speed should I use for aluminum MIG?
Aluminum often uses higher wire speed than mild steel because aluminum wire melts differently and feeds quickly. Begin with the machine reference, then tune on scrap.
Should I use 4043 or 5356 aluminum MIG wire?
4043 is common and can be easier for many beginners. 5356 is stiffer and may be used for certain alloys and strength needs. Match filler to the base metal and service condition.
Can I MIG weld aluminum without a spool gun?
Some setups can, but feeding soft aluminum wire through a standard long gun is difficult. A spool gun or push-pull setup is usually easier.
What gas is best for aluminum MIG?
100% argon is common for many beginner aluminum MIG setups. Use the gas recommended by the machine and wire manufacturer.
Final Advice
Use an aluminum MIG welding wire speed and voltage chart as a starting point, not a final answer. Aluminum rewards clean material, proper filler, argon shielding, good feeding, and fast controlled travel. Practice on matching scrap and tune slowly until the bead wets properly without porosity or burn-through.