What Is Grind Mode on a Welding Helmet?
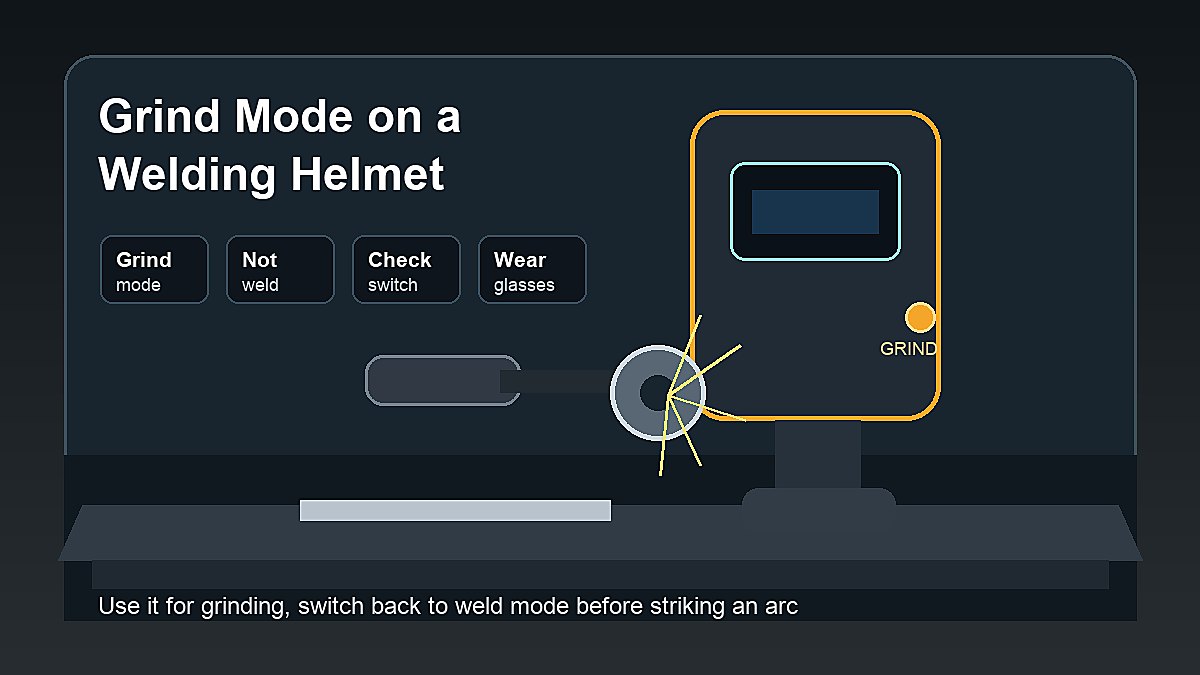
Grind mode on a welding helmet is a setting on many auto-darkening helmets that keeps the lens from switching to a dark welding shade while you grind. It helps you see clearly during grinding, fitting, cleanup, and prep work. But grind mode is not for welding. Before striking an arc, the helmet must be switched back to weld mode with the correct shade setting.
This matters because grind mode is one of the easiest beginner helmet mistakes. A new welder may grind a joint, forget to change the mode, and then start welding with the helmet still set for grinding. That can expose the eyes to bright arc light before the mistake is noticed.
Mark Dawson beginner note: treat grind mode like a temporary tool, not a default setting. Use it for grinding, then deliberately switch back to weld mode before every tack, bead, or repair weld.
Quick Answer
Grind mode keeps an auto-darkening welding helmet in a lighter viewing state so the lens does not darken from grinder sparks. It is useful for grinding and prep work, but it should not be used for welding. Beginners should check the mode, shade, sensors, and safety glasses before every weld.
| Mode | Use It For | Do Not Use It For |
|---|---|---|
| Grind mode | Grinding, fitting, brushing, prep visibility | Arc welding, tack welds, plasma arc viewing |
| Weld mode | MIG, TIG, stick, flux core welding | Grinding when the lens keeps darkening |
| Cut mode | Only if the helmet provides a suitable cutting setting | Assuming it fits every cutting process |
How Grind Mode Works
Auto-darkening helmets use sensors and controls to darken the lens when they detect welding arc light. Grind mode changes that behavior so sparks from a grinder do not keep triggering the dark shade. The result is a clearer view while grinding, smoothing welds, shaping edges, or cleaning a joint.
Different helmets handle grind mode differently. Some use a switch outside the helmet. Some use an internal button. Some show an indicator light. Others make the mode less obvious. That is why the helmet manual matters.
Why Grind Mode Is Useful
Grinding is part of many welding jobs. You may clean mill scale, shape a bevel, remove a bad tack, smooth an edge, or prepare a surface before welding. Without grind mode, an auto-darkening helmet may flash dark repeatedly from grinder sparks, making the work hard to see.
Clear visibility helps you control the grinder and avoid over-grinding. It also lets you inspect fit-up before welding. For beginners, that can improve the prep habits covered in Home Welding Setup for Beginners.
Why Grind Mode Is Not Safe for Welding
Grind mode is not intended to protect your eyes from viewing a welding arc. It keeps the lens lighter so you can see grinding work. That lighter state is the wrong behavior when the arc starts. Welding needs the correct filter shade for the process and amperage.
Even a quick tack weld should not be done in grind mode. A short arc is still an arc. Use the welding mode, lower the helmet, and confirm the setting before pulling the trigger or striking an electrode.
The Most Common Beginner Mistake
The common mistake is simple: grind, set the tool down, pick up the torch, and forget the helmet is still in grind mode. This happens because grinding and welding often happen back to back. A beginner may be focused on the joint and miss the mode switch.
Build a repeatable habit. Before every tack or bead, say the check in your head: glasses on, helmet down, weld mode, correct shade, clear sensors. It sounds slow, but it takes only a moment and can prevent a painful error.
Where the Grind Mode Switch Is Usually Found
The switch location depends on the helmet. Some helmets put grind mode on an outside button or knob so you can change it with gloves on. Others place the control inside the helmet shell. A few use a digital menu. The safer habit is to learn your own helmet before you start switching between grinding and welding.
Look for a clear indicator. It may be a light, icon, switch label, or display message. If you cannot tell whether grind mode is on, stop and check the manual. Guessing is exactly how beginners end up welding in the wrong mode.
Grinding With a Welding Helmet vs Face Shield
Some welders grind with their welding helmet in grind mode. Others use safety glasses plus a face shield, especially when sparks and particles are heavy. The right setup depends on the grinder, wheel, work position, material, and shop rules. The important point is that grinding is an impact hazard, not only a visibility problem.
A welding helmet may protect much of the face, but it may not seal around the eyes like safety glasses or goggles. It also may not be the best face shield for every grinding task. Use safety-rated eye protection under the helmet and add the right face protection when the job calls for it.
Grind Mode Safety Checklist
- Use grind mode only for grinding or prep tasks.
- Wear safety glasses under the helmet while grinding.
- Use a face shield when the grinding task calls for more coverage.
- Switch back to weld mode before every tack or bead.
- Confirm the shade setting after leaving grind mode.
- Keep sensors and cover lenses clean.
- Stop welding if the lens does not darken correctly.
Safety Glasses Still Matter
Grind mode does not replace safety glasses. Grinding can throw particles from odd angles, and the helmet may not seal around the eyes like safety glasses or goggles. Wear clear, safety-rated glasses under the helmet during grinding and cleanup.
For more on this difference, read Do Clear Safety Glasses Protect From Welding Flash?. Clear glasses help with impact hazards, but they do not replace the welding filter shade for an arc.
How to Switch Back Before Welding
After grinding, pause before the next weld. Check the helmet mode first, then the shade setting, then the lens and sensors. Lower the helmet and do a quick dry run over the joint with the welder off. This makes the mode check part of the welding motion.
Some welders put a small reminder on the machine or bench: “Mode before arc.” It is simple, but it works. Beginners benefit from visible reminders until the habit becomes automatic.
A Simple Grind-to-Weld Routine
Use a routine that does not change from project to project. First, put on safety glasses and gloves. Second, switch the helmet to grind mode only for grinding. Third, grind the joint or bead. Fourth, set the grinder down safely. Fifth, switch the helmet back to weld mode before touching the torch or electrode holder.
Then check the shade and helmet view before welding. If the work moved during grinding, reclamp it. If dust or spatter is on the cover lens, clean it. If the sensors are covered, clear them. The mode check should happen with the rest of the setup check, not as a separate thing you hope to remember.
Grind Mode vs Cut Mode
Some helmets have a separate cut mode or lower shade range for certain cutting tasks. Do not assume grind mode and cut mode are the same thing. Grinding, plasma cutting, oxy-fuel work, and arc welding can need different protection.
Use the helmet manual and safety guidance for the specific process. If you are comparing welding and cutting tools, the safety basics in Plasma Cutter vs Oxy-Acetylene Torch for Beginners are a useful next read.
Does Grind Mode Protect From Sparks?
Grind mode does not magically make sparks safe. It only changes how the auto-darkening lens behaves so you can see while grinding. Sparks can still hit your face, hands, clothing, bench, or nearby materials. Use gloves, covered skin, safe footwear, and a clean work area.
Grinding also creates dust and noise. Hearing protection may be needed, and respiratory or ventilation concerns depend on the material and coating. Do not grind unknown coatings or contaminated metal without understanding the hazard.
How Grind Mode Fits With Helmet Safety
Grind mode is one feature inside a larger helmet safety routine. The helmet still needs to fit correctly, darken reliably, use the correct shade, and work with the rest of your PPE. A mode switch does not make damaged gear safe.
Review How to Use a Welding Helmet Safely and Are Auto-Darkening Welding Helmets Safe? if you are still learning helmet setup. Those two guides explain shade, sensors, fit, and testing in more detail.
What If You Welded in Grind Mode?
Stop welding immediately. Move away from the work, switch the helmet back to the correct welding mode, and check the helmet settings. If your eyes hurt, feel gritty, water heavily, or become sensitive to light, seek medical advice. Eye symptoms after arc exposure should not be ignored.
Do not keep welding to finish the project. A mistake is a reason to reset the workflow, not a reason to rush. Check bystanders too, because anyone who saw the arc without proper protection may also have been exposed.
Common Grind Mode Mistakes
- Leaving the helmet in grind mode after cleanup.
- Using grind mode for a quick tack weld.
- Forgetting safety glasses because the helmet is already down.
- Assuming grind mode and cut mode are the same.
- Grinding with a damaged cover lens or poor visibility.
- Letting sparks land near flammables while focused only on the helmet.
- Not checking the helmet indicator before welding.
Beginner Practice Drill
Practice the switch without welding. Put on the helmet, switch to grind mode, pretend to grind, set the grinder down, switch back to weld mode, lower the helmet, and trace the joint with the welder off. Repeat this until the mode change feels automatic. That small drill is less exciting than welding, but it builds a habit that protects your eyes.
Quick Troubleshooting
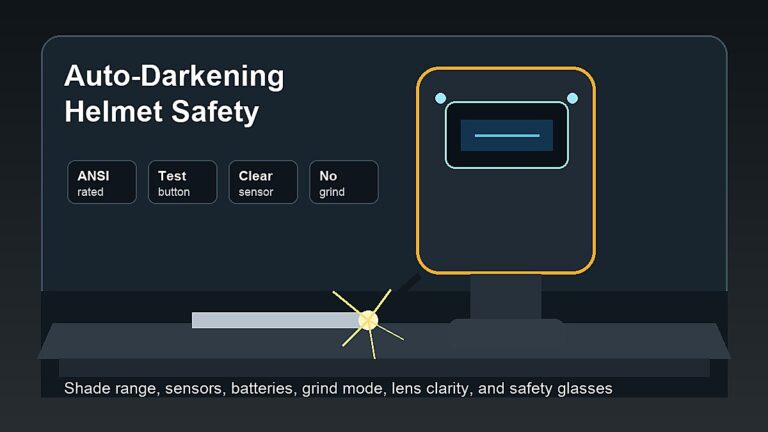
If the lens keeps darkening while grinding, confirm that grind mode is actually turned on and that the helmet supports it. If the lens stays light while welding, stop immediately and check whether grind mode is still active. Also check batteries, sensor coverage, sensitivity, shade setting, and cover lens condition.
If the helmet behavior still feels inconsistent, do not keep practicing. Use another verified helmet or get help from the manufacturer instructions, an instructor, or a qualified person. A helmet problem is not something beginners should work around with squinting, guessing, or speed. Stop, reset, and protect your eyes first. The few minutes you spend checking gear are worth more than a rushed bead or avoidable eye injury.
Safety Warning
Welding and grinding can involve arc radiation, flying particles, sparks, hot metal, fumes, fire hazards, noise, and electric shock. Use proper eye and face protection, safety glasses, hearing protection when needed, gloves, flame-resistant clothing, ventilation, and a fire-safe workspace. Review OSHA welding, cutting, and brazing guidance, AWS safety and health fact sheets, and NIOSH welding resources.
FAQ
Can you weld with grind mode on?
No. Grind mode is for grinding visibility, not welding arc protection. Switch to weld mode and set the correct shade before every weld.
Why does my helmet have grind mode?
It keeps the lens from darkening repeatedly while grinding, so you can see the work clearly during prep and cleanup.
Do I need safety glasses in grind mode?
Yes. Wear safety-rated glasses under the helmet when grinding because particles can reach your eyes from angles the helmet does not fully seal.
Is grind mode the same as cut mode?
No. Grind mode and cut mode are different settings on helmets that offer both. Check the helmet manual before cutting or welding.
Final Advice
Grind mode is useful when you are grinding, but it becomes dangerous when you forget to leave it before welding. Use it deliberately, wear safety glasses, switch back to weld mode before every arc, and make the mode check part of your beginner welding routine. For the full PPE picture, start with Welding Safety.