How to Use a Welding Helmet Safely
How to use a welding helmet safely starts before the arc is struck. A helmet is not just a dark window. It helps protect your eyes and face from arc radiation, bright light, sparks, spatter, and hot metal while still letting you see the joint well enough to weld with control.
For beginners, the hard part is balancing protection and visibility. The lens needs to be dark enough for the process and amperage, the helmet needs to fit securely, and your view needs to be clear enough to see the weld pool. This guide walks through setup, shade selection, auto-darkening checks, safety glasses, lens care, and common beginner mistakes.
Mark Dawson beginner note: never use a welding helmet as a guess-and-go tool. Check the lens, fit, sensors, batteries, cover plates, and workspace lighting before welding. Poor helmet setup can make both safety and technique worse.
Quick Answer: How Do You Use a Welding Helmet?
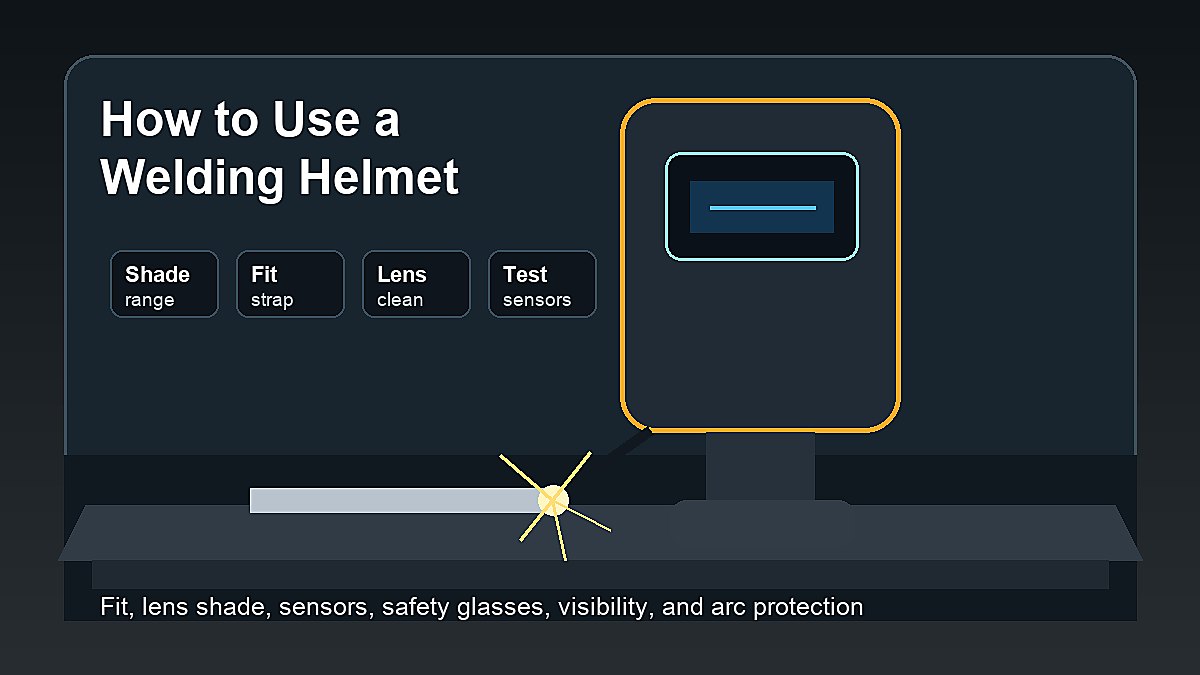
To use a welding helmet, inspect the shell and lens, choose the correct shade for the welding process, adjust the headgear so the helmet stays in place, wear safety glasses underneath, check auto-darkening controls if the helmet has them, position your body so you can see the joint, then lower the helmet before striking the arc.
| Step | What to Check | Why It Matters |
|---|---|---|
| Inspect | Shell, lens, cover plates, headgear | Damaged parts can reduce protection or visibility. |
| Set shade | Process and amperage range | The wrong shade can be unsafe or hard to see through. |
| Fit helmet | Headband, tilt, tightness | A loose helmet distracts you and exposes skin. |
| Wear glasses | Safety glasses underneath | Eyes still need impact protection during prep and cleanup. |
| Test view | Lighting, joint position, clean lens | You need to see the weld pool and joint edges. |
1. Inspect the Helmet Before Welding
Start by checking the helmet shell for cracks, melted areas, loose parts, or gaps. Look at the inside and outside cover lenses. If the cover lens is scratched, cloudy, burned, or covered with spatter, your view will be worse and you may compensate with poor body position.
Check the headgear too. Smooth lowering and stable headgear matter. Loose headgear that drops unexpectedly or falls back while you are positioning the torch is more than annoying. It can pull your attention away from the work at the wrong moment.
2. Choose the Correct Lens Shade
The lens shade controls how much visible light reaches your eyes while welding. The correct shade depends on the welding or cutting process, amperage, and manufacturer guidance. MIG, TIG, stick, flux core, plasma cutting, and oxy-fuel work can require different shade ranges.
Do not pick a shade only because it feels comfortable for a second. A lens that is too light can expose your eyes to too much brightness. A lens that is too dark can make the joint hard to see, which may cause poor torch angle, wandering beads, or unsafe positioning.
3. Set Up an Auto-Darkening Helmet
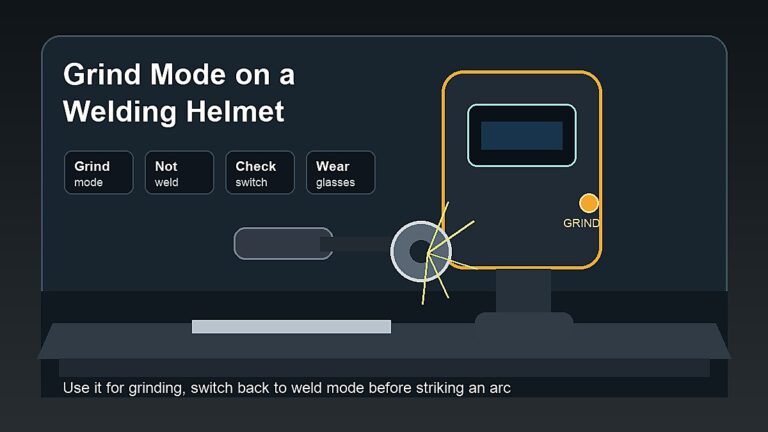
Auto-darkening helmets use sensors and controls to switch from a lighter state to a darker welding shade when the arc starts. Before welding, check the shade setting, sensitivity, delay control, battery condition, grind mode, and sensor area. Make sure the helmet is not stuck in grind mode before striking an arc.
Follow the helmet manual for the specific test method. Some helmets include a test button. Others need a bright light source or arc test under safe conditions. If the helmet reacts slowly, flickers, or fails to darken, stop and fix the problem before welding.
4. Adjust the Fit and Headgear
A welding helmet should sit securely without being painfully tight. Adjust the headband, crown strap, and tilt so the viewing window lines up with your natural line of sight. Face and neck coverage should stay consistent without obvious gaps.
Do a dry run with the helmet down. Hold the torch or electrode holder near the joint and check whether you can see the start point. If you have to twist your neck, lift the helmet, or lean into the work too far, adjust your position before welding.
5. Wear Safety Glasses Under the Helmet
A welding helmet does not replace safety glasses. Safety glasses help protect against flying particles during grinding, brushing, chipping, wire cutting, and cleanup. They also provide backup impact protection when the helmet is lifted between welds.
Clear safety glasses are not a welding lens. They are part of a PPE system. For a complete beginner PPE list, read Protective Equipment Essentials for Beginner Welders.
6. Clean the Lens and Improve Visibility
Many beginner welding problems start with poor visibility. A dirty cover lens, dark shop corner, fogged glasses, or awkward viewing angle makes the weld pool harder to read. Clean the lens before practice and use enough lighting to see the joint before the arc starts.
Arc light is bright, but the area around the joint can still be hard to see. Mark the joint, clamp the parts, and position the work so your helmet window gives a clear view. Good visibility helps with MIG welding technique, stick welding arc starts, TIG filler control, and flux core bead placement.
Visibility Setup Before the Arc
Before welding, look through the helmet with the arc off. You should be able to find the joint, see the torch or electrode position, and understand where the bead will start and stop. If the work is hidden in shadow, add shop lighting outside the arc path or reposition the piece.
Beginners often blame helmet shade when the real problem is joint visibility. Scratched lenses, a dark bench, poor clamp position, smoke, and awkward body posture all make the puddle harder to read. Fix those things before changing shade settings again.
A short dry run helps. Move along the joint with the helmet down and the welder off. Check that your hands, cable, gun neck, or electrode holder do not block your view. This quick habit can prevent missed starts, crooked beads, and rushed body movement.
7. Lower the Helmet Before Striking the Arc
Passive helmets must be lowered before striking the arc. Auto-darkening helmets may let you position more easily in the light state, but the helmet still needs to be down and working before the arc starts. Never tack weld with an uncovered face because it is only a quick weld.
For manual flip helmets, practice the movement without welding. Place the torch, nod the helmet down, confirm your view, then start. It may feel slow at first, but this habit is better than flashing your eyes or losing your start point.
Using a Helmet for Tacking and Short Welds
Tack welds are short, but they still create arc radiation and sparks. Do not close one eye, look away, or make a quick tack without protection. Keep the helmet down before every tack, repair bead, or practice arc.
Auto-darkening helmets make tacking easier because you can line up the joint before the lens darkens. Still, the sensors need a clear view of the arc. Blocking sensors with a hand, fixture, corner, or pipe can make the lens respond poorly. Reposition the work if sensor coverage is questionable.
8. Use the Helmet With the Rest of Your PPE
A helmet protects your face and eyes, but welding safety also needs gloves, flame-resistant clothing, safe footwear, ventilation, and a clean work area. Arc rays can reach exposed skin around the neck, arms, and chest. Sparks can land in pockets, cuffs, shoes, or nearby clutter.
Before practice, review Welding Safety and Home Welding Setup for Beginners. A helmet works best when the whole setup is planned, not when it is the only protection in the room.
9. Check Helmet Settings When the Process Changes
Do not assume one helmet setting fits every task. A low-amp TIG practice bead, a stick welding bead, flux core repair, MIG welding on thicker steel, grinding mode, and plasma cutting can all need different settings or PPE choices. Recheck shade, sensitivity, delay, and mode when the process changes.
This matters when switching between types of welding. A beginner may practice MIG one day, grind parts the next, and try stick welding later. The helmet has to match the work being done now, not the work done yesterday.
Passive vs Auto-Darkening Helmets for Beginners
A passive helmet uses a fixed shade lens. It is simple, durable, and does not depend on sensors or batteries, but beginners need to learn how to lower the helmet without losing the start point. That takes practice, especially when tacking or working in tight positions.
An auto-darkening helmet stays lighter before the arc and darkens when welding starts. This can help beginners line up the gun, electrode, or filler rod. The tradeoff is that you must check the settings, power, sensors, and grind mode. Convenience does not remove the need for inspection.
Neither style is automatically best for every welder. A good beginner helmet is one that fits, protects correctly, gives a clear view, and is used consistently with the rest of your PPE.
10. Know When to Replace Helmet Parts
Replace cover lenses when they are scratched, pitted, burned, or too cloudy to see through. Replace damaged headgear, cracked shells, weak knobs, and batteries when needed. Old gear that technically still sits on your head is not automatically safe or useful.
Store the helmet away from grinding dust, impact, moisture, and heat. Do not throw it onto the bench with sharp scrap or clamps. Treat the helmet like safety equipment, not like a spare bucket.
Beginner Practice Routine
Before your first bead of the day, put on safety glasses, lower the helmet, look at the joint, and move through the weld path with the machine off. Then check shade, fit, lens clarity, and body position one more time. This simple routine makes helmet use automatic instead of something you remember after the arc flashes.
Safety Warning for Beginner Welders
Welding can expose you to ultraviolet radiation, infrared radiation, visible light, fumes, burns, sparks, fire hazards, and electric shock. Read the helmet manual, welding machine manual, and recognized safety guidance before welding. For safety references, review OSHA welding, cutting, and brazing guidance, AWS safety and health fact sheets, and NIOSH welding resources.
Common Welding Helmet Mistakes
- Using a helmet with a dirty or damaged cover lens.
- Forgetting safety glasses under the helmet.
- Leaving an auto-darkening helmet in grind mode.
- Using one shade setting for every process.
- Welding with exposed neck, arms, or chest.
- Starting the arc before the helmet is down.
- Ignoring weak batteries or slow auto-darkening response.
- Standing where the joint is hard to see.
FAQ
Can beginners use an auto-darkening welding helmet?
Yes. Many beginners prefer auto-darkening helmets because they make it easier to position the torch before starting. The helmet still needs the correct shade, working sensors, clean cover lenses, and proper fit.
Do I need safety glasses with a welding helmet?
Yes. Safety glasses help protect your eyes from particles during grinding, chipping, brushing, and cleanup. They do not replace the welding lens, but they are important under the helmet.
What shade should a welding helmet be?
The right shade depends on the process and amperage. Check the helmet manual, machine manual, employer rules when applicable, and recognized safety guidance. Do not guess based only on comfort.
Can welding flash happen through a helmet?
It can happen if the helmet is damaged, used incorrectly, set wrong, lifted too soon, or fails to darken properly. Stop welding if your helmet does not work correctly.
How often should I replace welding helmet lenses?
Replace cover lenses when they are scratched, pitted, burned, cloudy, or hard to see through. Replace other helmet parts when they are cracked, loose, damaged, or unreliable.
Final Advice
Using a welding helmet well is a habit: inspect it, set the correct shade, fit it properly, wear safety glasses, clean the lens, lower it before the arc, and recheck settings when the process changes. When the helmet works with the rest of your PPE, beginner welding becomes safer and easier to learn.