Welding Defects and Remedies
Welding defects and remedies are easier to understand when you treat each bad weld as a clue. A defect tells you something about cleaning, heat, travel speed, shielding, filler, joint fit-up, consumables, or technique. The remedy should fix the cause, not only hide the surface.
Beginners often want one quick fix for every bad bead, but welding does not work that neatly. Porosity needs a different response than undercut. Slag inclusion needs a different response than burn-through. Cracks are serious enough that the right remedy may be to stop and get qualified help.
Mark Dawson beginner note: a grinder can clean up a practice weld, but it cannot diagnose the weld for you. Before repair, name the defect and find the likely cause.
Quick Answer
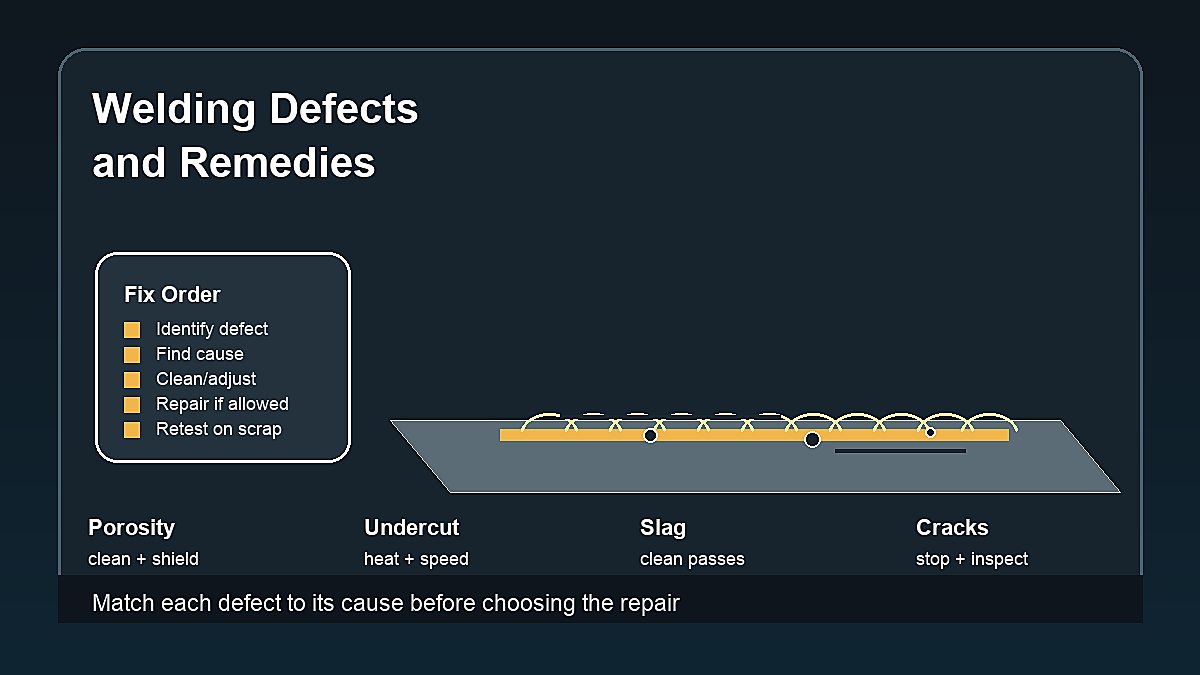
The most useful welding defect remedy is a simple process: identify the defect, clean and inspect the weld, trace the likely cause, correct one setup or technique issue, then retest on scrap. Porosity usually needs cleaning and shielding fixes. Undercut needs heat, speed, angle, or filler correction. Slag inclusion needs better cleaning and bead placement. Lack of fusion needs heat and tie-in improvement. Cracks require stopping, diagnosis, and proper repair procedures.
| Defect | Likely Cause | First Remedy |
|---|---|---|
| Porosity | Gas or contamination | Clean metal and check shielding |
| Undercut | Too hot, fast, or bad angle | Adjust heat, speed, and edge fill |
| Slag inclusion | Slag trapped between passes | Clean better and place beads correctly |
| Lack of fusion | Low heat or poor aim | Improve heat, prep, and tie-in |
| Cracks | Stress, material, hydrogen, wrong filler | Stop and inspect before repair |
Use the Right Remedy Order
Do not start by changing five settings. First clean the weld and identify the defect. Then check the simplest causes: dirty metal, wrong polarity, weak ground, poor gas coverage, incorrect consumable, arc length, travel speed, and angle. After that, run a short test bead on matching scrap.
This order matters because random changes create confusion. If you change voltage, wire speed, travel speed, gas flow, and stickout all at once, you may fix the weld without learning what fixed it. That makes the next defect harder to solve.
For a broader defect overview, start with Common Welding Defects and How to Check Welding Defects.
Porosity Remedies
Porosity is trapped gas in the weld. The remedy starts with contamination and shielding. Clean oil, paint, rust, moisture, and dirt from the joint. Check filler rod, wire, or electrodes. For gas-shielded welding, confirm the gas type, flow, leaks, nozzle, cup, diffuser, and drafts.
If porosity appears outdoors with MIG or TIG, block wind or move indoors. If it appears with stick welding, check rod storage, arc length, and surface condition. With flux core, check polarity, wire condition, stickout, and technique.
Do not weld over porous weld metal on important work. Remove or repair the defective section according to the job requirement. For detailed porosity troubleshooting, read Welding Porosity.
Undercut Remedies
Undercut is a groove beside the weld bead. The remedy usually involves heat, speed, angle, and edge fill. Lower excessive heat, slow enough to let the puddle fill the toe, reduce long arc length, and adjust torch, gun, or rod angle so one edge is not being gouged.
For weave beads, pause slightly at the edges. For TIG, add filler at the right time. For MIG, keep stickout and travel angle consistent. For stick welding, control arc length and amperage.
Deep undercut on real work may need grinding, cleaning, and a qualified repair pass. Review What Is an Undercut in Welding? before repeating the same mistake.
Slag Inclusion Remedies
Slag inclusion happens when slag or flux is trapped in the weld. Start with better cleaning, better bead placement, and enough heat for the weld pool to flow properly. Chip and brush between passes. Grind tight corners or trapped slag lines if needed.
Stick and flux core welds are most likely to have slag inclusion because they produce slag. Watch the bead edges and avoid placing the next pass over slag pockets. If the joint shape traps slag, adjust bead sequence or joint prep.
Low heat and poor angle can make slag harder to float out. Correct amperage, travel angle, and travel speed before blaming only the electrode.
Lack of Fusion Remedies
Lack of fusion means the weld metal did not bond properly to the base metal or previous pass. Adding more metal on top is not a reliable fix. Clean the joint, improve fit-up, use enough heat, aim the arc into the joint, and slow enough for the puddle to tie into both sides.
A bead can look tall and full while still lacking fusion underneath. This happens when the weld sits on top instead of melting into the base. Practice lap joints and T-joints while watching the edges of the puddle, not only the center.
For MIG technique, review MIG Welding Techniques for Beginners. For TIG control, use Basic TIG Welding Techniques for Beginners.
Crack Remedies
Cracks are serious. The first remedy is to stop welding and find out why the crack happened. Cracks can involve hydrogen, material choice, restraint, cooling rate, crater shrinkage, wrong filler, poor preheat, or a material that needs a controlled procedure.
Do not simply weld over cracks. A crack can continue under the repair bead if it is not removed and the cause is not corrected. Critical welds need qualified repair procedures and inspection.
On practice coupons, mark the crack location, review heat input and crater technique, and cut the sample if safe to learn how far the crack travels.
Overlap Remedies
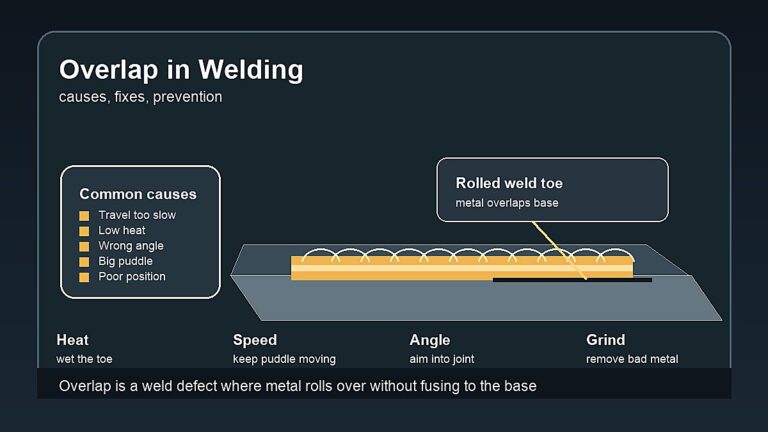
Overlap happens when weld metal rolls over the base metal without fusing at the edge. The remedy usually involves more proper heat at the edge, less filler, better travel speed, and a torch or electrode angle that lets the puddle wet into the base.
Beginners often create overlap by trying to make a large bead for strength. A large bead that is not fused is not better. Run smaller controlled beads and watch the toes.
Burn-Through Remedies
Burn-through means the weld melted a hole through the material. Reduce heat, travel a little faster, shorten arc time, improve fit-up, use backing where appropriate, choose smaller wire or electrode when suitable, and use stitch welding on thin material.
Large gaps make burn-through worse. Clamp parts tightly and practice on scrap of the same thickness. If the part keeps overheating, use shorter welds and allow cooling time between passes.
Spatter Remedies
Excessive spatter points to settings, arc length, stickout, polarity, dirty metal, consumables, or gas problems. For MIG, compare voltage and wire feed speed with the chart, check ground clamp contact, and keep stickout consistent. For stick welding, shorten arc length and check amperage.
Some spatter is normal with certain processes, especially flux core and stick. The goal is not zero spatter every time; the goal is to know when spatter is signaling a setup or technique problem.
Process-Specific Remedy Clues
MIG remedies often start with voltage, wire feed speed, stickout, gas coverage, and ground clamp contact. If the bead is cold and tall, compare settings with the chart and check travel speed. If the bead is spattery, look at voltage, wire feed balance, stickout, polarity, and dirty steel.
Stick welding remedies often involve amperage, arc length, rod angle, rod condition, and slag control. If slag inclusion keeps returning, slow down the inspection process between passes. If undercut keeps appearing, check arc length and whether amperage is too high for the rod and position.
TIG remedies often trace back to cleanliness, arc length, shielding gas, tungsten condition, filler timing, and heat control. A dipped tungsten can create several different symptoms, so regrind before chasing machine settings.
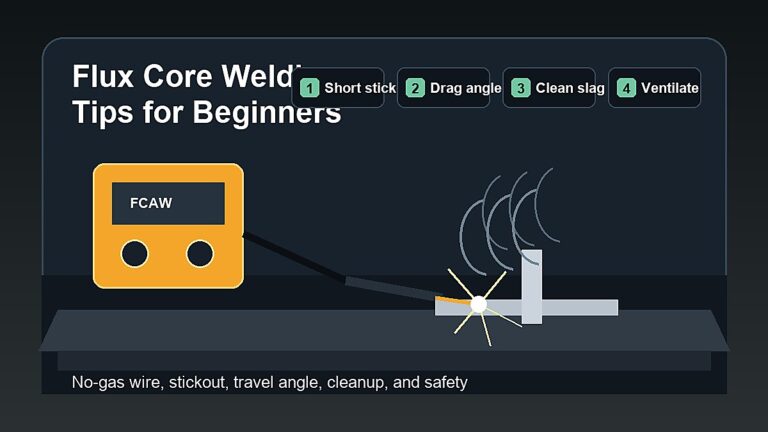
Flux core remedies often include polarity, wire stickout, drag angle, voltage or wire speed, slag removal, and wire storage. Self-shielded flux core can handle more outdoor work than gas MIG, but it still has limits when wind, rust, and moisture are severe.
Bad Bead Shape Remedies
A bead that is too tall may mean low heat, fast travel, poor aim, or too much filler. A bead that is too wide may mean excessive heat, slow travel, or long arc length. Uneven width often points to inconsistent travel speed or hand position.
Run short practice beads and change one variable. Adjust heat, angle, travel speed, or filler timing, then compare the new bead with the old one. Keep the failed coupon so you can see the difference.
Repair vs Prevention
Repair is not always the right first move. Prevention is cleaner: correct the setup before making the defect again. If a defect is already in the weld, the repair may require grinding, gouging, cleaning, rewelding, preheat, postheat, inspection, or scrapping the part.
For non-critical practice, repairs are useful learning. For real parts, the repair must match the material and service requirement. Do not guess on pressure, vehicle, structural, lifting, or workplace welds.
Before You Repair a Defect
Before repair, decide whether the weld is practice, cosmetic, or safety-related. A practice bead can be ground, cut, bent, or rewelded for learning. A safety-related weld may need a written procedure, qualified welder, inspector, and documented acceptance criteria.
Next, expose sound metal. That may mean removing slag, grinding cracks, cutting out a porous section, or cleaning the joint again. Do not bury a defect under a new bead unless the repair procedure says that is acceptable.
Finally, fix the original cause before rewelding. If porosity came from wind, the repair bead will be porous too unless the shielding problem is solved. If undercut came from speed and angle, the repair pass can repeat the groove.
Prevention Habits That Reduce Most Defects
- Clean the joint before welding instead of hoping the arc burns everything away.
- Use the machine chart or procedure as the starting point.
- Match filler, wire, rod, and gas to the base metal and process.
- Keep arc length, stickout, travel speed, and angle consistent.
- Remove slag and inspect between passes.
- Store rods, wire, and filler where they stay clean and dry.
- Practice on matching scrap before repairing a real part.
- Stop when a defect appears instead of extending the bad weld.
Symptom to First Check
Pinholes should make you check cleaning, shielding, moisture, and consumables first. A groove at the weld toe should make you check heat, travel speed, arc length, and angle. Trapped slag should make you check cleanup, bead sequence, and whether the joint shape is trapping flux.
A tall bead sitting on top should make you check heat and fusion. A wide bead with melted edges should make you check heat and travel speed. A crack should make you stop and review material, filler, restraint, cooling rate, hydrogen risk, and whether the weld needs qualified procedure control.
This symptom-first approach keeps troubleshooting practical. You are not guessing from a giant list; you are matching what you see to the most likely first checks.
When the Best Remedy Is to Stop
Sometimes the best remedy is not another pass. Stop when defects keep repeating, when cracks appear, when the base metal is unknown, when the part is safety-critical, or when you do not know the correct filler, preheat, inspection, or repair procedure.
For beginner practice, stopping means you are learning. For real work, stopping can prevent a dangerous repair. A weld that affects people, vehicles, pressure, lifting, or structures deserves more than trial and error.
When in doubt, save the part and ask for qualified weld inspection first.
Beginner Remedy Checklist
- Identify the defect by name.
- Clean the weld enough to inspect it.
- Mark where the defect starts and stops.
- List the most likely causes for that defect.
- Correct one cause at a time.
- Run a test bead on matching scrap.
- Compare before and after photos.
- Use qualified inspection for critical welds.
Safety Notes
Fixing welding defects can involve grinding, cutting, gouging, rewelding, hot metal, sparks, fumes, electric shock, UV radiation, sharp slag, and fire risk. Wear proper PPE, use ventilation, control sparks, and keep flammable material away.
Never repair critical welds by guesswork. Review OSHA welding hazards guidance, OSHA welding, cutting, and brazing requirements, and AWS safety resources.
FAQ
What is the first step in fixing welding defects?
The first step is identifying the defect correctly. After that, clean the weld, find the likely cause, correct one variable, and retest on scrap.
Can all welding defects be repaired?
No. Some defects can be repaired, but the correct repair depends on material, defect type, depth, service requirements, and inspection rules.
Should I grind out a welding defect?
Sometimes, but do not grind before inspecting and identifying the defect. Critical weld repairs need approved procedures, not guesswork.
What defect remedy helps beginners most?
Cleaning the metal, using correct settings, controlling arc length, and testing one change at a time help beginners fix many common defects.
Why do defects keep coming back?
Defects repeat when the real cause is not fixed. For example, porosity will return if gas coverage, moisture, or contamination is still present.
Final Advice
Welding defects and remedies are a troubleshooting loop. Name the defect, find the cause, apply the right fix, and test before moving on. That habit builds better welds than guessing, grinding, and hoping the next bead works.