Basic TIG Welding Techniques for Beginners
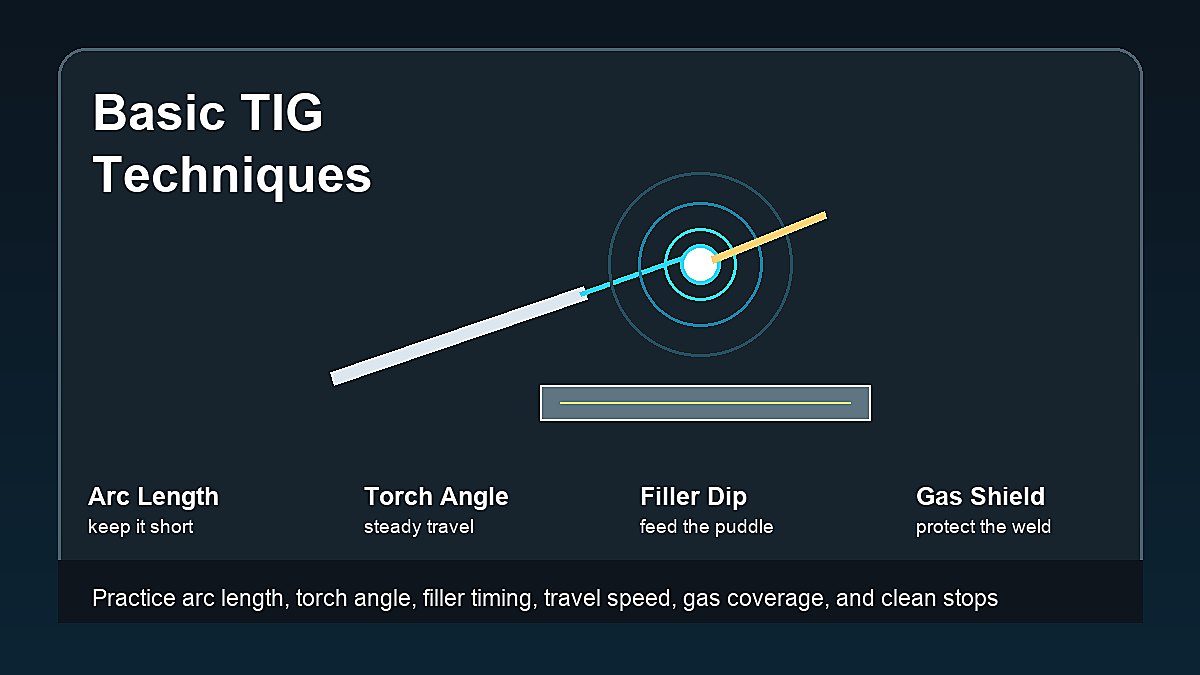
Basic TIG welding techniques come down to controlling arc length, torch angle, travel speed, filler rod timing, shielding gas coverage, and clean starts and stops. TIG welding can make clean, precise welds, but it exposes every small mistake because the process depends on a steady hand and a clean setup.
If you are new to TIG, do not start by trying to make perfect decorative beads. Start by learning how the puddle forms, how close the tungsten should be, how filler enters the weld pool, and how gas protects the hot metal.
Mark Dawson beginner note: good TIG technique is quiet and controlled. When the tungsten stays clean, the arc is short, the filler rod is clean, and the gas shield is stable, the weld becomes much easier to read.
Quick Answer
The most important basic TIG welding techniques are keeping a short arc length, holding a steady torch angle, moving at a consistent travel speed, dipping filler rod into the front edge of the puddle, keeping the filler tip inside the shielding gas, and stopping without leaving the hot weld unprotected. Beginners should practice on clean mild steel before trying aluminum, stainless, pipe, or thin sheet metal.
| Technique | Goal | Beginner Mistake |
|---|---|---|
| Arc length | Keep arc tight and focused | Holding tungsten too far away |
| Torch angle | Maintain gas coverage | Leaning torch too much |
| Filler timing | Add metal to puddle smoothly | Melting rod in the arc |
| Travel speed | Control bead width and heat | Moving too fast or pausing too long |
| Stop technique | Protect crater and cooling weld | Pulling torch away too soon |
Start With Clean Metal
TIG is not forgiving of dirt. Oil, paint, rust, mill scale, moisture, oxide, dirty filler rod, and contaminated tungsten can all cause problems. Before you practice technique, clean the joint and use known material.
Clean mild steel is usually the best first practice material. It lets you focus on the puddle without the extra difficulty of aluminum oxide, stainless discoloration, or very thin sheet metal. Use scrap coupons with simple straight edges and consistent thickness.
Keep filler rod clean too. Do not lay it on a dusty table, wipe it with oily gloves, or let the hot end leave the shielding gas and oxidize. For TIG basics, read TIG Welding for Beginners.
Arc Length Technique
Arc length is the distance between the tungsten tip and the workpiece. TIG usually needs a short, steady arc. A long arc spreads the heat, makes the puddle harder to control, and can reduce shielding effectiveness.
A common beginner goal is to keep the arc length close to the tungsten diameter, though the exact distance depends on the setup and joint. The key is consistency. If your hand moves up and down, the bead width and heat input change constantly.
Getting too close can dip the tungsten into the puddle. When that happens, stop and regrind or replace the tungsten. Continuing with contaminated tungsten usually creates wandering arc behavior and dirty welds.
Torch Angle Technique
Torch angle affects puddle shape and shielding gas coverage. Beginners often lean the torch too far because it feels easier to see. Too much angle can blow shielding gas away from the puddle or expose the filler rod to air.
Use a modest push angle and keep the cup close enough to cover the weld area. The torch should lead the puddle without stretching the arc. If the weld turns gray, dull, or contaminated, check gas coverage, cup position, and torch angle.
Body position matters. Rest your hand when possible, brace your wrist, and keep the work at a comfortable height. A stable welding table makes torch control much easier. See Welding Table for Beginners.
Travel Speed Technique
Travel speed controls how long heat stays in one area. Moving too fast can create a narrow bead with poor tie-in. Moving too slowly can overheat the part, widen the bead, distort thin metal, or cause excessive penetration.
Watch the puddle, not the torch cup. The puddle should form, move forward, and stay consistent. If it grows too wide, reduce heat, move faster, or pause to cool. If it barely wets into the edges, you may need more heat, slower travel, or better cleaning.
Practice short beads first. Long beads hide mistakes because heat builds as you go. Short practice runs make it easier to compare changes in speed, angle, and amperage.
Let the puddle set the pace during every short practice bead and joint. If your hand is moving faster than the puddle can wet into both edges, slow down or adjust heat before the bead becomes narrow and cold-looking.
Filler Rod Timing
Filler rod should enter the front edge of the molten puddle, not the arc above it. If the rod melts before touching the puddle, it can ball up, oxidize, or drop metal where you do not want it.
A simple beginner rhythm is move, pause, dip, move. The exact rhythm changes by material and joint, but the idea is to add filler consistently while keeping the puddle controlled. The rod tip should stay inside the shielding gas when it is hot.
Feed small amounts at first. Large filler dips can chill the puddle or create lumpy beads. If the bead stacks too high, you may be adding too much filler or moving too slowly.
Heat Control and Foot Pedal Use
Many TIG setups use a foot pedal or hand control to adjust amperage while welding. More pedal means more heat. Less pedal means less heat. This lets you start the puddle, maintain it, and taper off at the end.
Beginners often mash the pedal and then rush. Instead, ease into the puddle and watch how the metal responds. Thin metal needs especially careful heat control because it can go from solid to burned-through quickly.
If your machine does not use a pedal, practice with fixed amperage and short beads. You can still learn arc length, travel speed, filler timing, and torch angle before adding more advanced controls.
Starts and Stops
A good start forms a puddle without blasting the joint or contaminating the tungsten. Use the machine’s start method correctly, keep the tungsten close, and let shielding gas protect the area before the weld develops.
Stopping matters too. If you snap the torch away immediately, the hot crater can oxidize. Taper the heat down when possible and keep post-flow shielding over the cooling weld. This helps reduce crater cracking, oxidation, and ugly stop marks.
If your stops look dark or cratered, check post-flow time, torch position, filler at the end, and whether you are ending too abruptly.
Gas Coverage Technique
Shielding gas protects the tungsten and weld pool. Poor coverage can come from drafts, wrong flow, leaks, too much tungsten stickout, a damaged cup, too much torch angle, or moving the torch away too quickly.
Do not assume more gas flow always fixes the problem. Excessive flow can create turbulence and pull air into the shield. Check the cup, flowmeter, hose connections, work area drafts, and torch angle first.
For most beginner practice, work indoors or in a protected space. Fans and open doors can disturb TIG shielding. For safety gear and ventilation basics, read Welding Safety Equipment for Beginners.
Practice Progression
- Run beads without filler on clean mild steel.
- Practice keeping arc length steady.
- Add filler rod with a slow, consistent rhythm.
- Practice starts and stops.
- Move to lap joints and T-joints.
- Try thinner metal only after bead control improves.
- Save aluminum and stainless for later practice.
- Review welds for contamination, undercut, cold lap, and overheating.
Hand Support and Body Position
TIG technique is easier when your body is stable. Rest your torch hand on the table, a fixture, a prop, or your other hand when possible. Floating in the air makes arc length harder to hold and usually causes the tungsten to move up and down.
Position the work so you can see the puddle without leaning directly over the fumes. Keep your shoulders relaxed and arrange the filler rod so it can slide forward smoothly. If your elbow runs out of room halfway through a bead, stop and reposition before continuing.
Good body position also helps safety. You should not need to rest bare skin on hot metal, reach around the torch, or pull cables across sharp edges. Set the workspace before striking the arc.
Tack Welding Technique
Tack welds hold parts in place before the full weld. For TIG, tacks should be clean, small, and placed where they control movement. Poor tacks can contaminate the final bead or pull the joint out of alignment.
Clamp the joint, make a small puddle, add a touch of filler if needed, and stop with shielding gas still covering the tack. Check alignment after tacking because heat can move small parts quickly.
Do not use huge tacks to fix poor fit-up. Large tacks create lumps that the final pass must climb over. Better fit-up, smaller gaps, and steady clamping make TIG welding much easier.
Walking the Cup vs Freehand TIG
Freehand TIG means holding and moving the torch without rolling the cup along the joint. This is common for many beginner practice beads, small parts, and general TIG learning. It teaches arc length and hand control directly.
Walking the cup is a technique where the cup is rocked or walked along the joint, often seen in pipe and certain groove welds. It can create consistent movement, but it is not the first technique most beginners need to master.
Learn freehand control first. Once you understand arc length, filler timing, and gas coverage, cup-walking techniques make more sense. Trying to walk the cup too early can hide basic problems instead of solving them.
Reading Bead Shape
The bead tells you what happened. A narrow rope-like bead may mean low heat, fast travel, or poor wetting. A wide flat bead may mean too much heat, slow travel, or too long an arc. Dark or gray color can point to overheating, contamination, or poor shielding.
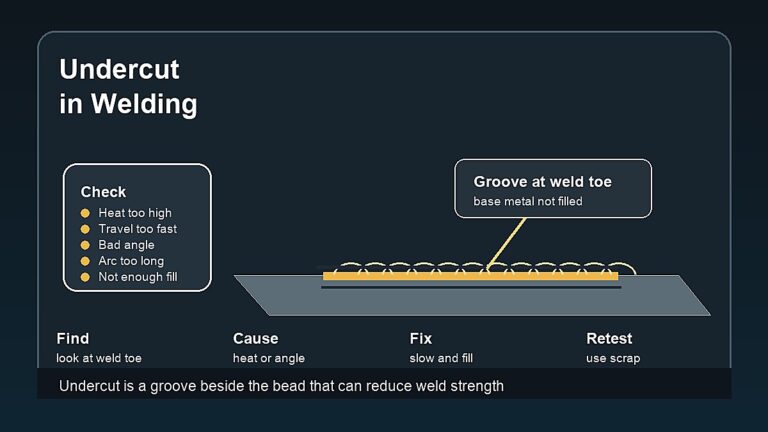
Look at the toes of the weld. The bead should tie into both sides without undercut. If the edges look cold or piled up, the puddle may not be washing into the base metal. If the edges are grooved, heat or travel speed may be wrong.
Do not judge only by the top pattern. A pretty ripple pattern can still have poor fusion. Use practice beads to connect what you see with what your hands did.
Simple Practice Drills
- Hold a steady arc over a clean coupon without filler.
- Run five short beads with the same travel speed.
- Dip filler every half second while keeping the rod in the gas shield.
- Practice stopping with post-flow over the crater.
- Intentionally vary travel speed on scrap and compare bead shape.
- Practice lap-joint tacks before running a full lap weld.
- Regrind tungsten after every dip so you learn the difference.
- Write down settings and what the bead looked like.
These drills are simple, but they build the control that harder TIG projects require. Beginners improve faster when they repeat one skill at a time instead of changing material, settings, filler, and technique every few minutes.
Common Beginner Technique Problems
- Long arc length causing a wide, unstable arc.
- Dipping tungsten and continuing with contamination.
- Melting filler rod in the arc instead of the puddle.
- Using too much torch angle and losing shielding.
- Traveling too slowly and overheating thin metal.
- Moving too fast and leaving poor edge tie-in.
- Pulling the torch away before post-flow protects the weld.
- Changing too many settings before checking cleaning and gas coverage.
Safety Notes
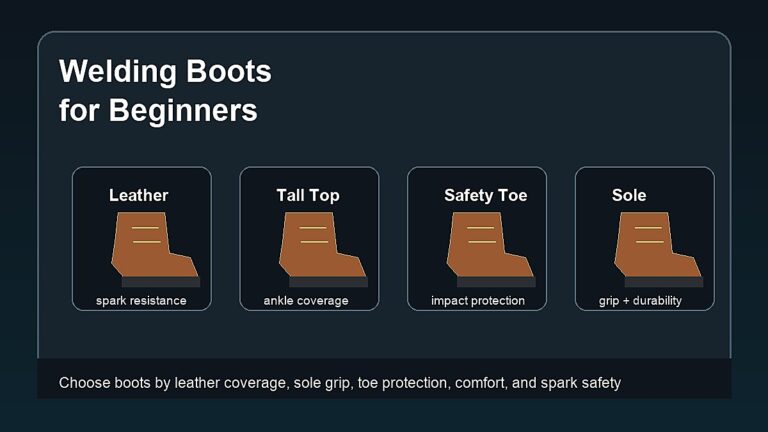
TIG welding still creates UV radiation, hot metal, electric shock risk, fumes, burns, shielding gas hazards, and fire risk. Wear a proper helmet, TIG gloves, flame-resistant clothing, safety glasses, and welding boots. Keep the work area clean and fire-safe.
Review OSHA welding hazards guidance, OSHA welding, cutting, and brazing requirements, and AWS safety resources. For process pros and cons, read Advantages and Disadvantages of TIG Welding.
FAQ
What is the most important TIG technique for beginners?
Arc length is one of the most important techniques. A short, steady arc makes the puddle easier to control and helps maintain shielding.
Should beginners practice TIG with or without filler?
Practice both. Running beads without filler teaches puddle and torch control. Adding filler teaches timing, rhythm, and hand coordination.
Why does my TIG tungsten keep getting dirty?
The tungsten usually gets dirty from dipping into the puddle, touching filler rod, poor gas coverage, or welding contaminated metal. Stop and regrind it before continuing.
What angle should a TIG torch be?
Use a modest push angle that lets you see while keeping gas over the puddle. Too much angle can reduce shielding and make the weld dirty.
Why are my TIG welds gray?
Gray TIG welds can come from poor gas coverage, overheating, contamination, wrong torch angle, drafts, or pulling the torch away too soon after stopping.
Final Advice
Basic TIG welding techniques improve fastest when you practice one variable at a time. Keep the metal clean, hold a short arc, use a steady torch angle, dip filler into the puddle, protect the weld with gas, and stop cleanly before moving to harder materials.