How to Clean a Welding Helmet Lens
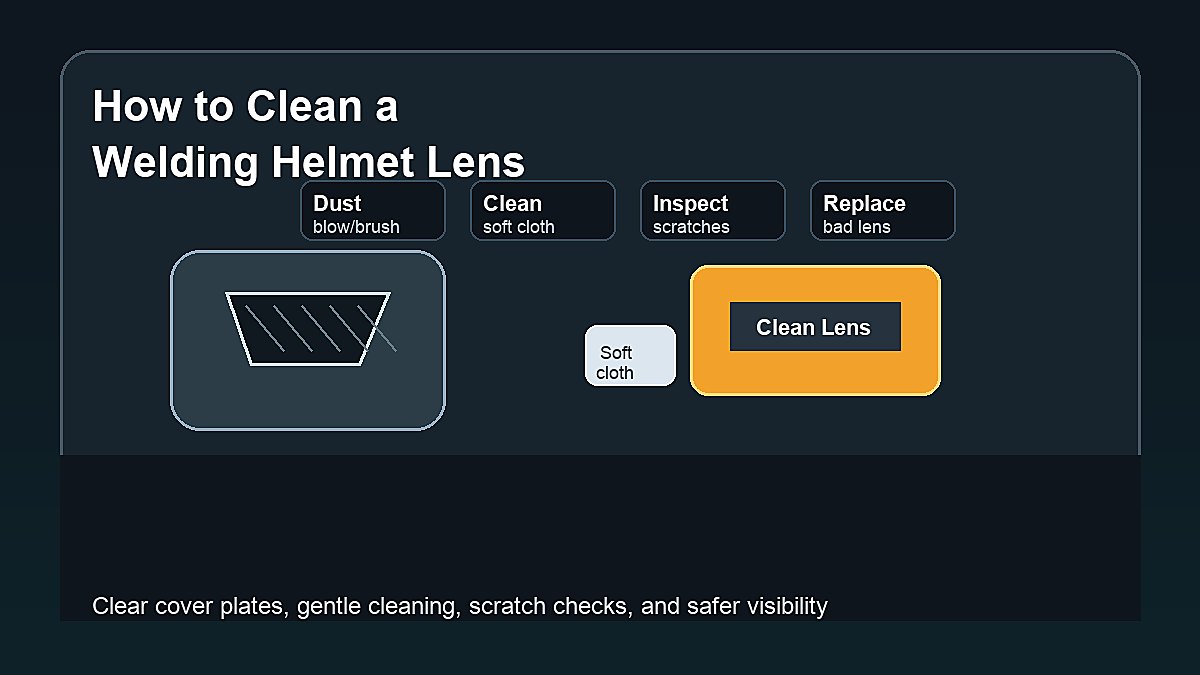
How to clean a welding helmet lens safely depends on which part you are cleaning: the outside cover lens, inside cover lens, passive filter lens, or auto-darkening filter cartridge. The safest beginner method is to remove loose dust first, wipe gently with a clean soft cloth, use only mild cleaning methods approved by the helmet manual, inspect for scratches, and replace damaged cover lenses instead of trying to polish them back to life.
A dirty lens makes welding harder and less safe because it hides the joint, puddle, and bead edges. Beginners may then move the torch too far away, use the wrong body position, or choose an unsafe shade just to see better. Clean visibility is part of welding safety, not cosmetic maintenance.
Mark Dawson beginner note: never scrape spatter off a helmet lens with a knife, grinder, or abrasive wheel. If a cover lens is pitted, melted, or scratched enough to block your view, replace it. Cover lenses are consumables.
Quick Answer
To clean a welding helmet lens, remove loose dust with a soft brush or air movement, wipe the cover lens with a clean microfiber cloth, use mild soap and water only if the manual allows it, dry gently, and inspect for scratches or heat damage. Do not use harsh solvents, abrasive pads, paper towels, metal tools, or grinding wheels on the lens. Replace damaged cover lenses before welding.
| Lens Part | Clean or Replace? | Beginner Warning |
|---|---|---|
| Outside cover lens | Clean often, replace when damaged | Spatter pits can block visibility |
| Inside cover lens | Clean gently, replace if scratched | Dust and fingerprints blur the view |
| Passive filter lens | Clean only as manual allows | Do not use if shade marking is unreadable |
| Auto-darkening filter | Protect and inspect | Do not soak or damage electronics |
Know Which Lens You Are Cleaning
Most welding helmets use more than one lens layer. The outside cover lens is usually a clear replaceable plate that protects the filter from sparks and spatter. The inside cover lens protects the filter from dust, sweat, and scratches from the helmet side. The filter lens or auto-darkening cartridge is the part that provides the welding shade.
This distinction matters because cover lenses are meant to be replaced. The auto-darkening filter is not just a piece of plastic; it is the protective optical assembly. Cleaning it roughly or soaking it can damage the helmet. If you are unsure which part is removable, check the manual before taking the helmet apart.
For related safety basics, read How Does a Welding Helmet Work? and How Do I Know What Shade My Welding Helmet Is?.
What You Need
- Clean microfiber cloth.
- Soft brush or clean air for loose dust.
- Mild soap and water if allowed by the helmet manual.
- Clean towel for drying.
- Replacement outside and inside cover lenses.
- Helmet manual or model information.
- Good lighting for inspection.
Avoid shop rags with grinding dust, oily towels, paper towels, abrasive pads, solvents, acetone, brake cleaner, harsh glass cleaner, and metal scrapers. Those can scratch plastic cover lenses or damage coatings.
Step 1: Remove Loose Dust First
Loose grinding dust and grit can scratch the lens if you wipe immediately. First, move away from active grinding dust and let the helmet cool if it has been near hot work. Use a soft brush or gentle clean air to remove loose particles from the cover lens.
Do not blast the auto-darkening cartridge with high-pressure air at close range. You are trying to remove grit, not force debris into controls, seals, or sensor areas. Be especially careful around sensors and battery compartments.
Step 2: Wipe With a Soft Cloth
Use a clean microfiber cloth and light pressure. Wipe from the center outward or in one direction instead of scrubbing in circles with pressure. If the outside cover lens has spatter stuck to it, replace the cover lens instead of trying to scrape it smooth.
Fingerprints, sweat, and shop dust often come off with gentle wiping. If the manual allows mild soap and water, dampen the cloth rather than soaking the lens. Dry with a clean soft cloth before reinstalling the lens.
Step 3: Inspect for Scratches and Pits
Hold the lens under good lighting and look through it at different angles. Scratches, spatter pits, fogging, warping, cracks, or cloudy areas can make the weld pool harder to see. A lens can look acceptable on the bench and still glare badly when the arc starts.
Replace the cover lens if it has damage across the viewing area. If the filter lens or auto-darkening cartridge is cracked, unreliable, or unclear after cleaning, stop using the helmet until the problem is fixed according to the manufacturer instructions.
Step 4: Clean Sensors and Controls Carefully
Auto-darkening helmets rely on sensors to detect the arc. Dust, spatter film, or blocked sensor windows can make the helmet behave poorly. Wipe sensor areas gently with a clean cloth. Do not cover sensors with stickers, tape, gloves, fixtures, or your hand position while welding.
Check the mode, shade, sensitivity, delay, and battery condition after cleaning. Clear visibility will not help if the helmet is left in grind mode or the battery is weak. For more detail, read Are Auto-Darkening Welding Helmets Safe? and What Is Grind Mode on a Welding Helmet?.
What Not to Use on a Welding Helmet Lens
- Abrasive pads or sandpaper.
- Knives, razor blades, screwdrivers, or metal scrapers.
- Angle grinders or wire wheels.
- Strong solvents unless the manual specifically allows them.
- Oily shop rags.
- Paper towels if they scratch your lens material.
- Heat guns to remove spatter.
- Water soaking on auto-darkening cartridges.
If the lens is too damaged to clean gently, replacement is the correct repair. Trying to polish deep scratches can distort the view or damage coatings.
How to Clean the Helmet Shell and Headgear
The shell and headgear matter because dust, sweat, and grinding grit can move back onto the lens. Wipe the shell with a damp cloth when it gets dirty, then dry it before storage. Keep moisture away from electronics, controls, and battery areas on auto-darkening helmets.
Headgear can collect sweat and shop dust. If the helmet manual allows removal, clean the headgear gently and let it dry before reinstalling. A helmet that slips, smells, or sits crooked can distract a beginner and make the lens harder to use correctly.
Fogging and Moisture Problems
A lens may look dirty when the real problem is fogging. Fog can come from breathing direction, cold shop conditions, sweat, damp storage, or poor airflow inside the helmet. Wipe the lens gently and let the helmet dry in a clean area before welding.
Do not use random anti-fog chemicals unless the helmet or lens manufacturer allows them. Some coatings and plastics can react badly to cleaners. If fogging keeps returning, check helmet fit, breathing direction, storage conditions, and whether the inside cover lens is scratched or dirty.
Storage Tips That Keep Lenses Clear
Store the helmet where grinding dust, metal chips, moisture, and heavy tools cannot damage it. A helmet bag, clean shelf, or dedicated hook is better than tossing the helmet face-down on a welding table. Scratches often happen between welds, not during the weld itself.
Keep spare cover lenses in their packaging until needed. Loose lenses in a toolbox can scratch before they ever reach the helmet. Label inside and outside cover lenses if your helmet uses different parts so you do not force the wrong lens into place.
How Often Should You Clean the Lens?
Clean the lens whenever visibility drops, before important practice, and after grinding dust or spatter collects on the helmet. Beginners should make lens inspection part of the pre-weld routine: safety glasses on, helmet down, lens clear, shade checked, mode checked, sensors clear.
Heavy flux core, stick welding, overhead work, and grinding near the helmet can dirty cover lenses quickly. TIG in a clean shop may need less frequent cover lens replacement, but fingerprints and dust still matter.
When to Replace the Cover Lens
- The viewing area has scratches that catch glare.
- Spatter pits make the puddle hard to see.
- The plastic is warped, melted, or cloudy.
- The lens no longer sits flat in the helmet.
- You keep lowering the shade just to see through dirt.
- Cleaning does not restore a clear view.
Keep spare cover lenses with your consumables. They are part of welding practice, like contact tips, rods, wire brushes, and grinding discs. A clear lens can improve consistency because you can see the joint without leaning into unsafe positions.
Troubleshooting Lens Problems
| Problem | Likely Cause | What to Do |
|---|---|---|
| Cloudy view | Dust, smoke film, fog, worn cover lens | Clean gently, dry, replace cover lens if needed |
| Glare or streaks | Scratches, residue, rear light reflection | Replace scratched lens and improve lighting |
| Hard to see puddle | Dirty lens, wrong shade, poor body position | Clean lens, check shade, reposition work |
| Lens flickers | Sensor, battery, mode, or cartridge issue | Stop welding and inspect helmet |
| Spatter stuck on lens | Damaged outside cover lens | Replace, do not scrape with metal tools |
Troubleshooting matters because dirty-lens symptoms can look like technique problems. If the puddle is hard to see, a beginner may assume the machine settings are wrong. Sometimes the real fix is simply replacing a cover plate, cleaning the inside lens, or improving work lighting.
Replacing a Cover Lens Safely
Use the correct replacement lens for your helmet model. Cover lenses vary in size, thickness, shape, and retaining style. A lens that does not sit flat can leave gaps, fall out, or press against the filter cartridge in the wrong way.
Wash or dry your hands before handling the new lens so fingerprints do not go straight onto the viewing area. Remove the old cover lens, wipe the surrounding frame, check for trapped grit, and install the new lens without forcing it. Then lower the helmet and check the view before welding.
If the helmet uses both inside and outside cover lenses, replace the damaged one instead of swapping them. The outside lens usually takes more spatter and heat. The inside lens usually deals with dust, sweat, and handling marks. Both affect visibility.
Cleaning After Different Welding Processes
Stick welding and self-shielded flux core can leave more smoke film, slag dust, and spatter around the helmet. MIG may produce less slag, but spatter and grinding dust still build up. TIG in a clean shop may leave the lens cleaner, yet fingerprints and cover-plate scratches still matter.
Grinding near the helmet is often worse for lens condition than the welding itself. Fine abrasive dust can scratch the lens when wiped with a dirty rag. Store the helmet away from active grinding and clean it before the dust becomes a cloudy layer.
Pre-Weld Visibility Check
Before the first bead, put on safety glasses and lower the helmet with the welder off. Look at the joint, move through the weld path, and make sure you can see the starting point. If the view is cloudy, scratched, or distorted, clean or replace the cover lens before striking an arc.
This check takes less than a minute and prevents a lot of beginner mistakes. It also catches poor lighting, uncomfortable headgear, wrong shade, and blocked sensors. Lens clarity is only useful when the whole helmet setup is ready.
Why Lens Cleaning Affects Weld Quality
Poor visibility changes technique. If the lens is dirty, a beginner may pull the torch away, move too fast, miss the joint line, or fail to see undercut and poor tie-in. That can create weld defects even when the machine settings are close.
Clear viewing helps you watch the weld pool, keep a steady angle, and stop when something looks wrong. It also reduces the temptation to use unsafe shortcuts such as welding with the helmet partly raised or using the wrong shade.
Safety References
Helmet maintenance is part of eye and face protection. Review OSHA eye and face protection requirements, OSHA welding hazards guidance, and AWS safety resources. For site guidance, start with Welding Safety.
FAQ
Can I use glass cleaner on a welding helmet lens?
Only use cleaners allowed by the helmet manual. Many beginners are safer using a clean soft cloth and mild soap and water on removable cover lenses when permitted.
Can I polish scratches out of a welding helmet lens?
Usually, replace scratched cover lenses instead of polishing them. Polishing can distort the view or damage coatings. A damaged filter or auto-darkening cartridge should be handled according to the manufacturer instructions.
Why is my welding helmet lens cloudy?
Cloudiness can come from dust, smoke film, scratched plastic, heat damage, cleaning residue, or a worn cover lens. Clean gently first, then replace the cover lens if the view stays cloudy.
Should I clean the auto-darkening filter directly?
Follow the helmet manual. Auto-darkening filters can include electronics and coatings. Clean gently and avoid soaking, scraping, or using harsh solvents.
Does a dirty lens make welding unsafe?
It can. A dirty lens makes it harder to see the weld pool and may lead to poor positioning, wrong shade choices, or unsafe shortcuts. Clean or replace the lens before welding.
Final Advice
Clean a welding helmet lens gently, protect the auto-darkening filter, and replace damaged cover lenses early. This is not just about a nicer-looking helmet. You need a clear, reliable view of the weld pool with the correct shade and a helmet that still protects your eyes and face.