
MIG welding for beginners starts with a correctly configured machine, clean material, and deliberate control of the gun. The process uses a continuously fed wire electrode, usually with shielding gas, so a new welder can concentrate on travel speed, angle, stickout, and the behavior of the weld pool.
This hub organizes WeldingPilot’s MIG guides into a practical learning path. Begin with safety and the broader welding basics, then learn the machine controls, run beads on scrap, practice simple joints, and troubleshoot one variable at a time. Settings charts are starting points; the machine manual, wire data, material thickness, joint design, and test weld still matter.
MIG Welding Beginner Roadmap
1. Understand the process
Review what welding is and compare the main welding processes before adjusting a machine. In common gas MIG welding, the wire carries current, melts into the joint, and acts as filler metal while shielding gas protects the weld pool. A MIG-capable wire feeder may also run self-shielded flux core wire, but wire type, polarity, shielding, cleanup, and outdoor performance are different.
2. Match the machine, wire, gas, and polarity
Confirm input power, output range, drive-roll groove, contact-tip size, wire diameter, gun liner, polarity, and shielding gas before welding. Solid steel wire commonly uses a different polarity from many self-shielded flux core wires. Never rely on memory alone: check the machine manual and consumable label. A poor match can create an unstable arc, excessive spatter, feeding trouble, or weak fusion.
3. Establish a safe practice area
Use the home welding setup guide to plan ventilation or fume control, electrical power, fire prevention, a metal work surface, clamps, PPE, and safe gas-cylinder handling. Gas MIG is sensitive to wind, so practice in a sheltered area without creating an enclosed fume problem. Clean paint, oil, heavy rust, moisture, and coatings from the joint where appropriate.
4. Set voltage and wire-feed speed
Start with the chart inside the machine or the manufacturer’s recommendation for the material thickness and wire. Voltage strongly affects arc length and bead profile, while wire-feed speed is closely tied to welding current. Test on scrap from the same material and thickness. Change one control at a time, listen to the arc, and inspect whether the bead ties into both sides of the joint.
5. Practice gun control and simple joints
The MIG Welding Techniques for Beginners guide covers work angle, travel angle, contact-tip-to-work distance, movement, and puddle control. Begin with straight beads, then move to lap, T-, and butt joints. Use MIG welding patterns only when movement helps the joint; excessive weaving can add heat and hide poor settings.
Core MIG Skills to Build
Machine setup
Load wire correctly, set drive-roll pressure, fit the contact tip, confirm polarity, check gas flow, and secure the work clamp to clean metal.
Gun movement
Maintain a steady stickout and travel speed. Keep the work angle centered enough to place heat into both members of the joint.
Bead evaluation
Look beyond appearance. Check bead placement, toe tie-in, consistency, visible porosity, undercut, overlap, excessive convexity, and signs of poor fusion.
Troubleshooting
Use the Welding Defects hub to connect symptoms with gas coverage, contamination, settings, travel, fit-up, wire feeding, and technique.
MIG Welding Safety
MIG welding can expose you to ultraviolet radiation, hot metal, sparks, electric shock, fire, fumes, compressed gas, and grinding debris. Wear a suitable welding helmet, safety glasses, welding gloves, and flame-resistant clothing. Keep combustibles away, maintain appropriate ventilation, protect cylinders from damage, and check hoses and connections according to the manufacturer’s instructions.
Do not weld on sealed containers, unknown materials, or hazardous coatings. Galvanized, stainless, painted, plated, and contaminated metals can introduce additional fume risks. Review the Welding Safety hub before practice. Vehicle, trailer, structural, pressure, lifting, and other safety-critical welds require suitable training, procedures, and inspection.
Latest MIG Welding Guides
-
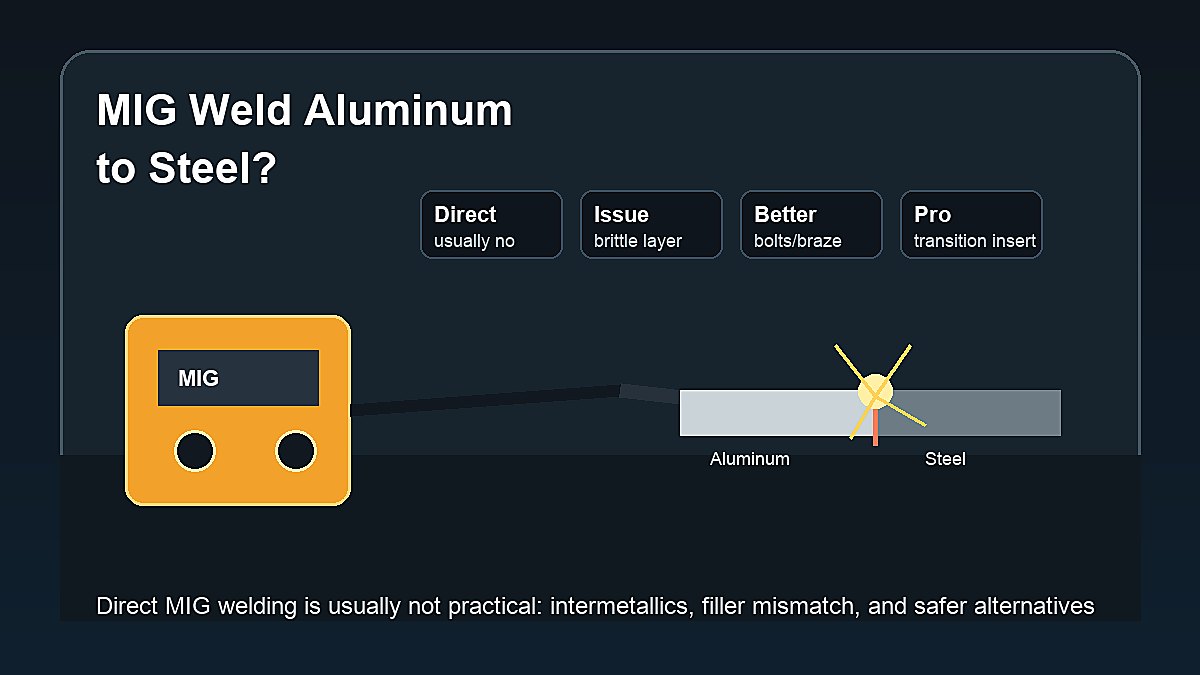
Can You MIG Weld Aluminum to Steel?
Learn whether you can MIG weld aluminum to steel, why direct fusion welding is difficult, and what beginner-safe alternatives make more sense.
-
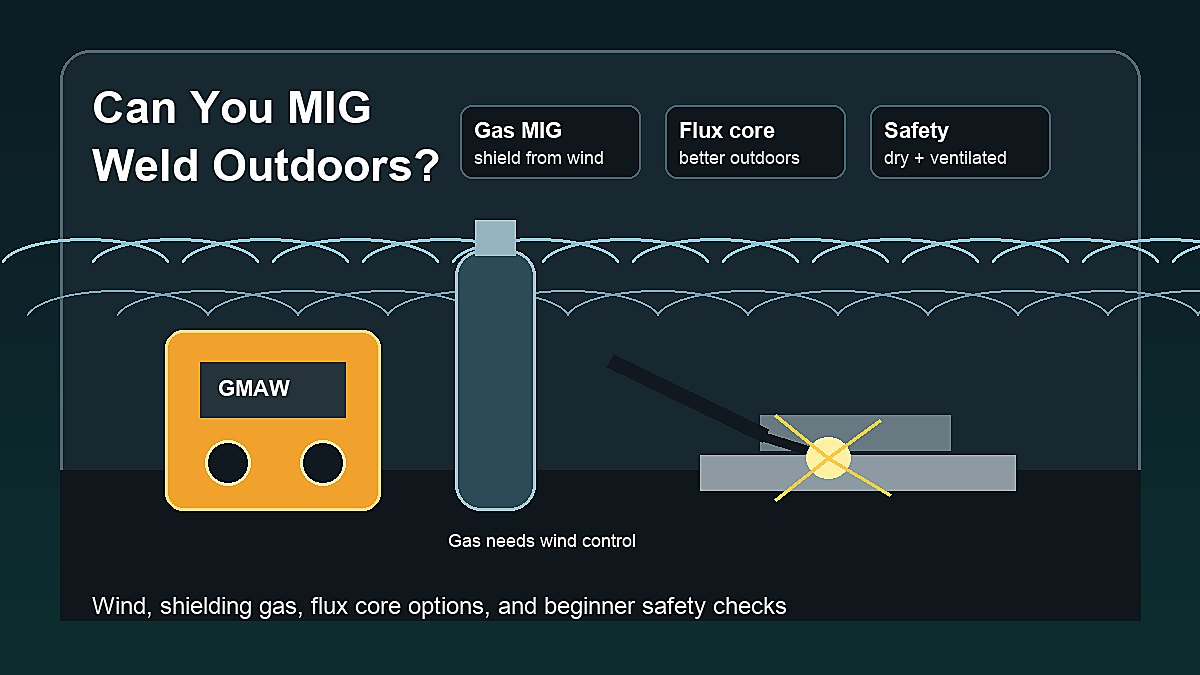
Can You MIG Weld Outdoors?
Learn when MIG welding outdoors works, when wind ruins shielding gas, when flux core is better, and how beginners can set up more safely.
-
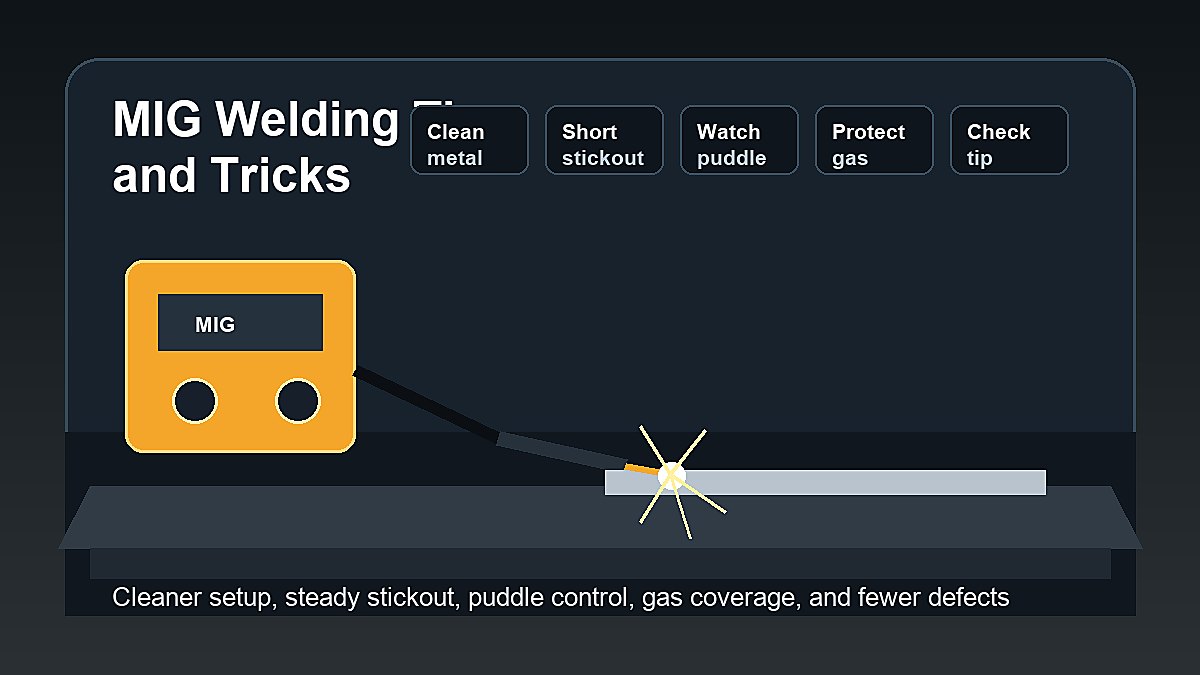
MIG Welding Tips and Tricks for Beginners
Practical MIG welding tips and tricks for beginners covering machine setup, clean metal, stickout, gun angle, gas coverage, puddle control, and common mistakes.
-
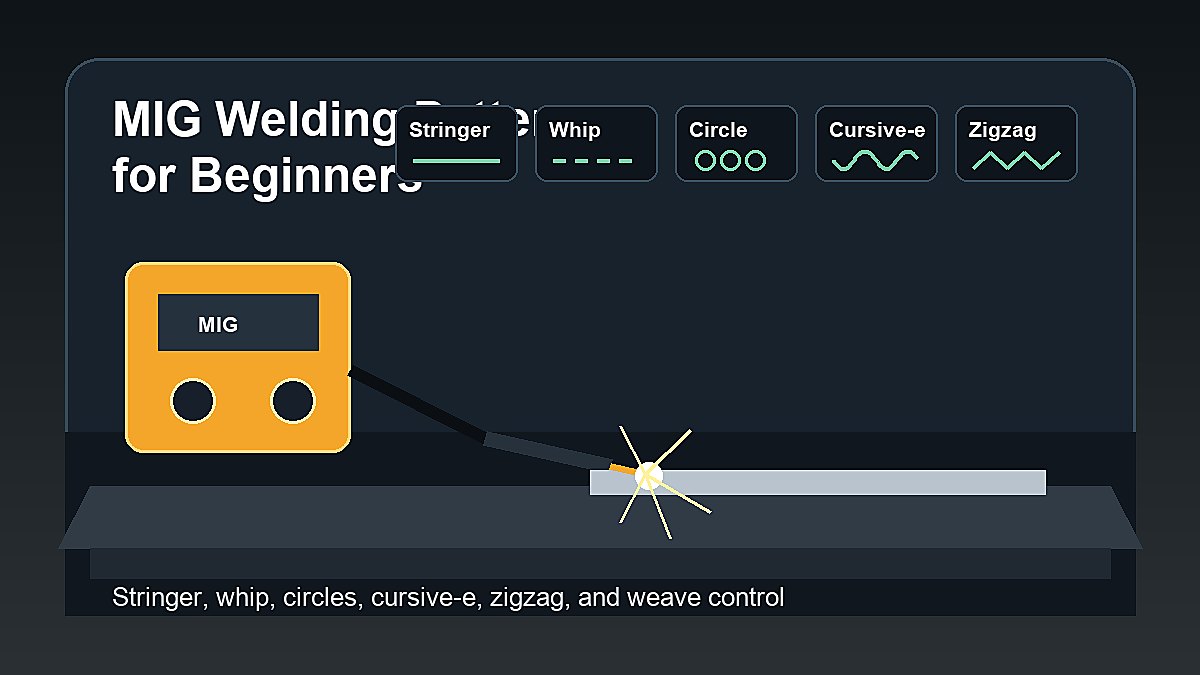
MIG Welding Patterns for Beginners
Beginner guide to MIG welding patterns, including stringer beads, whip, circles, cursive-e, zigzag, weave patterns, puddle control, and common mistakes.
-
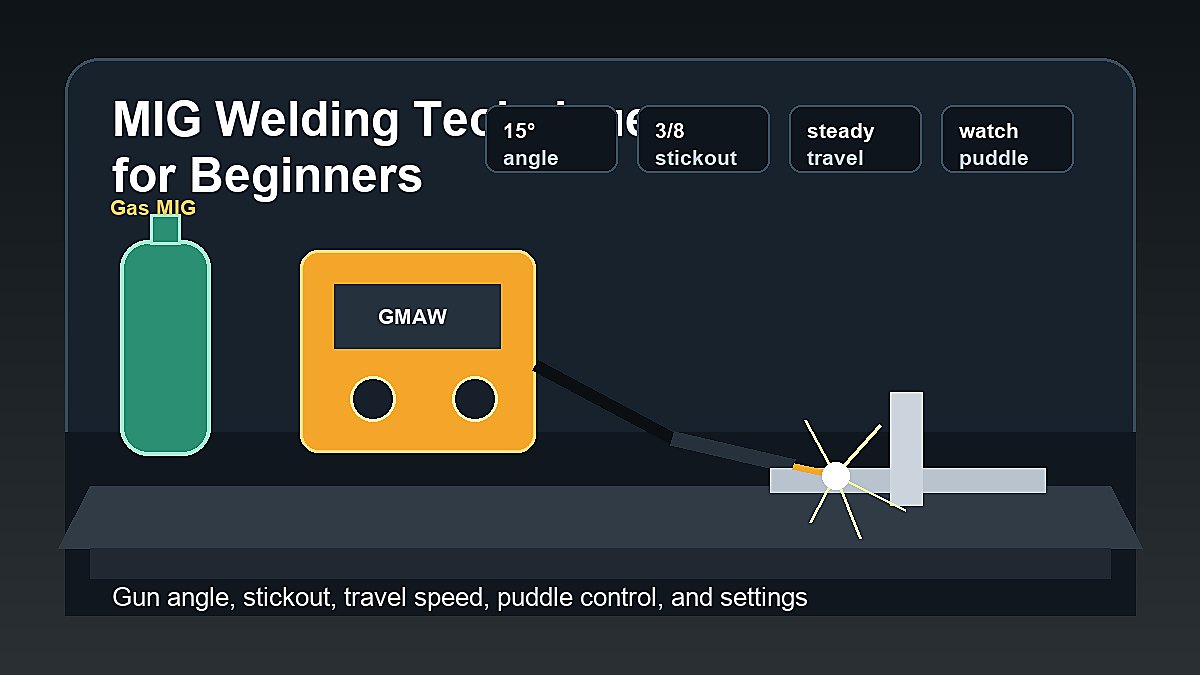
MIG Welding Techniques for Beginners
Beginner MIG welding techniques for setup, stickout, gun angle, push vs pull, travel speed, weld puddle control, settings, troubleshooting, and safety.
-
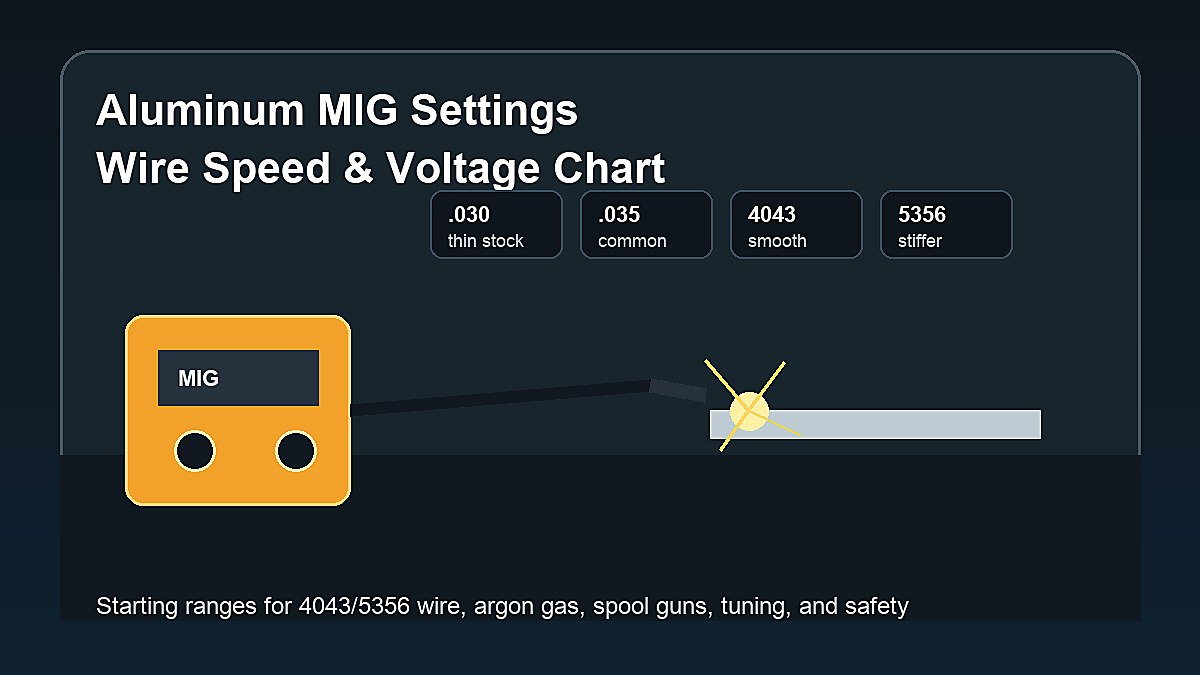
Aluminum MIG Welding Wire Speed and Voltage Chart
Use this beginner aluminum MIG settings chart as a starting point for wire speed, voltage, wire size, material thickness, tuning, and safety.
MIG Welding FAQ
Is MIG welding easy for beginners?
MIG is often approachable because the machine feeds the wire continuously. Good results still require correct setup, clean material, stable gas coverage, suitable settings, safe work habits, and repeated practice.
Does MIG welding always need shielding gas?
Conventional MIG with solid wire normally uses external shielding gas. Many MIG-capable machines can also run self-shielded flux core wire without a gas cylinder, but that is a different consumable and setup.
Should a beginner push or pull a MIG gun?
The appropriate travel direction depends on the process, wire, position, joint, and desired result. Beginners using gas-shielded solid wire often learn a controlled push angle, while flux-cored consumables may call for different guidance. Follow the wire and machine instructions.
What should I practice first with a MIG welder?
Start with straight beads on cleaned mild-steel coupons. Practice consistent stickout, travel speed, and work angle before moving to lap and T-joints. Avoid important repairs while learning.