Fillet Weld Size Chart in mm
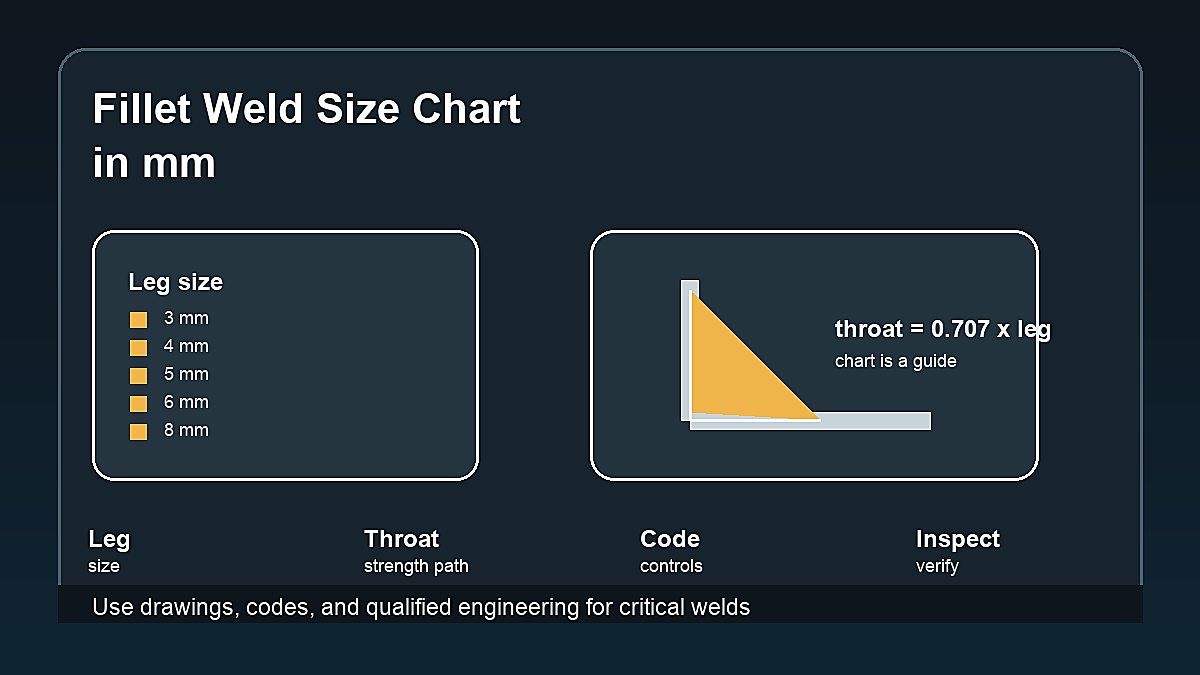
A fillet weld size chart in mm helps beginners connect three things: the leg size shown on a drawing, the approximate throat thickness that carries load, and the bead shape you should inspect after welding. It is a reference tool, not a substitute for a welding code, drawing, or qualified design.
Fillet welds are common on T-joints, lap joints, corner joints, brackets, frames, tabs, and shop fixtures. A 4 mm fillet, 6 mm fillet, or 8 mm fillet may look like a simple number, but that number affects heat input, weld volume, distortion, inspection, and strength.
Mark Dawson beginner note: do not size a weld by making the bead look big. Oversized welds waste time and add heat. Undersized welds may fail. Start with the drawing or qualified requirement.
Quick Answer
For an equal-leg fillet weld, the weld size usually refers to the leg length. The effective throat is roughly 0.707 times the leg size for a standard 45-degree fillet profile. For example, a 6 mm fillet weld has an approximate theoretical throat of 4.2 mm. Use the chart below only as a beginner reference. Structural, pressure, lifting, vehicle, trailer, and code work must follow the applicable drawing, specification, welding procedure, and inspection rules.
| Fillet Leg Size | Approx. Throat | Common Beginner Use | Important Note |
|---|---|---|---|
| 3 mm | 2.1 mm | Light sheet, small tabs | Easy to overwrite or miss fusion |
| 4 mm | 2.8 mm | Light brackets, small fixtures | Fit-up matters |
| 5 mm | 3.5 mm | General shop joints | Common practice size |
| 6 mm | 4.2 mm | Medium brackets, frames | Watch heat and distortion |
| 8 mm | 5.7 mm | Heavier fabrication | May need multiple passes |
| 10 mm | 7.1 mm | Heavy joints | Procedure and inspection matter |
What Fillet Weld Size Means
Fillet welds join two surfaces that meet at an angle, often around 90 degrees. The leg size is measured from the root of the joint to the toe of the weld on each side. In an equal-leg fillet, both legs are intended to be the same size.
The throat is the shortest distance from the root area to the face of the weld. The throat matters because it is the section commonly used when thinking about weld strength. Beginners often look at bead width first, but leg size and throat are more useful terms.
For welding fundamentals, read What Is Welding? and Welding Defects and Remedies. The chart is easier to use when the basic joint terms already make sense.
Fillet Weld Leg Size vs Throat
For a theoretical equal-leg fillet weld, throat thickness is often estimated with this simple formula:
Effective throat ≈ 0.707 × leg size
This works because the throat of a 45-degree right triangle is related to the leg size. Real welds are not perfect triangles. Convexity, concavity, root fit-up, undercut, overlap, and lack of fusion can all change whether the weld is acceptable.
| Leg Size | Approx. Throat Calculation | Rounded Throat |
|---|---|---|
| 3 mm | 3 × 0.707 | 2.1 mm |
| 4 mm | 4 × 0.707 | 2.8 mm |
| 5 mm | 5 × 0.707 | 3.5 mm |
| 6 mm | 6 × 0.707 | 4.2 mm |
| 8 mm | 8 × 0.707 | 5.7 mm |
| 10 mm | 10 × 0.707 | 7.1 mm |
| 12 mm | 12 × 0.707 | 8.5 mm |
How to Read a Fillet Weld Callout
Shop drawings may show a fillet weld symbol with a size beside it. In many shop drawings, a number such as 6 mm means the required fillet leg size. The symbol location tells which side of the joint gets welded, and other notes may show length, pitch, all-around welding, or intermittent welds.
Never assume a weld size from memory when a drawing is available. Read the symbol, notes, specification, and any welding procedure. If the drawing is unclear, ask before welding. Guessing can create rework or unsafe parts.
Common Fillet Weld Sizes in mm
Small fillet welds such as 3 mm and 4 mm show up on light work, thin material, small tabs, and non-critical fixtures. These welds need control because a beginner can easily make them too large, too cold, or poorly fused.
Medium fillet welds such as 5 mm and 6 mm are common practice sizes for many shop joints. They are large enough to see and measure, but still small enough for single-pass practice with the right process and material thickness.
Larger fillet welds such as 8 mm, 10 mm, and 12 mm may need more heat, larger electrodes or wire, multiple passes, and better distortion control. They should not be treated as beginner guesses on important parts.
How Material Thickness Affects Fillet Size
Fillet weld size is tied to joint design and load, not only base metal thickness. Still, material thickness matters because very thin metal cannot handle a large weld without burn-through or distortion. Thick metal may need a larger weld or multiple passes to meet the design.
A common beginner mistake is matching weld size to the thickest part without asking what the joint needs. Another mistake is making a bead wider than the thinner member can support. When two different thicknesses meet, the drawing or engineer’s requirement matters more than a generic chart.
As a practice habit, compare the fillet size with the thinner member. A large fillet on thin material can melt the edge, pull the part out of square, or create a bead that looks strong but is poorly fused. A small fillet on a thick bracket may look neat but may not meet the required load path.
Example Fillet Weld Size Decisions
For a light sheet-metal tab, a 3 mm or 4 mm fillet may be enough for practice if the part is non-critical and the drawing allows it. The challenge is not making a huge bead; the challenge is avoiding burn-through while getting fusion at the root.
For a small shop bracket made from moderate plate, a 5 mm or 6 mm fillet is a common practice target. The bead should tie into both members without undercut. If the bracket carries real load, use the drawing or qualified design instead of copying a practice size.
For heavier frames, tabs, or base plates, an 8 mm or larger fillet may be required by design. That size may need multiple passes, pre-cleaning, better joint access, and more heat control. The welder also needs to avoid trapping slag or leaving lack of fusion between passes.
Measuring Fillet Weld Size
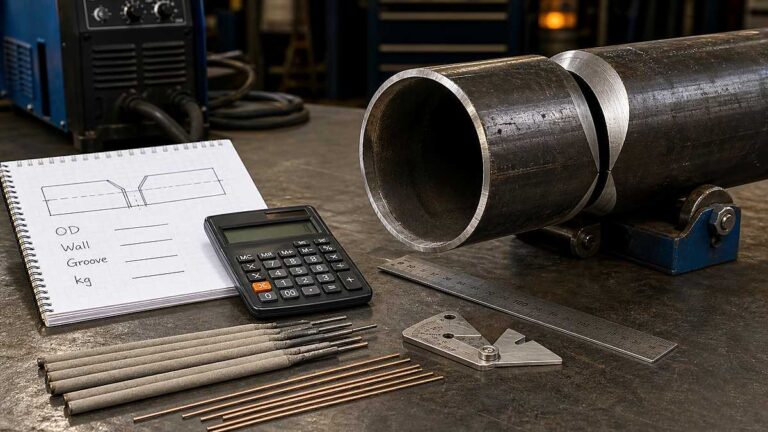
The easiest shop method is a fillet weld gauge. A gauge can check leg length and sometimes convexity or concavity. Place the gauge against the two base metal surfaces and compare the weld face to the gauge profile.
Measuring with a ruler is rough and can be misleading because the toe, face, and root are not always clear. For practice, a gauge teaches your eye what 3 mm, 4 mm, 6 mm, and 8 mm fillets actually look like.
Measure after the weld cools and after slag or heavy spatter is removed. Do not grind the weld face before measuring unless the procedure calls for it, because grinding can hide size and profile problems. On practice coupons, measure several points along the bead, not only the best-looking section.
Inspection is not only size. Also check for undercut, overlap, porosity, cracks, slag inclusion, and lack of fusion. For inspection basics, read How to Check Welding Defects.
Single Pass vs Multi-Pass Fillet Welds
Small and medium fillet welds can often be made in one pass when the process, position, and material are suitable. Larger fillets may need multiple passes so the weld can fill correctly without excessive heat or poor bead shape.
A single oversized pass can look large but still have poor fusion at the root or toes. Multiple passes should be cleaned between passes, placed consistently, and inspected. Do not pile metal into a corner and assume the size alone makes it strong.
Process Notes for Fillet Weld Size
MIG welding can make clean fillets quickly, but speed can hide lack of fusion if the wire is pointed poorly or the joint is cold. Watch the puddle wash into both sides. For technique basics, read MIG Welding Techniques for Beginners.
Stick welding can make strong fillets, but slag control matters. A bead may look large while slag is trapped at the toe or between passes. Rod angle, travel speed, amperage, and cleaning between passes all affect whether the measured weld is acceptable.
TIG welding gives strong control over small fillets, but it is slower and requires clean material. Small stainless or thin mild steel fillets can be neat with TIG, but the same chart still does not replace drawing requirements.
Practical Practice Plan
Cut scrap plates and make T-joints. Practice 4 mm, 5 mm, and 6 mm fillet welds. Check each bead with a gauge. Mark the coupon with process, amperage or voltage, wire speed or rod size, position, and what the gauge showed.
Run a bead that is intentionally too small, then one that is too large. Seeing both mistakes makes the correct size easier to recognize. A welding table or fixture helps keep the joint square, so review Welding Table for Beginners if your practice joints keep moving.
After measuring, cut one practice joint through the weld and look at the cross-section. A cross-section can show whether the bead shape matches what you expected. This is only a learning exercise, not a replacement for formal inspection, but it teaches why surface appearance alone is not enough.
Inspection Workflow
- Confirm the required weld size from the drawing or practice target.
- Clean the weld enough to see the toes and face.
- Check leg size with a fillet gauge.
- Look for undercut, overlap, cracks, porosity, and slag.
- Check that the weld is continuous where it should be continuous.
- Compare both ends and the middle of the bead.
- Record the result on practice coupons.
Inspection should happen before painting, grinding, or hiding the joint. Once a weld is coated or buried in a project, defects are harder to see. For important work, visual checks may not be enough and a qualified inspector may require other methods.
What This Chart Cannot Tell You
A size chart cannot tell you the load on the joint, the required weld length, the correct filler metal, or whether the base metal is suitable. It also cannot tell you whether the welder has achieved root fusion. Those details come from design, procedure, material knowledge, and inspection.
The chart also does not decide whether a weld should be continuous or intermittent. A short intermittent fillet may be enough for some non-critical sheet-metal work, while a continuous weld may be required for strength, sealing, or fatigue resistance. Follow the drawing.
Common Beginner Mistakes
Making every weld bigger: Bigger welds add heat, distortion, cost, and time. A larger bead is not automatically better.
Ignoring throat: Leg size is visible, but throat is part of how fillet weld strength is understood.
Missing the root: A bead can measure wide but still fail to fuse into the root of the joint.
Using the chart as a code: A beginner chart does not replace AWS, ISO, project specifications, or engineering requirements.
Confusing size with quality: A correct-looking size can still hide lack of fusion, slag, or cracks. A measured weld still needs basic defect inspection.
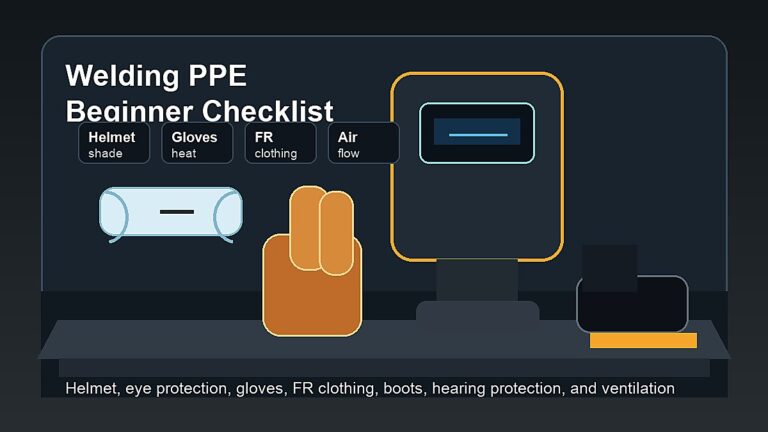
Skipping PPE and setup: Even practice fillet welds involve UV radiation, sparks, heat, fumes, and grinding hazards. For PPE, read Welding Safety Equipment.
Safety and Code Notes
Fillet weld size affects strength, heat input, distortion, and inspection. Do not use a generic chart to design structural, vehicle, trailer, lifting, pressure, workplace, or public-safety welds. Those jobs need applicable codes, drawings, procedures, qualified welders, and inspection.
Welding practice can involve burns, eye injury, electric shock, fumes, fire, grinding dust, and sharp metal. Review OSHA welding hazards guidance, OSHA welding, cutting, and brazing requirements, AWS safety resources, and AWS structural welding code information.
FAQ
What does a 6 mm fillet weld mean?
It usually means the weld has a 6 mm leg size, unless the drawing or specification defines it differently. The approximate theoretical throat is 4.2 mm.
How do you calculate fillet weld throat size?
For an equal-leg theoretical fillet weld, throat size is about 0.707 times the leg size. Real acceptance depends on weld profile and inspection rules.
Is a bigger fillet weld stronger?
Not always. A larger weld may add strength in some designs, but it can also add heat, distortion, defects, and cost. Use the required size.
Can I use this chart for structural welding?
No. Use this as a beginner reference only. Structural welding must follow the project drawing, code, procedure, qualified design, and inspection requirements.
How do you measure a fillet weld?
A gauge made for fillet welds is the usual shop tool for leg size and profile checks. Also inspect for defects such as undercut, overlap, porosity, cracks, and lack of fusion.
Final Advice
This mm chart helps you understand leg size and throat, but the drawing or qualified requirement controls the actual job. Practice with a gauge, control bead size, and never treat a generic chart as a safety-critical design rule.
For serious work, document the required size before welding starts.
That habit prevents guesswork, rework, and hidden undersized welds on real projects.