How to Choose Welding Rod Size
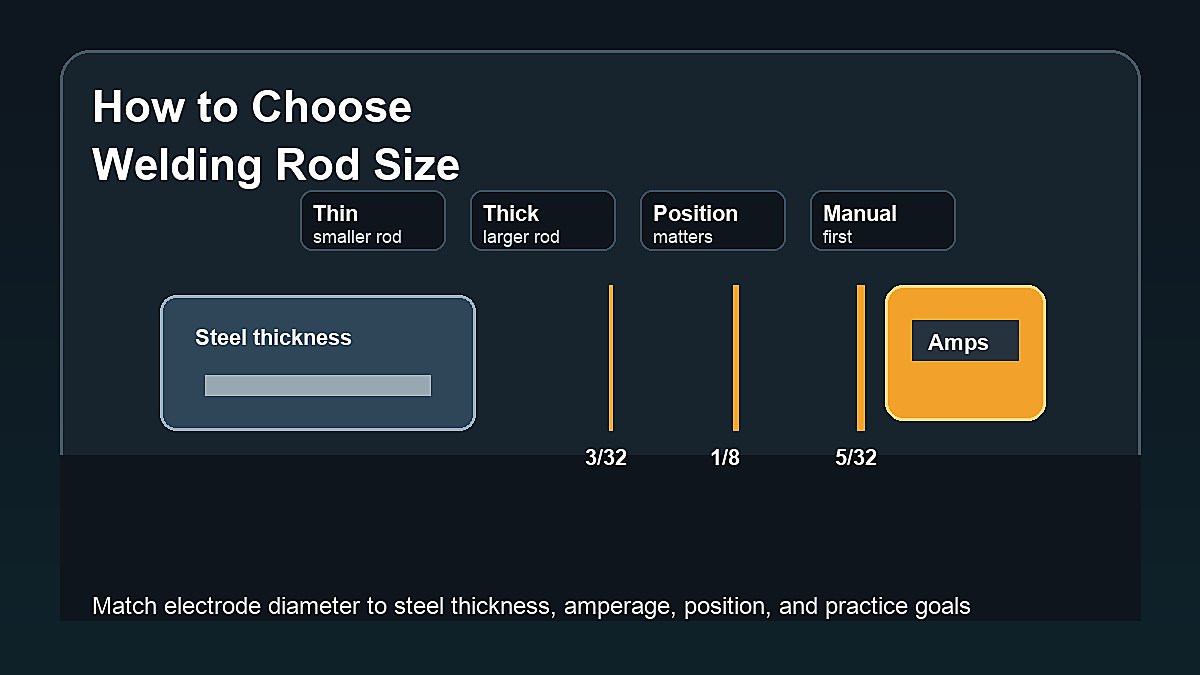
How to choose welding rod size comes down to matching the electrode diameter to the metal thickness, joint type, welding position, rod type, and amperage range your machine can run. For beginners, the safest starting point is the rod manufacturer’s chart or the welder manual, then a test weld on clean scrap steel.
A welding rod that is too large can be hard to control on thin metal and may burn through the joint. A rod that is too small can run too slowly, lack heat for thicker steel, or require multiple passes. The right size gives you enough heat and filler metal without forcing the puddle beyond your skill level.
Mark Dawson beginner note: do not choose rod size by guessing from the box or copying a random setting. Start with material thickness, rod classification, diameter, amperage range, and position. Then practice on scrap before welding the real part.
Quick Answer
Choose welding rod size by picking an electrode diameter that fits the metal thickness and amperage range. For many beginner stick welding jobs on mild steel, 3/32 inch and 1/8 inch rods are common practice sizes. Thin material usually needs smaller rods and lower amperage. Thicker steel may need 1/8 inch, 5/32 inch, beveling, multiple passes, and a machine with enough output.
| Rod Diameter | Beginner Use | General Note |
|---|---|---|
| 1/16 in | Very thin material | Harder to find/use for many beginners |
| 3/32 in | Light steel and practice | Good beginner control size |
| 1/8 in | General mild steel practice | Common all-around size |
| 5/32 in | Thicker steel | Needs more amperage and control |
What Welding Rod Size Means
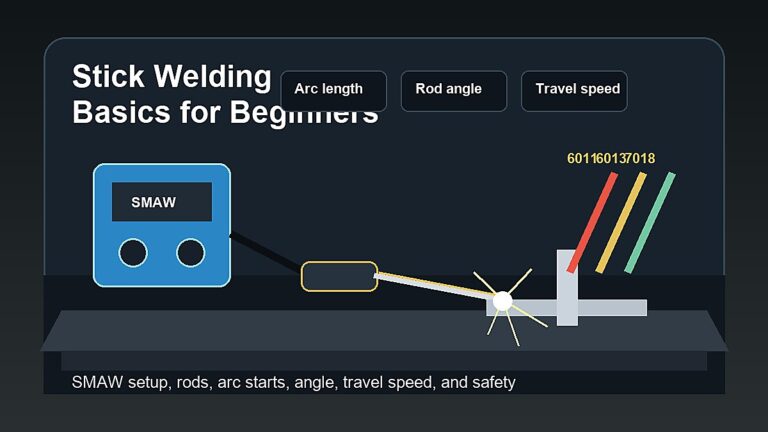
Welding rod size usually means the diameter of the metal core of the electrode, not the full outside diameter of the flux coating. Common stick welding rod diameters include 1/16 inch, 3/32 inch, 1/8 inch, and 5/32 inch. The rod number, such as 6011, 6013, or 7018, describes the electrode classification, while the diameter describes its size.
Rod size affects amperage, puddle size, deposition rate, arc force, and how much heat goes into the joint. A larger rod usually needs more amperage and deposits more metal. A smaller rod usually needs less amperage and is easier to manage on lighter material.
For related basics, read Welding Rods & Electrodes and Arc Welding Rod Size Chart.
Start With Metal Thickness
Metal thickness is the first clue. Thin steel cannot absorb as much heat, so a large rod can make burn-through more likely. Thicker steel needs enough heat and filler to fuse properly, so a very small rod may be slow or inadequate unless you prepare the joint and use multiple passes.
Beginners often practice on steel that is too thin. Thin sheet metal is unforgiving with stick welding. If you are learning, choose clean mild steel thick enough to tolerate practice beads, such as light plate or coupons that match your machine’s recommended range.
Do not use rod size to compensate for unknown material. If the steel is painted, oily, galvanized, rusty, or mystery scrap, clean and identify it first. Rod size cannot fix contamination or unsafe material.
Match Rod Size to Amperage Range
Every rod diameter has a recommended amperage range that depends on the electrode type and manufacturer. For example, a 1/8 inch 7018 rod does not run exactly like a 1/8 inch 6011 rod. The diameter is only one part of the setting.
If amperage is too low, the rod may stick, the bead may sit high, and fusion may be poor. If amperage is too high, the puddle can become too fluid, undercut can appear, and thin edges can melt away. Use the rod package and machine chart as the starting point, then test on scrap.
| Symptom | Possible Setting Issue | Beginner Response |
|---|---|---|
| Rod keeps sticking | Too cold or arc too short | Check amps and arc length |
| Wide, hard-to-control puddle | Too hot or rod too large | Reduce amps or use smaller rod |
| Bead sits on top | Poor fusion, travel, or low heat | Clean metal and retest |
| Burn-through | Too much heat for thickness | Smaller rod, lower heat, better fit-up |
Consider the Rod Type
Rod size does not stand alone. A 6011 rod has a digging arc and can work on less-than-perfect conditions better than some rods. A 6013 rod can feel smoother for light practice. A 7018 rod can make strong welds when handled correctly, but it needs proper technique and storage.
For beginners, 3/32 inch rods can make learning easier because the puddle is smaller and amperage is lower. The 1/8 inch size is very common once you have more control and your machine has enough output. Larger rods are not automatically better.
3/32 Inch vs 1/8 Inch Rods
The two sizes many beginners compare first are 3/32 inch and 1/8 inch. A 3/32 inch rod is often easier on light steel because it needs less amperage and makes a smaller puddle. It can help a new welder learn arc starts, travel angle, and bead control without overwhelming the joint with heat.
For thicker mild steel practice, 1/8 inch is a common all-around stick rod size. It deposits more metal and usually needs more amperage than 3/32 inch. If your machine can run it well and your practice steel is thick enough, 1/8 inch can be a useful everyday size.
Do not jump to 1/8 inch just because many welders use it. If your practice coupons are thin, your machine is small, or you are still sticking rods constantly, 3/32 inch may teach control faster. If the 3/32 inch rod feels too slow on thicker steel, step up after you understand the puddle.
If you are comparing common rod types, read Difference Between 6011 and 7018 Welding Rods when that support article is ready. For now, remember that classification and diameter both matter.
Welding Position Changes the Choice
Flat welding is easier than vertical, overhead, or out-of-position welding. A rod size that feels manageable on flat plate may create too much molten metal overhead. Smaller rods are often easier to control out of position because the puddle is smaller.
Beginners should learn rod size in the flat position first. Once flat beads and simple joints are consistent, move to horizontal, vertical, or overhead practice with guidance. Position welding adds gravity, body position, and slag control problems.
Joint Type and Fit-Up Matter
A tight lap joint, open butt joint, beveled plate, and corner joint do not behave the same way. Gaps make thin metal harder. Bevels on thicker steel may require root passes, fill passes, and cap passes. Rod size should match the pass and joint design, not just the total thickness of the metal.
If the fit-up is poor, fix the fit-up before changing rod size. Welding rods are not putty. Large gaps, dirty edges, and moving parts create problems that no rod diameter will solve cleanly for a beginner.
Root Pass, Fill Pass, and Cap Pass
On thicker joints, one rod size may not do every part of the weld. A root pass may use a smaller rod or a rod type that gives better control at the bottom of the joint. Fill passes may use a larger rod to add metal efficiently. The cap pass needs enough control to leave the surface sound and even.
Beginners doing simple practice do not need to overcomplicate this, but it explains why rod size is not just a thickness chart. Joint preparation, pass sequence, and inspection all matter. If the weld is structural or code-related, use qualified procedure and supervision.
Machine Limits Matter
Your welder must have enough output for the rod size you choose. A small inverter may run 3/32 inch rods comfortably but struggle with larger rods. A larger machine may run 1/8 inch and 5/32 inch rods well, but that does not mean those rods are right for thin beginner practice.
Check duty cycle too. A machine may run a rod for short beads but overheat during long practice sessions. Beginners often weld in short bursts, but repeated beads can still warm up a small machine. If thermal overload trips, let the welder cool and check whether the rod size and amperage are appropriate.
Power supply is part of the limit. A 120V setup and a 240V setup may behave very differently. Do not force a large rod on a circuit or machine that is not designed for it.
Beginner Selection Process
- Identify the metal and thickness.
- Choose the rod classification for the material and job.
- Check available rod diameters.
- Confirm your welder can run the needed amperage.
- Check polarity and position rating.
- Prepare clean scrap of the same thickness.
- Start within the rod manufacturer’s amperage range.
- Run a test bead, clean it, and inspect it.
- Adjust one variable at a time.
How to Read Your Test Bead
A test bead tells you whether the rod size and setting are close. After welding, chip slag, brush the bead, and inspect both edges. A bead that ties into both sides without deep undercut, trapped slag, or a tall cold shape is a better sign than a bead that only looks smooth under slag.
If the bead is tall and ropey, the weld may be too cold, the travel speed may be wrong, or the rod may be too small for the job. If the bead is flat, wide, undercut, or burning away the edge, the setup may be too hot or the rod may be too large for the thickness. Change one variable and test again.
Thin Metal Warning
Stick welding thin sheet is difficult for many beginners. Even a small rod can put too much heat into thin metal if the fit-up is poor. If your goal is auto body sheet, thin exhaust tubing, or delicate repair, MIG, TIG, or another process may be more beginner-friendly than stick welding.
If you still practice stick on thin material, use scrap first, keep beads short, avoid large gaps, and expect burn-through while learning. A smaller rod helps, but it does not remove the challenge of heat control.
Quick Rod Size Checklist
Before you strike an arc, ask five questions: Is the steel clean? Is the rod type correct for the material? Is the rod diameter reasonable for the thickness? Can the machine run the amperage range? Is the position simple enough for your current skill level? If any answer is uncertain, practice on scrap and verify first.
This checklist prevents the most common beginner trap: treating rod size as a single answer. Rod diameter works together with preparation, amperage, polarity, joint design, and practice control.
Common Beginner Rod Size Mistakes
- Using 1/8 inch rods on thin sheet because they are common.
- Choosing rod size before checking machine amperage.
- Ignoring the rod classification and only looking at diameter.
- Running low-hydrogen rods after poor storage.
- Trying thick repair work with a machine that lacks output.
- Welding dirty metal and blaming rod size for porosity.
- Changing amperage, angle, speed, and rod size all at once.
Storage and Dry Rods
Rod condition can change how the weld behaves. Damp rods may run poorly and can contribute to defects. Low-hydrogen electrodes such as 7018 have special storage concerns, especially for code or critical work. Beginners should keep rods dry and follow manufacturer instructions.
For non-critical practice, dry storage still helps consistency. Do not leave rods loose on a damp bench, in an open garage, or near grinding dust. If the flux is cracked, damaged, oily, or crumbling, do not use that rod for serious welding.
Safety Notes
Stick welding can involve electric shock, arc flash, fumes, hot slag, burns, fire, grinding hazards, and flying slag during chipping. Use a welding helmet with the correct shade, safety glasses, dry gloves, flame-resistant clothing, ventilation, and a fire-safe workspace.
Review OSHA welding hazards guidance, OSHA welding fume guidance, and AWS safety resources. For process safety, read Arc Welding Safety.
FAQ
What is the best welding rod size for beginners?
Many beginners start with 3/32 inch or 1/8 inch rods on clean mild steel, depending on metal thickness and machine output. Use the rod chart and practice on scrap first.
Can I use a 1/8 inch welding rod on thin metal?
Sometimes, but it may be too hot or hard to control for thin metal. A smaller rod, lower amperage, better fit-up, or a different process may be better.
Does a bigger welding rod make a stronger weld?
No. Weld strength depends on material, joint design, rod type, prep, amperage, technique, and inspection. A bigger rod used incorrectly can make a poor weld.
How do I know what amperage to use for a rod?
Check the electrode package, manufacturer chart, and welder manual. Start within the recommended range and test on scrap of the same thickness.
Can I use the same rod size for every position?
Not always. Out-of-position welding may need a smaller rod or different technique because gravity makes puddle control harder.
Final Advice
Choose welding rod size by matching the rod diameter to the metal thickness, rod classification, amperage range, position, and joint design. For beginners, start with common sizes on clean scrap, keep notes, and adjust slowly. The right rod size is the one your machine can run well and your practice welds can prove.