Plasma Cutter Settings for Aluminum
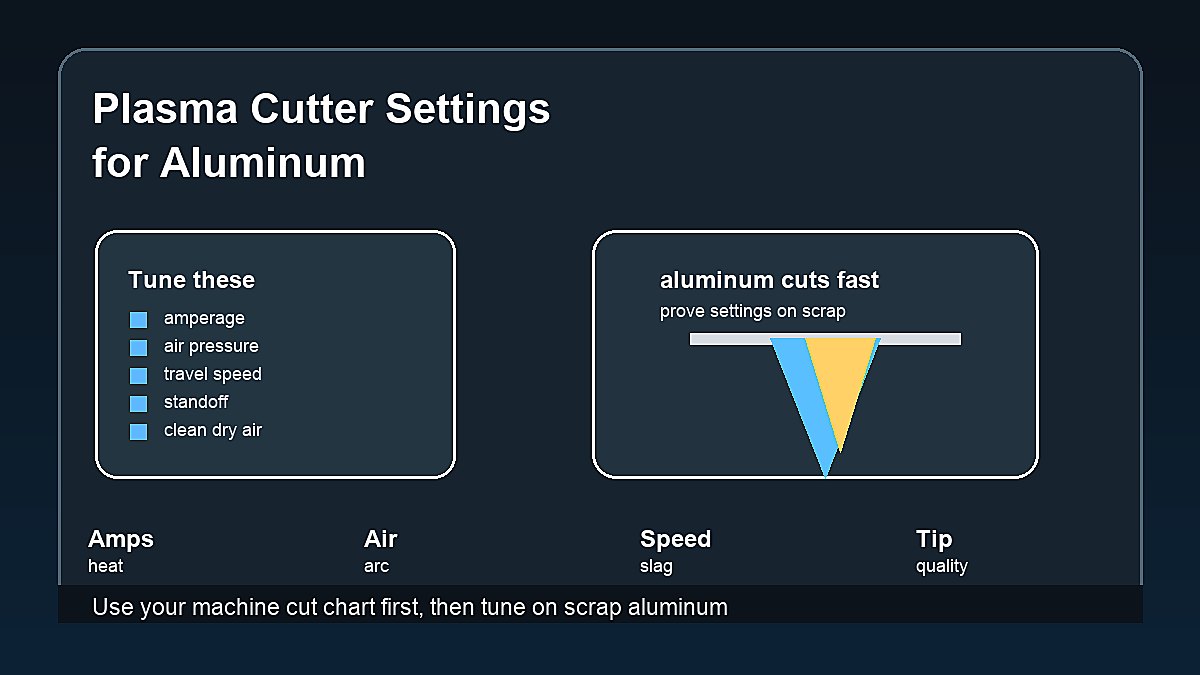
Plasma cutter settings for aluminum should start with your machine cut chart, then be tuned on scrap aluminum from the same job. The main settings are amperage, air pressure, travel speed, standoff height, torch angle, and consumable condition.
Aluminum cuts differently from mild steel. It conducts heat quickly, melts fast, and can leave a rougher edge if the torch is too slow or the air is wet. A plasma cutter can cut aluminum well, but the settings need to match the thickness and the machine.
Mark Dawson beginner note: do not chase a perfect online setting before checking your own manual. Plasma machines vary a lot. A clean test cut on scrap is the honest answer.
Quick Answer
For beginner aluminum plasma cutting, use the machine’s aluminum cut chart, set the correct amperage for the metal thickness, use clean dry air at the recommended pressure, keep a steady standoff, and move fast enough to keep the kerf clean. If dross builds on the bottom, your travel speed, amperage, air pressure, or consumables may need adjustment. If the cut edge is wide, melted, or rough, slow setup habits are usually the problem.
| Setting | What It Affects | Beginner Check |
|---|---|---|
| Amperage | Heat and cut capacity | Match machine chart to thickness |
| Air pressure | Arc stability and dross | Use clean dry air at chart pressure |
| Travel speed | Edge quality and bottom dross | Move steadily; aluminum likes pace |
| Standoff | Kerf width and consumable wear | Use drag shield or guide if supplied |
| Consumables | Arc shape and cut accuracy | Replace worn tips and electrodes |
Aluminum Plasma Settings Chart
This chart is a beginner orientation, not a universal machine chart. Always use the cut chart for your plasma cutter, torch, consumables, and air supply. If your machine chart disagrees with a generic article, your machine chart wins.
| Aluminum Thickness | Typical Approach | What to Watch |
|---|---|---|
| Thin sheet | Lower amperage range, fast travel | Warping, wide kerf, melted edge |
| 1/8 in | Small to mid machine range | Good practice thickness for beginners |
| 1/4 in | Higher range on small machines | Check full penetration and bottom dross |
| 3/8 in and thicker | Needs enough machine output | Slow cut, bevel, and dross if underpowered |
The exact amperage depends on rated cut capacity, torch design, consumables, and whether you want a clean cut or a severance cut. Rated cut means the machine can cut with reasonable quality. Severance cut means it may separate the metal but the edge may be rough.
Aluminum thickness can also be misleading when the part has ribs, bends, or heat-sink areas. A flat 1/4 inch coupon may cut differently from a 1/4 inch bracket welded to a thicker frame. Test near the same shape if possible, not only on a perfect flat scrap.
Amperage for Aluminum
Amperage controls how much cutting power reaches the arc. Too little amperage can leave incomplete cuts, heavy dross, and a dragging arc. Too much amperage can widen the kerf, overheat the edge, and wear consumables faster.
Start with the chart setting for thickness. Make a short cut. If sparks and molten metal blow back toward the top, the cut may not be penetrating. If the torch races through but leaves a ragged melted edge, you may be too hot, too slow, or too far from the work.
Do not judge only by whether the parts separate. Look at the top edge, bottom edge, dross, bevel, and how much cleanup is needed. A cut that separates but needs heavy grinding may still be a poor setting.
If your machine has a continuous amperage knob, make small changes and test again. If it has fixed settings, tune with travel speed, standoff, and torch guide technique. Either way, avoid running at the maximum output all day if the duty cycle is low.
Air Pressure and Air Quality
Most small plasma cutters use compressed air. The air must be clean and dry. Moisture, oil, or low airflow can make the arc unstable and damage consumables. Aluminum already cuts with a fluid molten edge, so poor air quality shows up quickly.
Set air pressure according to the machine manual, often while air is flowing through the torch. Static gauge pressure can be misleading if pressure drops during cutting. Check compressor capacity, hose size, filter condition, and water traps before blaming the plasma cutter.
If the arc sputters, the cut stops, or consumables fail early, air supply is one of the first things to check. A small compressor may show enough pressure at rest but fall behind during a longer cut.
A basic moisture separator is helpful, but some shops need better air drying when humidity is high. Water in the line can make a new tip behave like a worn tip. Drain the compressor tank and check filters before a long cutting session.
Travel Speed
Travel speed is one of the biggest reasons aluminum cuts look rough. Move too slowly and the edge overheats, widens, and collects dross. Move too fast and the plasma jet may not cut through cleanly.
Watch the sparks under the plate. On a good cut, the stream should exit through the bottom and angle slightly back. Sparks blowing up toward you can mean the torch is moving too fast, the amperage is too low, or the machine is struggling with the thickness.
Practice with straight lines before circles or curves. Curves slow your hand naturally, so the same settings that work on a straight cut may leave more dross around a tight corner.
A straightedge or circle guide can improve cut quality because it removes hand wobble. Clamp the guide so the torch can move without catching. Do not put your free hand in the path of sparks or below the cut line.
Standoff Height and Torch Angle
Standoff is the distance between the torch tip and the metal. Some torches use a drag shield that lets you rest the torch on the work. Others need a small gap. Follow the torch manual because wrong standoff can ruin cut quality and consumables.
Keep the torch as close to square as practical for a straight cut. A tilted torch creates bevel. A little bevel is normal with plasma cutting, but too much angle makes parts harder to fit and can leave one side of the cut worse than the other.
Piercing Aluminum
Starting from an edge is easiest. Piercing in the middle of aluminum throws molten metal back toward the torch until the arc breaks through. Use the pierce method recommended by the machine manual, especially on thicker material.
Many beginners start with the torch too close during a pierce. That can damage the tip quickly. If the manual recommends a pierce height or angled start, follow it. After the pierce breaks through, move into the cut and settle into the normal standoff.
Compressor and Power Setup
The plasma cutter, compressor, and extension cords all affect the cut. A weak electrical supply can reduce machine performance. A small compressor can fall behind. A long undersized air hose can drop pressure at the torch.
Use the correct input power, correct breaker size, proper extension cord if one is allowed, and enough compressor output for the machine. If the manual says not to use an extension cord, respect that. Plasma arcs do not like poor supply conditions.
Cutting Aluminum vs Steel
Plasma can cut aluminum, mild steel, and stainless steel because the process cuts electrically conductive metal. That is different from oxy-fuel cutting, which is mainly suited to carbon steel. For that comparison, read Plasma Cutter vs Oxy-Acetylene Torch.
Aluminum can leave a different edge than mild steel. It may show more melting, a wider kerf, or softer dross depending on settings. A cut that looks good on steel may not transfer directly to aluminum at the same thickness.
For aluminum joining after cutting, read Beginner’s Guide to Welding Aluminum. Cut quality affects fit-up, and fit-up affects welding quality.
How to Tune a Test Cut
- Choose scrap aluminum that matches the real job.
- Install the correct consumables and inspect the torch.
- Set amperage and air pressure from the machine chart.
- Clamp a straight guide if the cut needs to be accurate.
- Make a short cut and let the part cool.
- Check top edge, bottom dross, bevel, and kerf width.
- Change only one variable before the next test.
- Write down the setting that worked.
Beginners often change too much at once. If you adjust amperage, pressure, speed, and standoff in the same test, you will not know which change improved the cut. Treat test cuts like small experiments.
Keep the test pieces. After five or six cuts, line them up and compare them. The best setting is often obvious when you can see the dross, bevel, kerf width, and top-edge melting side by side.
Common Cut Problems
Heavy bottom dross: Check travel speed, amperage, air pressure, and worn consumables. Aluminum dross can also get worse when the torch slows around corners.
Wide kerf: The torch may be too far from the metal, too hot, too slow, or using worn parts. Standoff and consumables matter.
Beveled edge: Check torch angle, speed, and whether one side of the nozzle is worn. A guide can help keep the torch square.
Arc stops during the cut: Check work clamp contact, air pressure under flow, compressor recovery, consumables, and whether the machine is beyond its rated capacity.
Top edge rounding: The cut may be too slow, too hot, or too close. Aluminum softens quickly, so top-edge damage can appear before a beginner realizes the torch pace has dropped.
Hard-to-remove dross: Try a small speed change before changing amperage. Low-speed dross and high-speed dross look different, and both can happen on aluminum depending on the setup.
Prep and Cleanup
Clean off heavy oil, paint, marker, and dirt before cutting. Plasma can cut through dirty material, but contaminants can increase fumes and make the edge worse. If the part will be welded later, clean the cut edge before welding.
After cutting, deburr sharp edges and remove dross safely. Wear safety glasses under face protection. Aluminum edges can be sharp even when the cut looks smooth.
If the aluminum will be welded after cutting, grind or file away heavy dross and clean the edge before welding. Plasma-cut edges can carry oxide, soot, and rough spots that make fit-up worse. For MIG setup after cutting, read Aluminum MIG Welding Wire Speed and Voltage Chart.
Simple Practice Plan
Start with a straight 6 inch cut on clean 1/8 inch aluminum. Use the machine chart and a guide. Then make the same cut slightly faster, slightly slower, and with one small amperage change. Mark each piece before it cools.
Next, cut a gentle curve and a small inside corner. These shapes show whether your hand speed stays steady. Aluminum cutting problems often appear at corners because the torch slows down while the heat keeps building.
Settings Log to Keep
Keep a small notebook or shop note for aluminum cuts. Record material thickness, amperage, air pressure while flowing, torch standoff, consumable type, guide used, and whether the cut had dross or bevel. Your own notes become more useful than a generic chart because they match your machine, compressor, and hand speed.
Take a photo of the best cut edge before grinding it. Later, when the machine starts cutting worse, you can compare the new edge to a known good result and check air supply, worn consumables, or technique.
Label the scrap piece with the date if you change consumable brands, tips, air filters, or compressors.
Safety Notes
Plasma cutting aluminum can involve bright arc light, hot metal, sparks, fumes, electric shock, compressed air, noise, and sharp edges. Use a proper shade, safety glasses, gloves, hearing protection, ventilation, and fire control.
Do not plasma cut unknown coated aluminum, fuel-contaminated parts, tanks, sealed containers, or safety-critical parts without qualified procedures. Review OSHA welding and cutting hazards guidance, OSHA welding, cutting, and brazing requirements, AWS safety resources, and Miller plasma cutting basics. For eye protection, read Welding Lens Shade Chart and for shop protection read Welding Safety Equipment.
FAQ
Can a plasma cutter cut aluminum?
Yes. A plasma cutter can cut aluminum because aluminum conducts electricity. The machine must have enough output for the thickness.
What amperage should I use for aluminum?
Use the amperage listed in your machine cut chart for the aluminum thickness. Test on scrap and adjust for cut quality.
Why is my plasma cut aluminum rough?
Rough cuts can come from wrong travel speed, wet air, worn consumables, wrong standoff, low amperage, or cutting beyond the machine’s clean-cut capacity.
Does aluminum need different air pressure than steel?
Use the pressure recommended by the machine chart for the torch and consumables. Air quality and flow under load matter as much as the number on the gauge.
Is plasma better than oxy-acetylene for aluminum?
Yes, for most beginner aluminum cutting. Oxy-fuel cutting is mainly for carbon steel, while plasma can cut conductive metals such as aluminum and stainless steel.
Final Advice
Set plasma cutter settings for aluminum from the machine chart, then tune on scrap. Clean dry air, correct amperage, steady speed, proper standoff, and fresh consumables usually matter more than chasing one perfect online number.