Can You MIG Weld Aluminum to Steel?
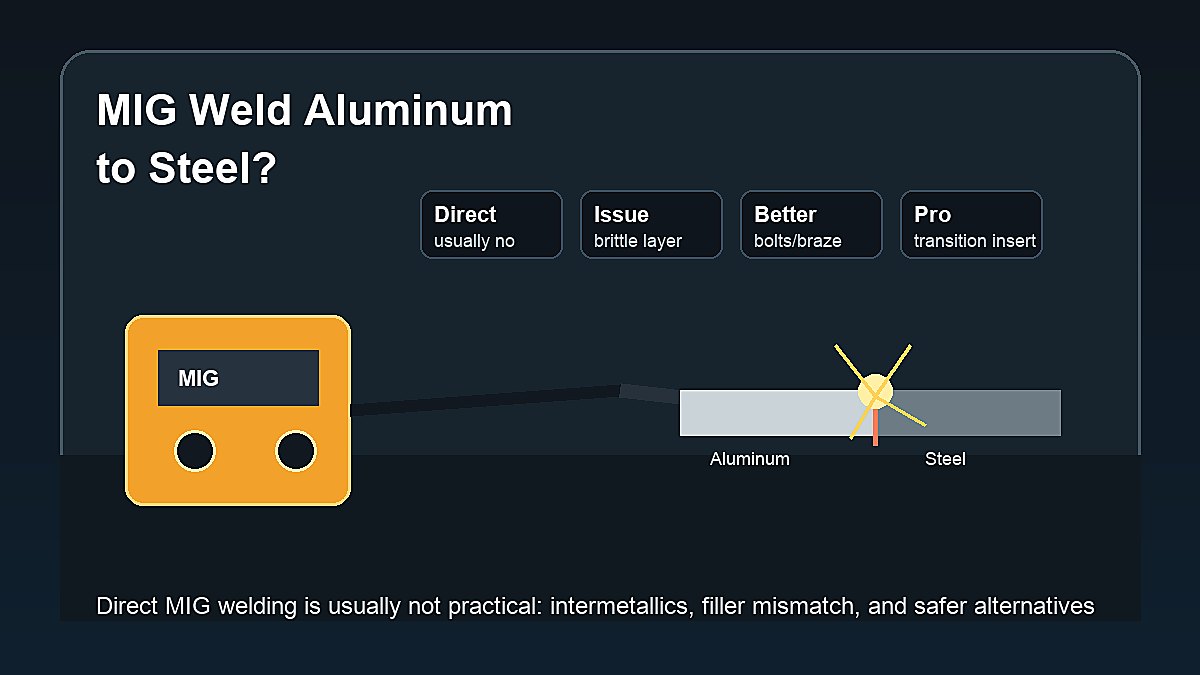
Can you MIG weld aluminum to steel? For normal beginner MIG welding, the practical answer is no. Aluminum and steel do not fuse together cleanly with ordinary MIG wire and a standard home-shop setup. The joint can form brittle iron-aluminum compounds that may crack, break, or fail even if the metals appear attached.
There are advanced industrial ways to join aluminum and steel, including transition inserts, special brazing approaches, friction stir processes, explosion-bonded materials, adhesives, rivets, bolts, and mechanical designs. Those are not the same as simply loading aluminum wire in a MIG welder and welding directly onto steel.
Mark Dawson beginner note: if a joint combines aluminum and steel, treat it as a dissimilar-metal engineering problem, not a normal MIG project. The easy arc is not the hard part. The hard part is making a joint that stays strong and safe in service.
Quick Answer
You generally should not try to MIG weld aluminum directly to steel with ordinary beginner equipment. Aluminum MIG wire is made for aluminum, while steel MIG wire is made for steel. A direct aluminum-to-steel fusion joint can create a brittle intermetallic layer. For beginner projects, use mechanical fasteners, proper brackets, adhesives approved for the job, brazing methods designed for the materials, or professional procedures.
| Method | Beginner Fit | Key Point |
|---|---|---|
| Direct MIG welding | Poor | Brittle joint risk and filler mismatch |
| Bolts/rivets | Often good | Simple if joint design allows it |
| Adhesive bonding | Sometimes | Use only approved structural products |
| Brazing/soldering | Specialized | Needs correct filler, flux, fit-up, and procedure |
| Transition insert | Professional | Uses a prepared aluminum-steel interface |
Why Aluminum and Steel Are Difficult to Join
Aluminum and steel have different melting temperatures, thermal expansion rates, oxide behavior, and metallurgy. Steel melts at a much higher temperature than aluminum. By the time steel is hot enough for normal fusion, aluminum can be badly overheated, collapsed, or vaporizing at the edge.
The bigger problem is what forms between them. Iron and aluminum can create hard, brittle intermetallic compounds at the interface. A very thin controlled layer can sometimes be managed in advanced joining processes. A thick or uncontrolled layer can make the joint weak and crack-prone.
This is why “it stuck together” is not enough. A beginner bead may look like it bridged the two metals, but the joint can fail under vibration, bending, impact, heat cycling, or load.
Why Normal MIG Wire Does Not Solve It
Aluminum MIG wire, such as 4043 or 5356, is designed for aluminum alloys. Mild-steel MIG wire, such as ER70S-6, is designed for steel. Neither ordinary wire family magically makes aluminum and steel compatible in a direct fusion joint.
If you run aluminum wire onto steel, wetting and bonding can be unreliable. If you run steel wire onto aluminum, the aluminum will overheat long before the steel filler behaves correctly. The issue is not only wire choice; it is the incompatible fusion behavior at the joint.
For aluminum setup basics, read Aluminum MIG Welding Wire Speed and Voltage Chart. That article applies to aluminum-to-aluminum practice, not direct aluminum-to-steel welding.
What About MIG Brazing?
MIG brazing is sometimes used for dissimilar or coated metals, but it is not a universal fix. Brazing melts the filler metal without melting the base metals the same way fusion welding does. That can reduce heat and limit some metallurgical problems, but only when the filler, joint design, surface preparation, and procedure are correct.
For aluminum and steel, brazing can be difficult because aluminum oxide is stubborn and steel behaves differently. Some specialized filler systems and fluxes exist, but they require the right fit-up and procedure. Do not assume a MIG brazing video applies to your structural repair.
For specialty copper-alloy filler context, see Aluminum Bronze MIG Wire. That does not mean aluminum bronze is a beginner solution for every aluminum-to-steel joint.
Better Beginner Alternatives
For many home-shop projects, mechanical design is better than direct welding. Bolts, rivets, brackets, clamps, and overlapping flanges can join aluminum and steel without forcing the metals to fuse. Add isolation washers, sealant, or coatings when galvanic corrosion matters.
Adhesive bonding may be useful for some panels and light-duty assemblies, but only with products made for the materials and loads involved. Surface preparation is critical. Structural adhesives are not the same as ordinary glue.
For professional applications, transition inserts can be used. These are materials already bonded aluminum-to-steel by controlled manufacturing methods. The welder then joins aluminum to the aluminum side and steel to the steel side, avoiding a direct uncontrolled weld between the two metals.
When Direct Joining Is a Professional Job
Direct or semi-direct aluminum-to-steel joining belongs in professional procedure territory when strength matters. Automotive structures, trailers, boats, pressure parts, lifting brackets, railings, and load-bearing frames should not be beginner experiments. The joint needs design, process control, testing, and inspection.
Industrial processes may use friction stir welding, laser joining, resistance spot joining, arc brazing, explosion-bonded transition pieces, or other controlled methods. The presence of those technologies does not mean a basic MIG welder can safely do the same job in a garage.
Galvanic Corrosion Matters
Aluminum and steel in contact can create galvanic corrosion when moisture and an electrolyte are present. The aluminum often becomes the more vulnerable material. Even if a mechanical joint is strong, corrosion protection matters.
Use proper isolation, coatings, sealants, drainage, and material design when aluminum touches steel. This is especially important outdoors, around road salt, marine environments, trailers, and vehicles.
Why Transition Inserts Work Better Than Guesswork
A transition insert is a prepared piece that already has aluminum bonded to steel under controlled manufacturing conditions. The shop does not try to create the difficult aluminum-steel bond with a normal MIG arc. Instead, the aluminum part is welded to the aluminum side, and the steel part is welded to the steel side.
That difference matters. The dangerous interface is made before the repair or fabrication step, with a process designed for that interface. The welder still needs the correct procedure for each side, but the job is no longer a random bead across two incompatible base metals.
Transition pieces are common in some marine, transportation, and industrial applications where aluminum structures must connect to steel structures. They are not usually a first purchase for a beginner. They are worth understanding because they show the right idea: separate the difficult metallurgical problem from ordinary welding practice.
Mechanical Fastening Design Tips
Mechanical fastening is often the cleanest beginner solution because it avoids melting the two metals together. A good bolted or riveted joint still needs planning. The parts should overlap enough to spread the load, holes should be placed away from weak edges, and the fastener material should match the environment.
Use washers or backing plates when thin aluminum could deform. Avoid sharp corners where cracks can start. If the joint will vibrate, consider locking hardware, threadlocker rated for the materials, or a design that keeps the parts from sliding. For outdoor use, seal the joint so water does not sit between aluminum and steel.
Do not drill through a structural part and assume it remains strong. Holes remove material and can change how stress moves through a bracket, frame, or panel. On cosmetic covers and light-duty guards, fasteners may be simple. On load-bearing parts, design and inspection matter.
Adhesive Bonding Is Not Ordinary Glue
Some aluminum-to-steel assemblies use adhesive bonding, especially when the joint is designed for it from the beginning. The adhesive must be rated for the materials, service temperature, moisture exposure, vibration, and load direction. Surface preparation often decides whether the bond works.
That preparation may include cleaning, abrasion, primer, controlled clamping pressure, and cure time. If oil, oxide, paint, dust, or moisture stays on the surface, the bond may fail early. Beginners sometimes underestimate this step because adhesive work looks easier than welding. It can be easier to apply, but it is not automatically easier to engineer.
For non-structural panels, covers, trim, and light brackets, an approved adhesive plus mechanical backup may be practical. For suspension parts, trailer tongues, lifting points, roll cages, pressure equipment, and critical frames, do not replace a qualified joining procedure with a tube of adhesive.
How to Decide Before You Build
Before choosing a joining method, write down what the joint must do. Is it holding a decorative cover, supporting weight, resisting vibration, staying outdoors, carrying electrical current, or protecting a person from injury? A joint for a small nameplate is not the same problem as a joint for a trailer, ladder, gate hinge, or vehicle mount.
Also check whether the aluminum part can be redesigned so it attaches to steel without welding. A bend, flange, tab, clamp, or replaceable bracket may solve the problem. Sometimes the smartest welding decision is changing the design so each metal is welded only to its own kind.
If the part is expensive or safety-related, make a small test coupon only for learning fit-up and heat behavior. Do not treat a test coupon as proof that the real joint is safe. Real service loads include vibration, corrosion, temperature changes, impacts, and fatigue.
Small Examples for Common Beginner Projects
Suppose you want to attach an aluminum panel to a steel cart. Welding the panel directly to the cart is the wrong starting point. A better approach is to weld steel tabs to the steel frame, drill the aluminum panel, add rubber or nylon isolation washers, and bolt the panel in place. That keeps the steel welding simple and the aluminum replaceable.
If you are mounting an aluminum toolbox on a steel trailer, think about water, salt, vibration, and future removal. Bolts with backing plates, sealant, and corrosion isolation are usually more practical than trying to fuse the box to the trailer. Trailer parts can be safety-critical, so inspect the frame and do not weld on load-bearing members without qualified guidance.
For a decorative aluminum sign on a steel gate, the joint may only need to resist light handling and weather. Stainless or coated fasteners, a spacer, and sealed holes may be enough. For a gate hinge or latch bracket, the loads are different, so steel-to-steel brackets or a redesigned attachment may be safer.
These examples show the main lesson: separate the materials instead of forcing one weld to solve every problem. Weld steel to steel, weld aluminum to aluminum when needed, and connect the two assemblies with a method suited to the load and environment.
What Beginners Should Do Instead
- Ask whether the parts really need to be joined directly.
- Use bolts, rivets, brackets, or clamps if the design allows it.
- Separate the metals to reduce galvanic corrosion.
- Use adhesive only when it is approved for the materials and load.
- Use aluminum-to-aluminum welding for aluminum parts when possible.
- Use steel-to-steel welding for steel parts when possible.
- Get professional help for structural or safety-critical joints.
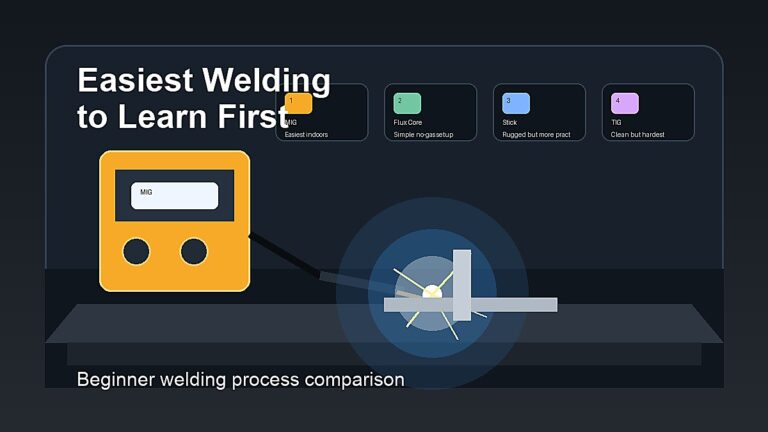
For general MIG process limits, review Advantages and Disadvantages of MIG Welding and Types of Welding Explained.
Common Mistakes
- Trying to bridge aluminum and steel with ordinary MIG wire.
- Assuming a shiny bead means a strong joint.
- Ignoring brittle intermetallic layers.
- Forgetting galvanic corrosion after mechanical joining.
- Using adhesive without checking load rating and surface prep.
- Welding a vehicle, trailer, or structural part without a qualified procedure.
- Copying an industrial process without the equipment or controls.
Safety Notes
Attempting to join aluminum and steel can involve intense heat, fumes, coatings, oxide, sparks, UV radiation, electric shock, fire risk, and failure risk if the joint is used incorrectly. Aluminum and steel parts may also have paint, plating, oil, sealant, or galvanizing that creates additional hazards.
Use proper PPE, ventilation, fume control, and fire-safe workspace practices. Do not weld on closed containers, unknown coated metal, or safety-critical parts without training. Review OSHA welding hazards guidance, OSHA welding fume guidance, and AWS safety resources.
FAQ
Can aluminum be welded directly to steel?
Not with ordinary beginner MIG welding. Specialized industrial processes can join aluminum and steel under controlled conditions, but direct garage MIG welding is usually not practical.
Can I use aluminum MIG wire on steel?
No, aluminum MIG wire is not a proper filler for welding steel. It may melt onto the surface, but that does not create a reliable steel weld.
Can I use steel MIG wire on aluminum?
No. Steel wire is not correct for welding aluminum, and the aluminum will overheat long before the steel filler behaves like a normal weld.
What is the best way to join aluminum to steel?
For many beginner projects, mechanical fasteners or brackets are best. For professional work, transition inserts, approved adhesives, brazing systems, or engineered joining methods may be used.
Why does aluminum-to-steel welding fail?
It can fail because aluminum and steel form brittle intermetallic compounds at the interface, have different melting behavior, and require controlled joining procedures.
Final Advice
Do not treat aluminum-to-steel MIG welding as a normal beginner project. Ordinary MIG wire and a standard home welder are not the right solution for a reliable direct joint. Use mechanical design, approved bonding methods, transition pieces, or professional procedures when aluminum and steel must work together.
When in doubt, pause before striking an arc. A slower design decision is better than a fast joint that looks attached but fails later.
Continue with the MIG Welding hub for the complete beginner path, including setup, settings, technique, troubleshooting and related guides.