MIG Welding Techniques for Beginners
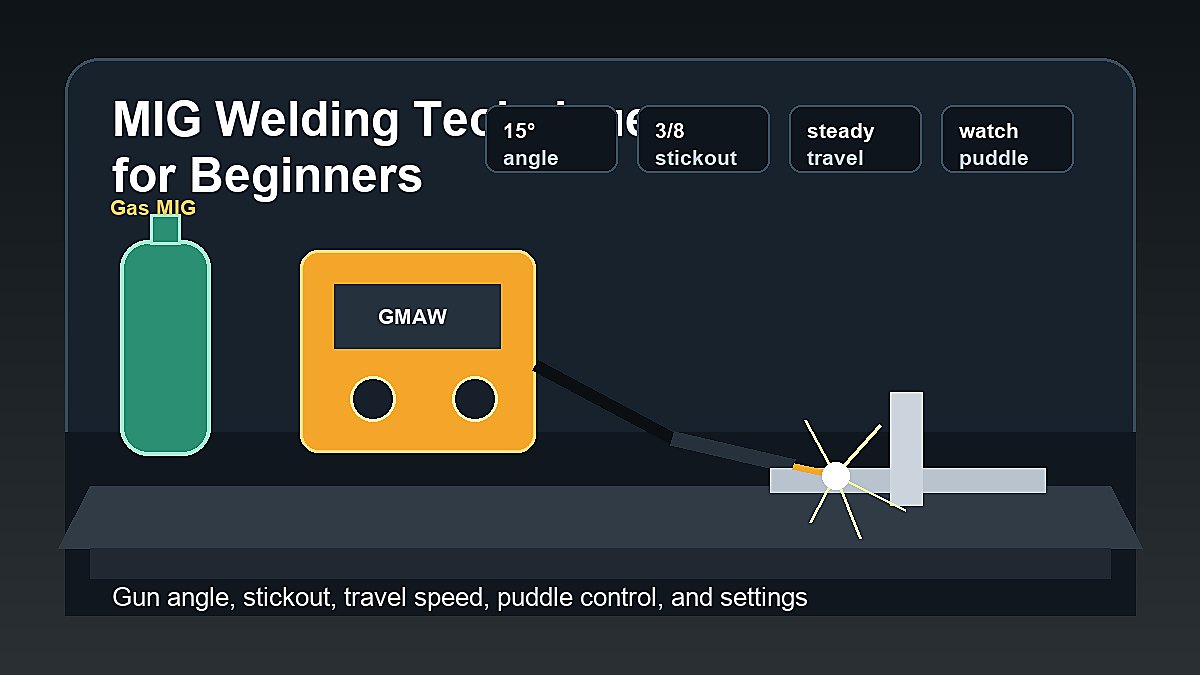
MIG welding techniques for beginners start with a clean setup, correct wire and gas, steady stickout, good gun angle, controlled travel speed, and learning to watch the weld puddle instead of only the bright arc. MIG can be one of the easiest welding processes to learn, but beginner technique still matters.
MIG welding is commonly used for garage projects, mild steel fabrication, auto work, brackets, carts, tables, and general shop repairs. The machine feeds wire through the gun, so beginners do not have to feed filler rod by hand. That makes the process approachable, but it does not make every bead automatically strong.
Mark Dawson beginner note: MIG welding is forgiving, but it still punishes random settings and dirty metal. If the bead looks high, cold, spattery, porous, or burned through, slow down and check setup before assuming you just need more practice.
Quick Answer: Best MIG Welding Techniques for Beginners
- Start with clean mild steel and secure clamping.
- Use the wire, gas, and polarity listed in the machine manual.
- Keep stickout consistent instead of waving the gun around.
- Use a modest push or pull angle depending on the joint and process.
- Set voltage and wire speed from the chart, then test on scrap.
- Watch the puddle and bead edges, not only the arc.
- Move steadily enough to avoid cold lap or burn-through.
- Inspect and adjust one variable at a time.
Before Technique: Set Up the MIG Welder Correctly
Good MIG technique starts before you pull the trigger. The welder needs the correct wire, polarity, drive roll, contact tip, shielding gas, and ground connection. If the setup is wrong, your hand technique may not save the bead.
- Wire: choose wire that matches the material and machine chart.
- Gas: use the shielding gas recommended for the wire and material.
- Polarity: confirm the machine is set for the wire type.
- Contact tip: match the tip to the wire diameter.
- Drive roll tension: enough to feed smoothly without crushing the wire.
- Work clamp: attach to clean metal for a stable circuit.
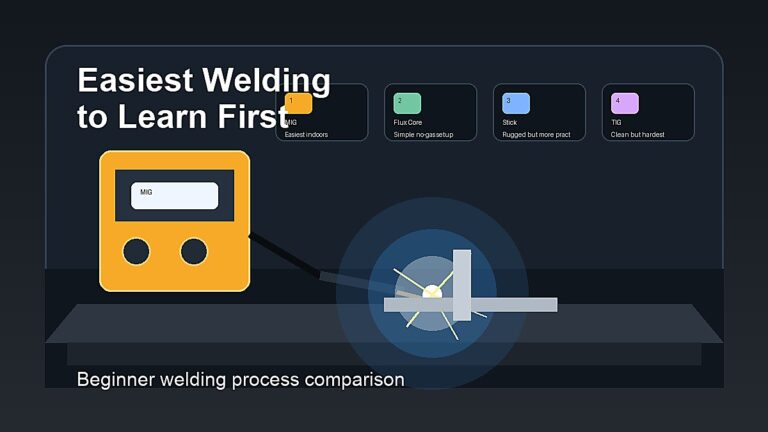
If you are still choosing a process, read What Is the Easiest Welding to Learn? and Types of Welding Explained.
Choose Beginner-Friendly Material Thickness
Technique practice is easier when the material thickness matches the machine. Very thin sheet metal can burn through quickly. Heavy plate may need more amperage, joint prep, and multiple passes than a small beginner MIG welder can provide. Start with clean mild steel that gives you room to practice without instantly failing.
A good first practice coupon lets you see the puddle, run short beads, and compare changes. Once you can control beads on flat scrap, move into lap joints and T-joints. Avoid vehicle panels, trailer repairs, and structural parts until you have training and a way to inspect the weld properly.
1. Clean the Metal First
MIG welding works best on clean metal. Paint, oil, moisture, rust, mill scale, and coatings can cause porosity, spatter, poor fusion, and ugly welds. Beginners often think the problem is wire speed or voltage when the real issue is dirty prep.
For first practice, use clean mild steel. Grind or brush the weld area, clamp the work securely, and avoid unknown coated scrap. Do not start with galvanized or painted metal. The safety and fume risks are not worth it for beginner practice.
2. Learn Stickout
Stickout is the distance from the contact tip to the workpiece. If stickout is too long, the arc can become unstable and spatter can increase. If it changes constantly, your bead will change constantly. Beginners often hold the gun too far away because they are trying to see the puddle.
Use the machine and wire guidance as your starting point. Then practice keeping the same distance while moving. Good lighting and a clean helmet lens help because you can see the puddle without pulling the gun too far back.
3. Use the Right Gun Angle
Gun angle affects bead shape, penetration, and visibility. For many flat MIG practice beads, beginners use a modest travel angle instead of leaning the gun heavily. Too much angle can make the weld uneven and push shielding gas away from the puddle.
For gas MIG, many beginners are taught to push the puddle because it gives a flatter bead and better visibility. Pulling or dragging may give a different bead profile and can be useful in some situations. Do not turn push vs pull into a rule without context. The right technique depends on material, joint, position, and process.
Push vs Pull for Beginners
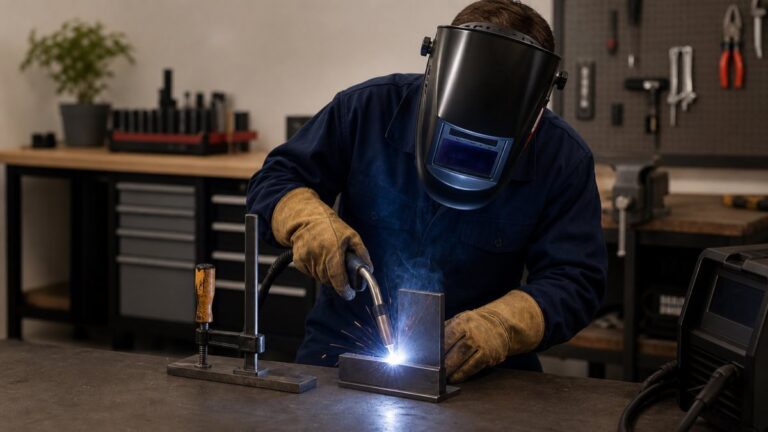
Push technique means the gun points in the direction of travel, so the arc pushes the puddle forward. Pull technique means the gun points back toward the weld you just made. With gas MIG on clean mild steel, pushing is common because beginners can see the joint and puddle better, and the bead often looks flatter.
Pulling can be useful in some weld positions, joints, or repair conditions. But if you switch between push and pull every few inches, your bead will change shape and become harder to diagnose. Pick one technique for a practice bead, then compare it with a second bead using the other technique. Clean and inspect both before deciding what worked better.
4. Control Travel Speed
Travel speed is how fast you move along the joint. Move too fast and the weld may be narrow, cold, and poorly tied into the edges. Move too slowly and the bead may become wide, overheated, or likely to burn through thinner metal.
Practice by running short beads on scrap. Keep the settings the same and change only travel speed. After cleaning and inspecting the bead, compare what changed. This teaches you more than randomly adjusting every knob at once.
Stringer Beads vs Weave Patterns
Most beginners should start with straight stringer beads. A stringer bead is a simple steady bead with little or no side-to-side movement. It is easier to inspect and easier to repeat. Weaving can be useful in some situations, but it also hides beginner problems because too much movement can create uneven heat and poor edge control.
If you want to try a pattern, keep it small and controlled. Do not make wide decorative movements just to make the bead look interesting. Your first goal is fusion and consistency, not a fancy pattern. Practice straight beads until you can make them repeatable, then experiment with small circles, slight cursive-e movement, or tiny side-to-side motion only when the joint calls for it.
5. Watch the Weld Puddle
The weld puddle tells you whether the metal is melting and tying into the joint. Beginners often stare at the brightest part of the arc, but the edges of the puddle are where you learn control. Look for the puddle washing into both sides of the joint.
If the wire is just piling metal on top, the weld may look raised but weak. If the puddle is too fluid and the edges are melting away, you may have too much heat or too slow a travel speed. Puddle watching is a skill, and it improves with clean practice pieces.
How to Practice Puddle Control
To practice puddle control, run a short bead and focus only on the leading edge of the puddle. You are looking for the molten metal to wet into the base metal without outrunning the arc. Then run another bead while slightly changing travel speed. After a few beads, you will start to recognize when the puddle is lagging, washing out, or stacking up.
Do not practice on dirty scrap if your goal is learning puddle behavior. Contamination can make the puddle act erratically. Clean practice pieces make the feedback much clearer.
6. Set Voltage and Wire Speed Together
Voltage and wire speed work together in MIG welding. The machine chart gives a starting point based on wire size and material thickness. From there, test on scrap and adjust one setting at a time.
| Symptom | Possible Cause | Beginner Check |
|---|---|---|
| Wire stubbing into metal | Wire feed too high or voltage too low | Return to chart and test again |
| Arc feels harsh and spattery | Settings, stickout, gas, or dirty metal | Check setup before changing technique |
| Burn-through | Too much heat or slow travel | Reduce heat, move faster, or use thicker practice metal |
| Tall cold bead | Low heat, fast travel, poor tie-in | Check settings and watch puddle edges |
| Porosity | Gas issue, contamination, wind, long stickout | Check gas flow, drafts, prep, and technique |
7. Protect the Shielding Gas
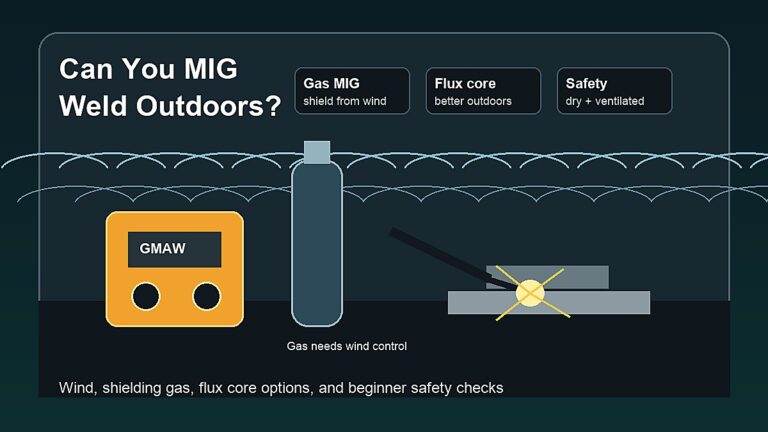
Gas MIG needs shielding gas around the weld pool. Wind, fans, long stickout, poor gun angle, and wrong gas flow can disturb that shielding. If the shielding is poor, the weld can become porous even when the settings seem close.
Do not weld gas MIG in wind without control. If you need a no-gas outdoor setup, compare Gasless MIG Welding for Beginners and How to MIG Weld Without Gas.
Check Gas Flow Without Overdoing It
Beginners sometimes turn gas flow too high when they see porosity. More gas is not always better. Excessive flow can create turbulence and pull air into the shielding area. Too little flow, leaks, blocked nozzles, drafts, or a long stickout can also cause porosity. Use the machine, wire, and gas guidance as your starting point.
Keep the nozzle clean. Spatter buildup can disturb shielding gas and make the arc harder to see. If porosity suddenly appears after several good welds, inspect the nozzle, gas supply, hose, regulator, and workspace drafts before changing every setting.
8. Start With Flat Beads, Then Simple Joints
The best beginner practice is not a real repair. Start by running straight beads on clean flat scrap. Once those beads become consistent, move to lap joints, T-joints, and butt joints. Joints teach fit-up, tack welds, bead placement, and puddle control.
- Run straight beads on clean mild steel.
- Practice stopping and restarting cleanly.
- Try lap joints with good fit-up.
- Move to T-joints and watch both toes of the weld.
- Practice tack welds before full beads.
- Inspect each bead before changing settings.
9. Use Tack Welds and Good Fit-Up
Fit-up means how well the parts align before welding. MIG welding is much easier when the pieces are clamped, squared, and held firmly. Gaps and moving parts make beginner welding harder than it needs to be.
Use tack welds to hold pieces before running a full bead. Tacks help control movement, heat distortion, and alignment. If the pieces move while you weld, the bead may look bad even if your gun angle and travel speed are improving.
Joint-Specific Beginner Technique
Different joints need slightly different attention. On a lap joint, watch the edge of the top piece and the lower plate so the weld ties into both. On a T-joint, watch both sides of the corner. On a butt joint, fit-up and gap control become more important because the weld must bridge the joint without burning away the edges.
Do not rush into all positions at once. Flat position practice is the easiest place to learn bead control. Horizontal, vertical, and overhead positions add gravity problems and should come after you can make consistent flat beads and joints.
10. Read Your Beads After Welding
A beginner bead should teach you something. Look for consistency, edge tie-in, bead width, spatter, porosity, undercut, and whether the weld is sitting on top or melting into the base metal. Take notes on wire speed, voltage, material thickness, and travel speed.
- Consistent bead width: your travel speed is becoming steadier.
- Too much spatter: check settings, stickout, gas, and metal prep.
- Holes in the bead: check gas shielding, contamination, and drafts.
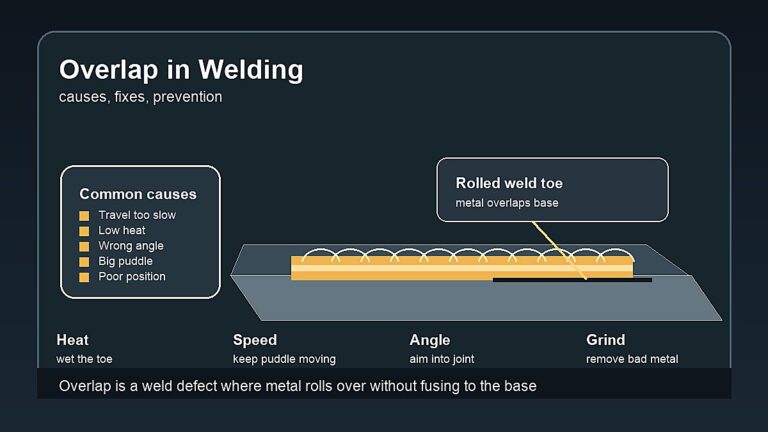
- Edges not tied in: slow down, adjust heat, or improve puddle control.
- Burn-through: reduce heat, move faster, or use thicker practice steel.
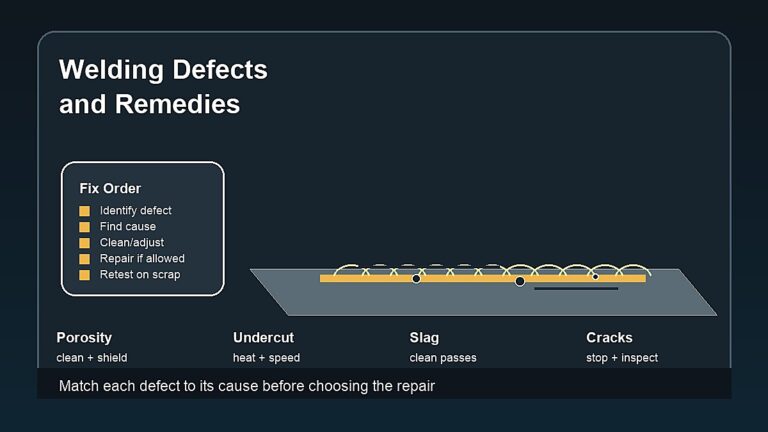
For more troubleshooting, read Welding Defects and Beginner Welding Mistakes.
A Simple 30-Minute MIG Practice Session
- Spend 5 minutes checking PPE, gas, wire, ground clamp, and metal prep.
- Run 5 straight beads with the same settings and steady stickout.
- Change only travel speed and run 3 comparison beads.
- Change only gun angle and run 3 comparison beads.
- Clean and inspect every bead.
- Write down the best setting and what made the bead improve.
- End with 2 lap-joint practice welds using the best setup from the session.
This kind of focused practice is better than welding random scraps for an hour. You learn faster when each bead has a purpose.
Common MIG Welding Mistakes Beginners Make
- Welding dirty metal: contamination creates defects and frustration.
- Changing too many settings: adjust one variable at a time.
- Ignoring stickout: inconsistent distance creates inconsistent beads.
- Using wind with gas MIG: shielding gas can be blown away.
- Moving too fast: the bead may not tie into the joint.
- Moving too slow: the metal can overheat or burn through.
- Skipping safety: MIG still has UV, fumes, sparks, fire, and electric shock risk.
MIG Welding Safety for Beginners
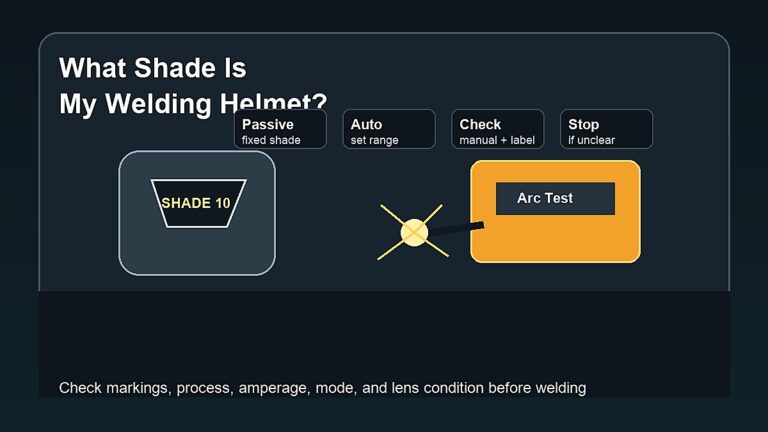
MIG welding can involve ultraviolet radiation, burns, sparks, hot metal, fumes, compressed gas, electric shock, and fire hazards. Use a welding helmet with the correct shade, safety glasses, gloves, flame-resistant clothing, ventilation or fume control, and a fire-safe workspace.
Do not weld on sealed containers, unknown coated metal, galvanized material, vehicle frames, trailers, pressure vessels, lifting points, or structural parts without proper training and inspection. Beginner practice belongs on clean scrap and non-critical projects.
FAQ
Is MIG welding easy for beginners?
MIG welding is often one of the easiest welding processes for beginners because the wire feeds automatically. It still requires clean metal, correct settings, gas shielding, steady stickout, and safe technique.
Should beginners push or pull MIG welding?
For gas MIG, beginners are often taught to push because it gives good visibility and a flatter bead. Pulling can be useful in some situations. The right choice depends on joint, position, material, and process.
What stickout should beginners use for MIG?
Use the welder and wire guidance as the starting point. The key beginner skill is keeping stickout consistent, not constantly moving closer and farther from the work.
Why are my MIG welds porous?
Porosity can come from poor shielding gas coverage, wind, dirty metal, long stickout, wrong gas flow, or contaminated wire. Start by checking gas, prep, and drafts.
What should I practice first with MIG welding?
Start with straight beads on clean mild steel scrap. Then practice lap joints, T-joints, tack welds, and simple non-critical beginner projects.
Final Advice
The most important MIG welding techniques for beginners are simple but not automatic: clean the metal, set up the machine correctly, keep stickout steady, use a sensible gun angle, travel at a consistent speed, protect the shielding gas, and watch the puddle. Practice on scrap, inspect every bead, and improve one variable at a time.
Safety References
- OSHA welding, cutting, and brazing hazards and solutions
- OSHA welding, cutting, and brazing standards
- American Welding Society safety and health fact sheets
Continue with the MIG Welding hub for the complete beginner path, including setup, settings, technique, troubleshooting and related guides.