Stick Welding Basics for Beginners
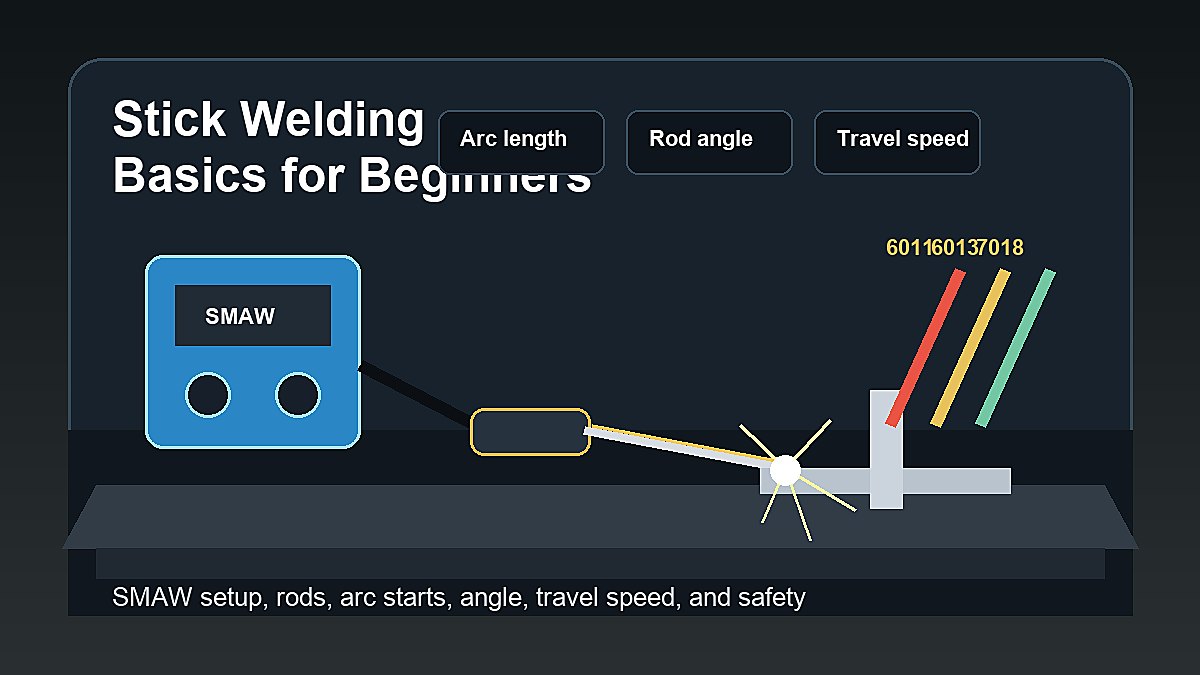
Stick welding basics for beginners start with understanding the process, choosing the right electrode, setting polarity and amperage, learning how to start the arc, keeping a short arc length, controlling rod angle, and cleaning slag after each weld.
Stick welding is also called SMAW, or shielded metal arc welding. It uses a flux-coated electrode rod that carries the arc and melts into the joint. As the rod burns, the flux coating helps protect the weld pool and leaves slag over the bead. That slag must be chipped and brushed away after welding.
Mark Dawson beginner note: stick welding is rugged, but it is not magic. It still needs clean enough metal, correct settings, a stable arc, good fit-up, and safe work habits. If the rod keeps sticking, the bead looks tall and rough, or slag gets trapped, go back to arc length, amperage, and travel speed before blaming the electrode.
Quick Answer: What Is Stick Welding?
Stick welding is an arc welding process that uses a flux-coated rod as both the electrode and filler metal. The rod melts into the joint, while the flux creates shielding and slag. Beginners like stick welding because the setup is simple, it works outdoors, and it can handle thicker steel and repair work better than many light-duty processes.
The beginner challenge is control. You must start the arc, keep the rod from sticking, hold the right arc length while the rod gets shorter, maintain a steady travel speed, and clean slag between passes.
Why Beginners Still Learn Stick Welding
Stick welding is older and rougher than many modern wire-feed setups, but it is still worth learning. It works without a shielding gas bottle, which makes it useful outdoors and in field-repair situations. The equipment can also be simple compared with a full MIG setup, and the electrodes are easy to carry and change.
The main tradeoff is that stick welding demands more hand control. With MIG, the wire feeds automatically. With TIG, the process is precise but slow and coordinated. With stick, the rod is getting shorter every second, slag is forming over the bead, and the arc length changes if your hand does not move with the burn-off. That is why beginners should treat stick welding as a skill-building process, not a shortcut.
Stick Welding Equipment Beginners Need
- Stick welder or multi-process welder with SMAW mode
- Electrode holder and work clamp
- Welding rods matched to the machine and material
- Welding helmet with the correct shade
- Welding gloves and flame-resistant clothing
- Safety glasses for chipping and grinding
- Wire brush and chipping hammer
- Angle grinder for cleaning and prep
- Clamps or fixtures to hold the work steady
- Ventilation and fire-safe workspace
If you are still building your setup, read What Do Beginners Need to Start Welding? and Home Welding Setup for Beginners.
Best Metal for Stick Welding Practice
Clean mild steel is the best starting material for most beginners. Avoid thin sheet metal at first because stick welding can burn through it quickly. Avoid very thick steel if your welder does not have enough output. A comfortable practice thickness gives you enough time to see the puddle, move steadily, and learn how amperage affects bead shape.
- Best first practice: clean mild steel plate or coupons.
- Avoid early: painted, oily, galvanized, unknown, or heavily rusted metal.
- Avoid critical repairs: trailers, vehicles, lifting points, pressure vessels, and structural parts.
- Prepare the joint: grind or brush the weld area so the rod is not fighting contamination.
Common Stick Welding Rods for Beginners
Stick welding rods are not all the same. Each rod type has a different coating, arc feel, penetration level, position rating, and current compatibility. Always check the rod container and machine manual before welding.
| Rod | Beginner Use | Basic Note |
|---|---|---|
| E6011 | Repair-style practice, AC/DC machines depending on rod | Penetrating arc and useful outdoors |
| E6013 | Clean mild steel, light fabrication, smoother beads | Often easier for first practice |
| E7018 | Cleaner, stronger welds on prepared steel | Needs proper storage and better technique |
| E6010 | Deep penetration and root-pass style work | Useful but harder for many beginners |
For more detail, use Different Types of Welding Rods and the Welding Rods & Electrodes hub.
Rod Diameter Basics
Rod diameter affects amperage, puddle size, and how much heat goes into the work. A larger rod usually needs more amperage and is better suited to thicker material. A smaller rod is easier to control on lighter material, but it still needs the correct current range. Beginners should not choose rod size randomly.
Use the electrode package and welder chart as your starting point. If your bead is cold, tall, and ropey, amperage may be too low or travel may be wrong. If the puddle is too fluid, the edges undercut, or the metal burns away, amperage may be too high for the rod, material, or travel speed.
Rod Storage and Moisture
Electrode storage matters more than many beginners expect. Rods can absorb moisture, get damaged, or become harder to run if they are stored poorly. Low-hydrogen rods such as E7018 are especially sensitive and should be handled according to manufacturer instructions. Do not use questionable rods for anything important.
For casual practice, keep rods dry, clean, and protected from shop dirt. If a rod coating is cracked, damaged, oily, or damp, do not treat it as reliable. Bad rods can make practice more frustrating because you may blame your technique for problems caused by the electrode condition.
Polarity and Amperage Basics
Polarity and amperage affect how the rod runs. Some electrodes are designed for AC, DC electrode positive, DC electrode negative, or more than one option. The safest beginner rule is simple: follow the electrode package, machine manual, and setup chart.
Amperage depends on rod diameter, rod type, material thickness, joint design, position, and machine. Too little amperage can make the rod stick and produce a tall cold bead. Too much amperage can cause excessive spatter, undercut, burn-through, or a puddle that is hard to control.
How to Start an Arc
Beginners usually start the arc with either a scratch start or a tapping motion. With a scratch start, you lightly drag the rod like striking a match, then lift into a short arc. With a tapping start, you tap the rod onto the work and lift slightly. The goal is to start the arc without freezing the rod to the plate.
- Clamp the work securely.
- Hold the electrode holder comfortably.
- Touch or scratch the rod gently.
- Lift slightly as the arc starts.
- Keep the arc short and steady.
- If the rod sticks, twist or break it loose, reset, and try again.
Arc Length: The Skill Beginners Struggle With Most
Arc length is the distance between the rod tip and the workpiece. A long arc can create spatter, porosity, an unstable puddle, and poor control. A very short arc can make the rod stick. As the rod burns shorter, your hand must move closer to maintain the same arc length.
A common beginner target is a short arc close to the rod diameter, but the exact feel depends on the electrode and job. Watch the puddle and listen to the arc. Consistency matters more than a perfect first bead.
Rod Angle and Travel Speed
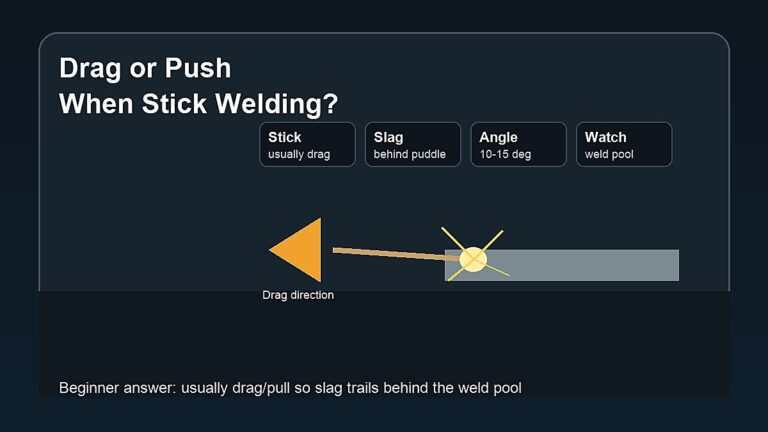
For flat practice beads, beginners usually use a slight drag angle with the electrode leaning in the direction of travel. Too much angle can make the bead uneven and allow slag to interfere. Travel too fast and the bead may be narrow with poor tie-in. Travel too slow and the bead may become tall, wide, and overheated.
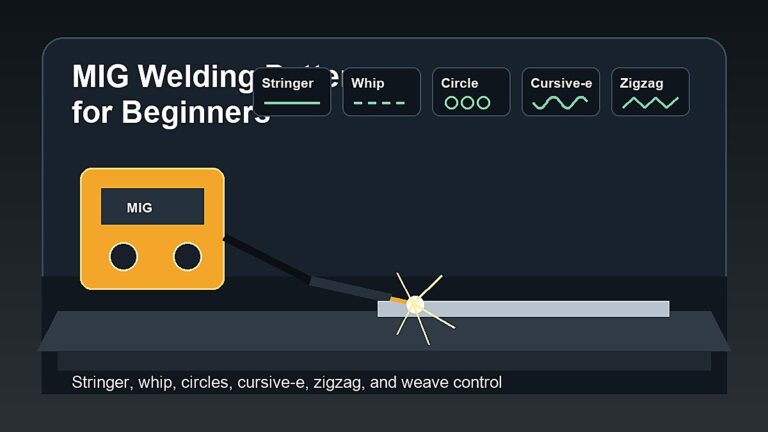
Do not wave the rod around at first. Run straight beads on clean scrap. Learn what happens when you change travel speed, angle, and amperage one at a time.
How to Read Your First Stick Weld Beads
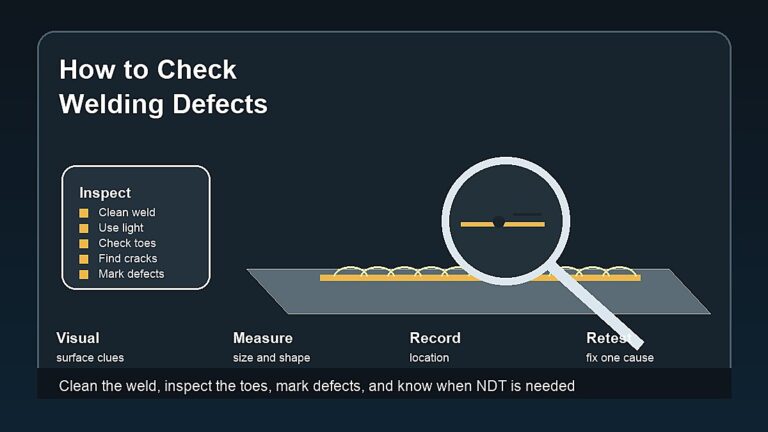
After each bead, let the metal cool enough to handle safely, chip the slag, brush the weld, and look closely. A beginner practice bead should teach you something. Do not only ask whether the bead looks pretty. Ask what the bead says about heat, travel speed, arc length, and rod angle.
- Tall narrow bead: often points to low heat, fast travel, or poor tie-in.
- Wide flat bead: may point to high heat, slow travel, or too much puddle time.
- Heavy spatter: often comes from a long arc, wrong settings, polarity issues, or dirty metal.
- Slag stuck in the bead: may come from poor angle, poor cleaning, or letting slag run ahead of the puddle.
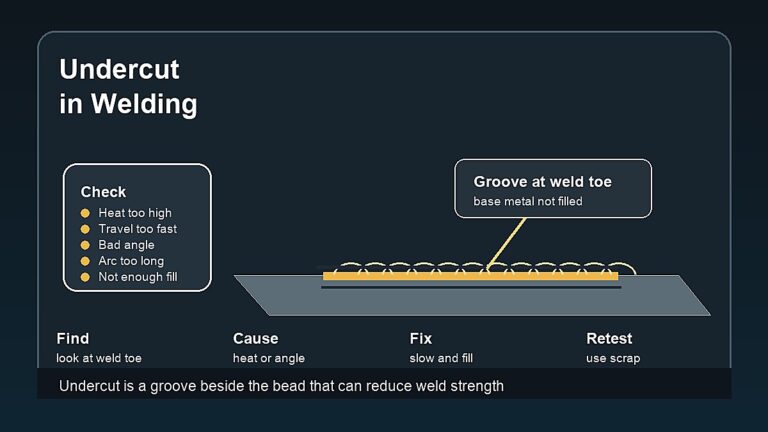
- Undercut at the edge: can happen when heat, angle, or travel speed is not controlled.
Take notes while practicing. Write down the rod type, rod size, amperage, position, and what the bead looked like after cleaning. That simple habit helps beginners improve faster than guessing every time.
First Stick Welding Practice Plan
- Read the machine manual and rod package.
- Put on PPE and clear the work area.
- Use clean mild steel scrap.
- Choose a beginner-friendly rod such as E6013 or E6011 if suitable for your machine.
- Set polarity and amperage from the chart.
- Practice arc starts without trying to make a perfect weld.
- Run straight beads in the flat position.
- Chip and brush slag after each bead.
- Compare beads and adjust one setting at a time.
- Move to lap joints and T-joints after straight beads improve.
For a broader beginner roadmap, read What Is Welding? and What Is the Easiest Welding to Learn?.
Flat, Horizontal, Vertical, and Overhead Positions
Beginners should start in the flat position because gravity helps the puddle stay manageable. Horizontal, vertical, and overhead welding add difficulty because the molten metal wants to sag or fall. Rod selection and technique become more important as the position gets harder.
Do not rush into vertical or overhead welding just because you can run a flat bead. Practice flat beads first, then flat lap joints and T-joints. Once your beads are consistent, move into other positions slowly with proper training and safe practice pieces.
Stick Welding vs MIG and Flux Core
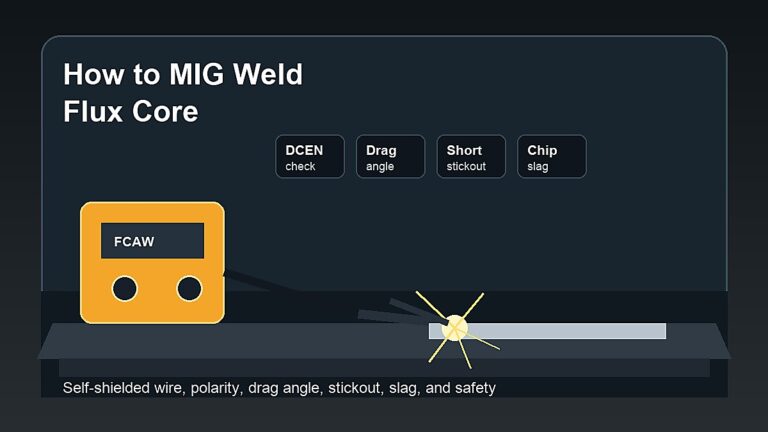
Stick welding is not always the easiest first process, but it has a clear purpose. MIG is often easier indoors on clean steel because the wire feeds automatically and the bead is cleaner. Flux core is a practical no-gas wire-feed option that can work outdoors but creates slag and more smoke. Stick welding is rugged, portable, and useful for thicker steel and repair work.
Choose stick welding first if your real goal is outdoor repair, farm-style practice, heavier mild steel, or learning a simple electrode-based process. Choose MIG or flux core first if your main goal is cleaner garage projects and faster beginner progress.
Common Stick Welding Problems
| Problem | Possible Cause | Beginner Check |
|---|---|---|
| Rod keeps sticking | Low amperage, arc too short, poor start technique | Check amperage range and practice starts |
| Lots of spatter | Long arc, high amperage, wrong polarity, dirty metal | Shorten arc and review setup |
| Slag inclusion | Bad angle, poor cleaning, travel issue | Chip/brush fully and watch slag line |
| Undercut | Too much heat or fast/poor travel control | Reduce heat or adjust travel technique |
| Porosity | Contamination, long arc, moisture, poor prep | Clean metal and store rods correctly |
If your welds keep failing in the same way, read Welding Defects and Beginner Welding Mistakes.
Safety Basics for Stick Welding
Stick welding can create bright UV radiation, hot slag, sparks, fumes, electric shock hazards, fire risk, and hot metal. Use a proper welding helmet, safety glasses, welding gloves, flame-resistant clothing, ventilation, and a fire-safe work area. Wear safety glasses when chipping slag because small pieces can fly into your eyes.
Do not weld on sealed containers, tanks, drums, coated metals, galvanized metal, unknown materials, vehicle frames, trailers, pressure vessels, lifting points, or structural parts without proper training and inspection. Beginner practice should stay on clean scrap and non-critical projects.
FAQ
Is stick welding good for beginners?
Stick welding can be good for beginners who want outdoor repair practice or a rugged setup. It is usually harder than MIG for many first-time welders because arc starts, rod sticking, and arc length take practice.
What is the easiest stick welding rod for beginners?
E6013 is often one of the easier rods for clean mild-steel practice. E6011 is also common for repair-style practice, especially when the machine and rod support the needed current.
Why does my stick welding rod keep sticking?
Common causes include low amperage, poor arc-start technique, holding the rod too close, wrong polarity, or an electrode that does not match the machine and job.
Do you push or pull stick welding?
For many stick welding practice beads, beginners use a slight drag angle. The exact technique depends on electrode, position, and joint, but keeping slag behind the puddle is important.
Can stick welding be done outside?
Yes. Stick welding is commonly used outdoors because it does not rely on external shielding gas. Wind, fire risk, moisture, and safe footing still matter.
Final Advice
Stick welding basics come down to setup and control: choose the right rod, set polarity and amperage correctly, start the arc cleanly, keep a short arc length, hold a steady angle, travel consistently, and clean slag after every bead. Start on clean mild steel scrap, keep the work non-critical, and build skill before attempting real repairs.