How to Weld on a Car for Beginners
To begin welding on a car, identify the exact panel and material, obtain the vehicle maker’s repair procedure, then prove your setup on comparable practice pieces before touching the vehicle. For learning thin mild-steel sheet, gas-shielded MIG is a useful starting point. It does not make every car part suitable for the same weld or repair.
A car is an assembly of materials, electronics, coatings and hidden cavities. The visible hole is only part of the job. This guide takes you from a proposed repair to a controlled practice exercise and a decision about readiness; the actual vehicle procedure must come from the manufacturer.
Identify what you are planning to repair
Write down the vehicle’s year, model, exact component and damage location. Find the applicable body repair information, including material identification, permitted replacement boundaries, attachment method and finishing requirements. Do this before cutting metal or buying a welder.
A rocker area, floor section or outer panel should not be labeled “cosmetic” because it looks thin. It may overlap reinforcements or contribute to the body structure. An accessible surface also does not tell you what sits behind it.
As a specific example, Honda’s 2014 Accord Plug-In and Hybrid body information distinguishes steel strengths and restricts joining methods for particular components. That older document illustrates why identification matters; it is not the repair procedure for a different vehicle or model year.
Have an appropriately trained repairer assess structural damage, restraint-system areas, suspension attachments and unfamiliar materials. A beginner’s successful practice bead cannot establish a repair plan for those parts.
Read the repair procedure as a complete job
Look beyond the welding paragraph. Make a short job sheet with the following questions and where each answer appears:
| Question | Why you need the answer |
|---|---|
| What material and layers are present? | Determines repairability, preparation and joining choices. |
| Where may the component be cut or replaced? | A convenient cut line may not be a permitted repair boundary. |
| What attachment method is specified? | Resistance spot welding, plug welding, brazing, riveting and bonding are different operations. |
| What must be removed, isolated or protected? | Access and preparation may involve more than the visible panel. |
| How will corrosion protection and inspection be completed? | The finished repair includes concealed surfaces and required checks. |
The I-CAR OEM technical information matrix shows these as distinct information categories. Use it as a research checklist, then obtain current vehicle-specific information. A matrix entry or a video of another repair does not authorize your proposed method.
Choose learning equipment for the practice material
For ordinary thin mild-steel practice coupons, consider a gas-shielded MIG machine with usable low-output control, suitable small-diameter solid wire and the manufacturer’s recommended shielding gas. Confirm that the torch, feed system and contact tip suit the wire.
Miller’s automotive MIG guide discusses equipment choice around material and thickness, with heat control central to thin body-panel work. Do not choose solely by maximum amperage: the ability to control a short weld on the intended sheet matters more for this exercise.
Self-shielded flux-core equipment is a different setup, with different handling and thin-sheet limitations. Our car sheet-metal and flux-core guide examines that narrower question. Neither process should replace the attachment method required by the vehicle procedure.
Prepare a bench exercise before preparing the car
Use identified sheet comparable to the intended learning task. An instructor can help choose material, thickness and joint design. Do not assume a thick practice plate demonstrates control on thin automotive sheet.
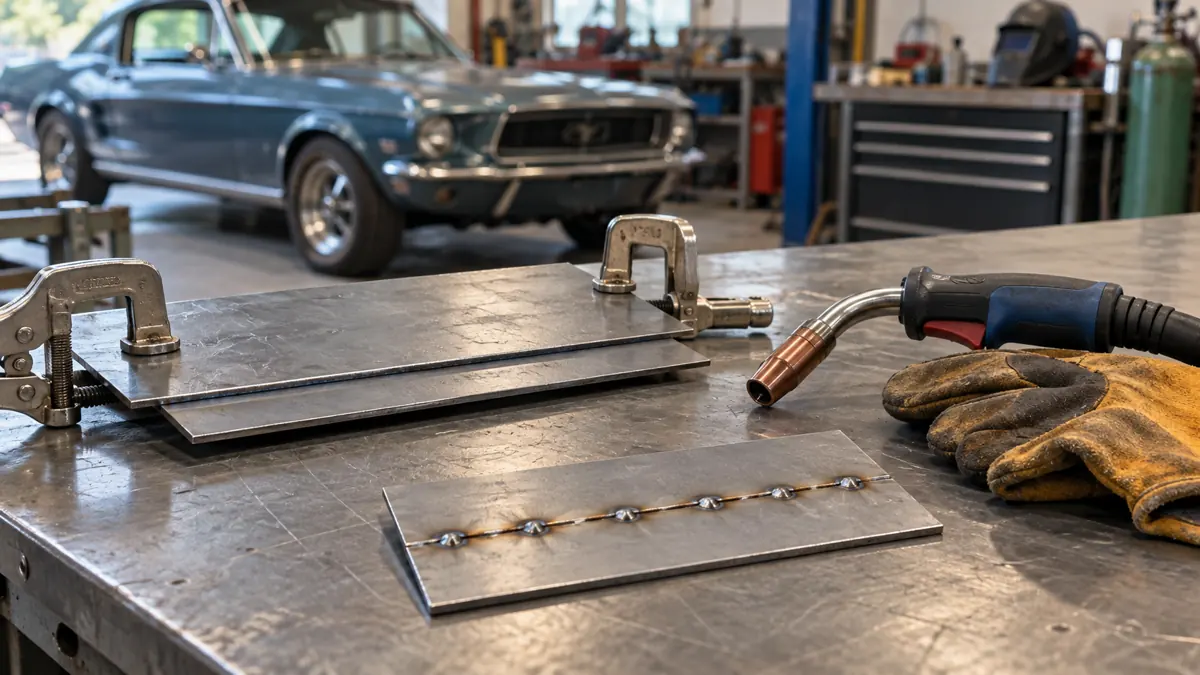
- Prepare matching pieces. Remove surface contaminants using appropriate methods and fit the edges or overlap for the chosen exercise. Keep the gap and alignment consistent so the comparison is meaningful.
- Support and clamp the joint. Arrange access to both sides where possible. Rehearse torch movement with the equipment made safe and check that the cable will not pull your hand out of position.
- Set the machine for the actual coupon. Use the equipment and wire instructions as a starting point. Check polarity, wire feed, gas and work connection instead of copying unexplained settings from another welder.
- Make a short trial. Watch the joint edges and stop to assess burn-through, distortion or unstable feeding. Correct the setup before making a longer sequence.
- Have the result evaluated. Inspect both sides and use the training task’s prescribed testing methods. Repeat until the result is consistent, rather than selecting the single best sample.
Make test welds on comparable material using the specified setup before vehicle welding, and assess them according to the applicable OEM procedure. A decorative bead on unrelated scrap answers a different question. I-CAR provides welding training and certification; use the relevant training and vehicle-specific repair information together.
Learn heat control without inventing a repair pattern
Thin sheet can burn through or distort before a beginner expects it. Good fit-up reduces the need to bridge gaps. Controlled short applications and a planned sequence can limit localized heat accumulation during suitable sheet-metal exercises.
On practice material, compare how the joint responds as you distribute welding rather than keeping the arc in one area. A backing or chill bar may be useful where appropriate and accessible. Have an instructor help distinguish an acceptable result from a cold deposit that merely sits on the surface.
Miller’s sheet-metal guidance explains fit-up, heat distribution and backing bars. These techniques do not give permission to change a vehicle’s specified weld type, spacing, count or location. A sequence that works for a bench patch may not be the required method for the car.
If a hole develops, stop and identify whether fit, settings, dwell or material condition contributed. Repeatedly adding weld to a growing hole can obscure the original problem. Return to a comparable coupon when the result becomes difficult to interpret.
Prepare the vehicle through its specific instructions
Actual vehicle preparation includes the relevant electrical isolation, component removal and protection steps. Do not reduce this to “disconnect the battery.” The required actions can differ between vehicles and systems.
For example, Tesla’s Model 3 preparation instructions require the vehicle-specific electrical isolation procedure before welding and warn about component damage with energized systems. That example establishes the need for the exact instructions, not a generic isolation sequence. High-voltage work requires appropriately trained personnel.
Inspect both sides of the repair area for wiring, fuel and brake components, trim, insulation, adhesives and other affected materials. Plan safe access and fire control before hot work. If work requires lifting the vehicle, use its specified lift/support points and correctly rated support equipment; a jack alone is not a work support.
Welding fumes, coatings, sparks, hot metal and electrical hazards still apply. Use suitable protection, ventilation and fire precautions, including attention to concealed smoldering material. OSHA’s welding hazard guidance explains the main exposure categories. Do not attempt beginner repairs on tanks or other containers that held fuel.
Include finishing and verification in the repair plan
A repair is not complete when the arc stops. Follow the specified inspection, weld finishing, sealing and corrosion-protection steps, including accessible and concealed surfaces. Avoid grinding away parent sheet to make an unassessed weld disappear.
Where the job requires scans, calibrations, measurements or further checks, include them in the plan and budget. Ask the repairer what documentation will establish completion. Fresh paint and a flush-looking patch cannot answer those questions.
WeldingPilot planning note: before moving from practice to a car, be able to identify the material, show the applicable repair procedure, repeat its required joint on representative samples and explain how the whole repair will be verified. If an answer is missing, resolving it is the next useful task.
Questions beginners ask
Can my first project be a car floor or rocker repair?
Start with supervised coupons. Those vehicle areas may involve structural layers or specific replacement methods. Have the actual damage and manufacturer procedure assessed before treating the job as a simple sheet-metal patch.
Can I use one voltage and wire-speed setting for every panel?
No. Material, thickness, joint, wire and equipment change the setup. Use suitable instructions and representative trials. If you need the process fundamentals, see our beginner MIG techniques guide.
Does a successful scrap weld mean the car repair is safe?
It provides evidence about that sample and setup. Service readiness also depends on the correct repair plan, materials, preparation, attachment, finishing and required verification.