How Long Does It Take to Learn TIG Welding?
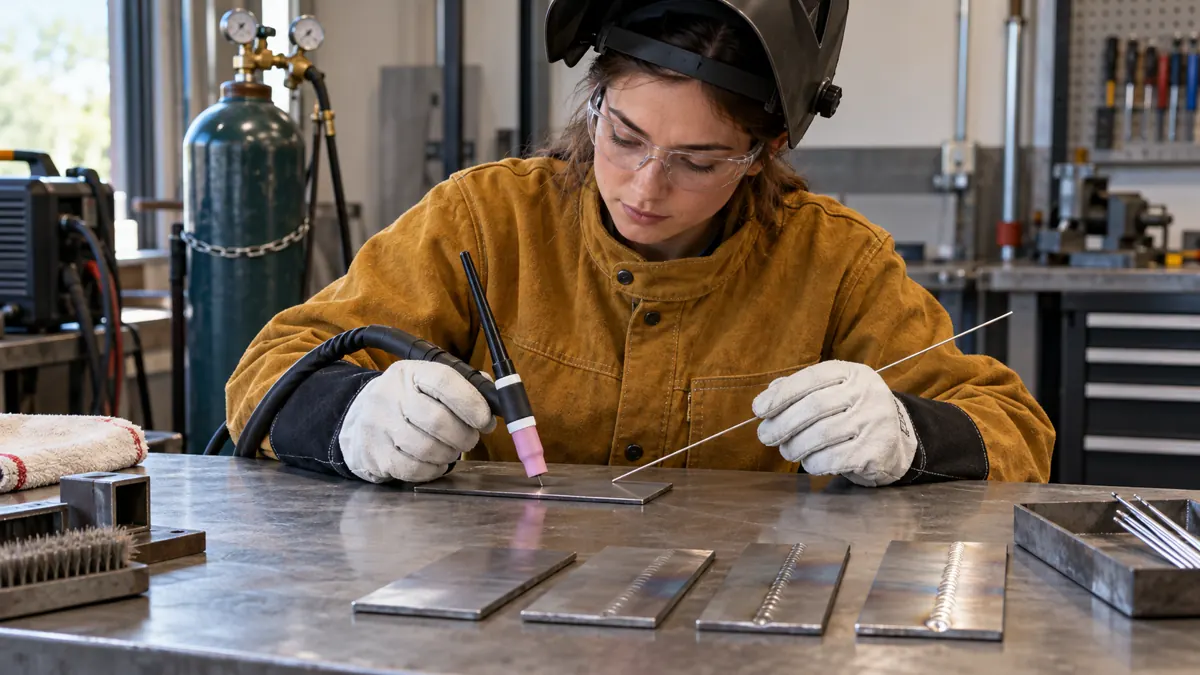
There is no reliable number of hours that makes everyone proficient at TIG welding. Learning to start an arc is one milestone; repeating a sound joint is another. If you are planning your first lessons, allow for an ongoing practice routine rather than expecting a single weekend to make you job-ready.
The useful question is: what do you want to be able to weld, and how will you know you can do it consistently? A flat practice bead on mild steel, a thin aluminum corner and a qualification test each demand different evidence of skill.
How long does it take to learn TIG welding at each level?
Use these stages to plan your learning. The table describes progress checks, not measured average completion times. No stage has a guaranteed deadline.
| Your goal | What you need to demonstrate | How to think about the time |
|---|---|---|
| Understand the basics | Identify the equipment, consumables, controls and safety requirements. | An introductory lesson can begin this; understanding the controls is not proof of welding ability. |
| Control a practice bead | Maintain a visible puddle and repeat a controlled run on known scrap. | Plan repeated practice and feedback, rather than judging one successful bead. |
| Make a particular joint consistently | Prepare, fit, weld and evaluate matching joints under the required conditions. | Continue until the result is repeatable; a new material or position adds learning. |
| Qualify for specific work | Meet the applicable procedure and performance-test requirements. | Ask the training provider or test facility to assess readiness for that test. |
AWS explains that new welders may spend several months developing the skills needed for a qualification test, while an experienced welder may already be ready to test. That is general guidance about certification readiness, not a TIG-specific average or a promise about your progress. Its Certified Welder program is performance-based. Read the AWS program requirements before treating a course length as a certification timeline.
Why TIG can feel slow at first
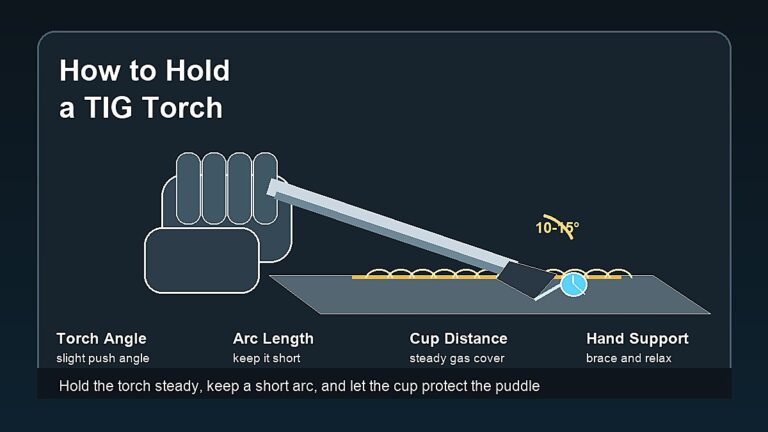
TIG separates jobs that a wire-feed process combines. One hand guides the torch, the other may add filler, and a foot pedal or torch control may regulate current. Early practice often goes into coordinating those actions before the bead becomes consistent.
Miller’s MIG-to-TIG guide identifies that separate control of torch movement, filler and heat as an important adjustment. Previous welding experience can help you understand preparation and joints, but it does not remove the need to learn TIG coordination.
Think of a learner who keeps a steady torch until the filler hand has to move. If the next action changes torch distance, practising a longer bead may simply repeat the same interruption. Breaking that movement into a short, focused exercise gives the next session a clear purpose.
What changes your learning timeline?
The finish line you choose
“Learn TIG” is too broad to measure. Replace it with a specific goal, such as preparing and repeating a simple practice joint on known mild-steel coupons with an instructor’s feedback. That gives you a result to assess and a reason to move to the next task.
Do not set the first goal as a roll cage, trailer, pressure component or lifting attachment. Failure has consequences that a beginner practice piece should not have.
Useful practice time
Time in the workshop includes preparation, positioning, cleanup, troubleshooting and shutdown. Those tasks matter, but they are not the same as time spent developing a particular movement. Keep a short record of what you actually practised rather than counting every hour beside the machine as equivalent.
Feedback you can act on
“Try harder” does not identify a correction. Useful feedback names an observation: the arc length changes when you add filler, the joint gap varies, or a contaminated electrode was used for the whole run. An instructor can then help you choose a controlled comparison.
Equipment and material consistency
If every session uses different scrap, filler and settings, it becomes difficult to tell whether your hands improved. Start with an equipment setup checked against the manual, identified material and matching coupons. Add new variables deliberately. Our TIG welding hub connects the process to equipment, consumables and related lessons.
A practice sequence with observable milestones
WeldingPilot practice note: judge progress by what you can repeat and explain. One attractive bead is encouraging, but it is a poor basis for declaring an entire skill learned.
- Set up and explain the choices. Identify the base metal, filler, tungsten and shielding requirements. Have the workspace and machine setup checked when you are unsure.
- Rehearse positioning with equipment made safe. Move along the intended run and check whether a cable, clamp or awkward reach will interrupt you. Arrange support without exposing yourself to hot metal or electrical hazards.
- Make short, controlled practice runs. Use a task suited to your training and machine. Concentrate on a visible puddle and consistent movement before adding complexity.
- Add filler without losing the torch position. Separate the coordination problem from the desire to make a long decorative bead. Stop to correct contamination rather than carrying it into the next comparison.
- Repeat a simple joint. Include preparation and fit-up. Have the result evaluated using methods suitable to the training task; surface appearance alone cannot establish internal fusion.
- Change one condition. Move to the next material, thickness, joint or position with appropriate instruction. Keep earlier examples so you can see what actually changed.
The Miller TIG basics guide is a useful companion for understanding equipment and coordinated controls. Use your exact machine and consumable instructions for settings; a learning schedule is not a welding procedure.
A realistic way to plan practice around a job
Here is a scheduling example, not a prediction of when you will become proficient. If you reserve two 90-minute workshop sessions each week, you have three scheduled hours a week, or 12 over four weeks. Preparation, inspection and shutdown all come out of that allowance.
Give the two sessions different purposes:
- Session one: repeat a familiar task, document the problem and make one controlled change.
- Session two: review that change with an instructor or competent mentor, then repeat the corrected task.
If the result is still inconsistent, keep the same milestone for the next week. If equipment troubleshooting consumes a session, record that honestly. The calendar does not require you to advance to a harder joint before the current one is understood.
What to record when progress stalls
A simple log makes the next lesson easier to use. Include the material and thickness, consumable identities, machine settings, joint, one observation and the next check. A photograph helps when it includes enough context to identify the coupon.
For example: “The first part of the run is steady; the torch moves away when I reposition the filler hand. Next session: rehearse that movement and compare a shorter run on the same setup.” That note is more useful than “bad weld, turn up the amps.”
When the arc becomes erratic, check the setup as well as technique. Miller’s TIG troubleshooting guide covers gas coverage, contamination and other faults. Do not continue through an unidentified problem simply to accumulate practice hours. The related TIG practice and technique guide can help separate the next exercise into smaller tasks.
Learning aluminum and preparing for paid work are separate steps
Do not treat a successful steel practice session as proof that you can repeat the result on aluminum. Equipment capability, preparation, filler and heat behavior change. Define a separate learning goal with the right setup; see our aluminum process-selection guide before buying accessories or copying steel settings.
Likewise, finishing a course does not automatically establish readiness for every TIG job. Ask an employer or training provider which material, joint, position, procedure and acceptance requirements apply. Prepare for that task rather than for an undefined badge of being “good at TIG.”
Safety belongs in the first lesson
Arrange suitable eye and skin protection, fume controls, fire prevention and protection for nearby people before practising. Identify the material and coatings, inspect equipment and plan how hot pieces will be handled. A process that produces little visible spatter still has hazards.
Use appropriate training for the equipment and task. Keep learning coupons out of structural, vehicle, trailer, pressure, lifting and other safety-critical service. Our safety equipment checklist and OSHA’s welding hazard guidance explain the main exposure categories.
Questions beginners ask about TIG learning time
Can I learn TIG welding in a weekend?
A weekend can be used for an introduction and supervised practice. It does not demonstrate repeatable joint quality or qualify you for critical work. Decide which introductory skills the lesson will cover before booking it.
Is 100 hours enough to get good?
An hour total alone cannot answer that. Ask what material and joint were practised, what feedback was received and what the results showed. A number copied from another learner’s experience is not a personal guarantee.
Will learning MIG first make TIG easy?
It can provide useful knowledge of preparation and welding behavior. The separate torch, filler and current controls still need practice. Use previous experience as a foundation rather than a reason to skip TIG instruction.
How do I know when to move on?
Set the progress check before practising, repeat it and have the result assessed appropriately. If you cannot identify why one attempt worked and another failed, another focused session may be more useful than a harder project.