How Do I Know What Shade My Welding Helmet Is?
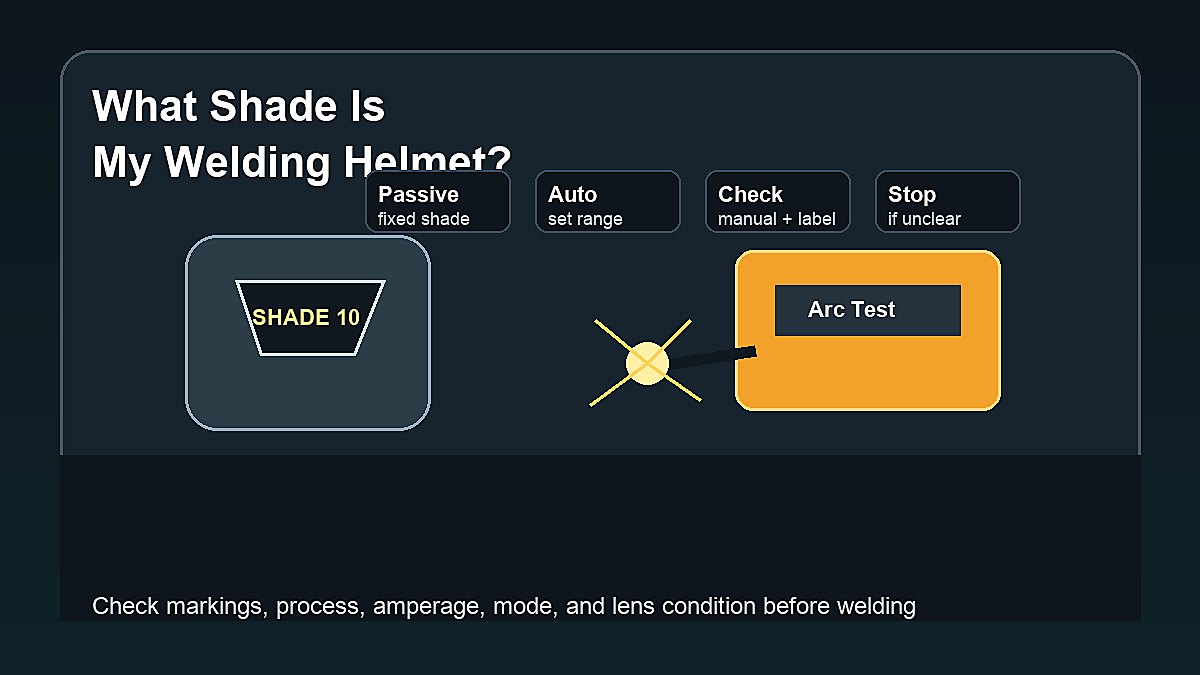
How do I know what shade my welding helmet is? Check the lens marking, helmet manual, shade control knob or digital setting, and the process/amperage chart for your work. Passive helmets usually use a fixed shade lens marked with a number such as 10, 11, or 12. Auto-darkening helmets have an adjustable shade range, but you still need to confirm the selected shade before welding.
A welding helmet shade is not a guess or a comfort setting only. The shade number controls how much visible light passes through the filter. The correct shade depends on the welding or cutting process, amperage, arc brightness, lens type, and manufacturer instructions.
Mark Dawson beginner note: if you cannot identify the shade, do not weld with that helmet. A dark-looking lens is not enough proof. Find the marking, manual, model information, or replace the lens with a known welding-rated filter.
Quick Answer
To know your welding helmet shade, remove or inspect the filter lens and look for a shade number or rating, check the helmet label and manual, and confirm the shade setting if it is auto-darkening. Then compare that shade with a welding lens shade chart for your process and amperage. If the lens is unmarked, damaged, too light, or not welding-rated, do not use it for arc welding.
| Helmet Type | How to Check Shade | Beginner Warning |
|---|---|---|
| Passive helmet | Read the fixed lens marking | Replace unknown lenses |
| Auto-darkening helmet | Check selected shade and range | Do not leave it in grind mode |
| Cutting goggles | Read filter shade and process rating | Not enough for arc welding |
| Old helmet | Inspect lens, shell, and label | Damage can reduce protection |
What Welding Helmet Shade Means
A welding shade number describes how dark the filter is to visible light. Higher shade numbers are darker. A shade 12 lens lets through less visible light than a shade 10 lens. That can help with brighter arcs, but going too dark can make the joint hard to see and lead to poor positioning.
Shade is only one part of eye protection. A welding helmet also needs a proper shell, cover lenses, safety glasses underneath, good fit, and protection from ultraviolet and infrared radiation according to the helmet rating. Sunglasses, dark plastic, smoked glass, or unknown lenses are not replacements.
For broader helmet basics, read How Does a Welding Helmet Work? and How to Use a Welding Helmet Safely.
How to Check a Passive Welding Lens
A passive helmet has a fixed dark lens. Remove the cover plate if needed and look for a shade number stamped, printed, or etched on the filter lens. The marking may be near the edge, so clean the lens gently and inspect it under good light.
If the lens says shade 10, it is a fixed shade 10 filter. If the marking is missing, scratched off, unreadable, or the lens looks homemade, replace it with a known welding lens from a reliable source. Do not assume that any dark lens is safe for welding.
Also inspect the cover lenses. A clear cover plate protects the filter from spatter, but it is not the shade filter itself. A damaged cover plate can make visibility poor and may hide cracks, pits, or damage on the actual filter lens.
How to Check an Auto-Darkening Helmet Shade
An auto-darkening helmet usually has a shade range, such as 9-13, 5-13, or another range depending on the model. The selected shade may be controlled by an outside knob, inside dial, or digital menu. Check the control before welding.
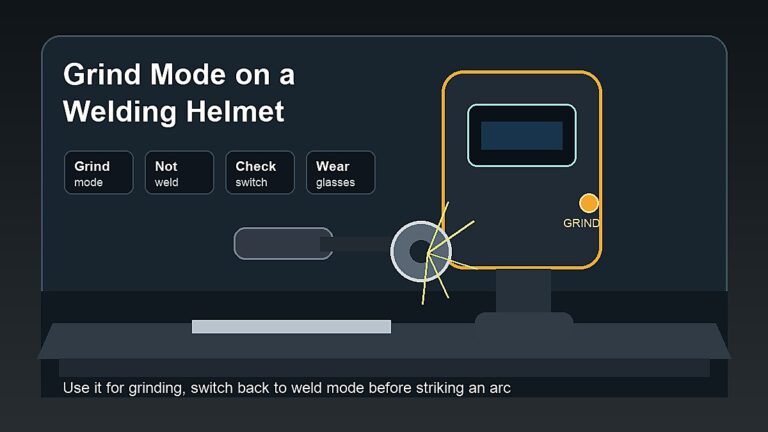
Auto-darkening helmets often have modes for weld, cut, and grind. Grind mode is not a welding shade. If the helmet is left in grind mode, it may stay too light when the arc starts. Before every weld, check mode, shade, sensitivity, delay, battery, and sensor area.
For more detail, use Are Auto-Darkening Welding Helmets Safe?, How Do Auto-Darkening Welding Helmets Work?, and What Is Grind Mode on a Welding Helmet?.
Match Shade to Process and Amperage
MIG, TIG, stick, flux core, plasma cutting, oxy-fuel cutting, and brazing can need different shade ranges. Amperage matters because a brighter arc usually requires a darker shade. TIG at low amperage may use a lighter setting than high-amperage stick or flux core welding.
Use the helmet manual and a recognized shade chart. OSHA gives a practical rule of thumb: start with a shade too dark to see the weld zone, then move lighter until you can see the weld zone without going below the minimum recommended shade. That means comfort does not override the minimum safety guidance.
When in doubt, stop and verify. Do not keep welding through eye strain, flickering, a lens that seems too bright, or a helmet that does not darken reliably.
Common Shade Starting Points
Exact shade selection should come from the helmet manual, process chart, and safety guidance, but beginners often need a general orientation. Low-amperage TIG may use a lighter shade than higher-amperage stick welding. MIG and flux core often sit in the middle-to-darker range depending on amperage. Plasma cutting and oxy-fuel work use their own recommendations.
The point is not to memorize one universal number. The point is to connect the shade to the actual work. A short TIG tack, a 7018 stick weld, flux core repair, aluminum MIG, and plasma cutting can all need different viewing protection. Recheck the shade when the process changes.
| Task | Shade Thinking | Beginner Check |
|---|---|---|
| Low-amp TIG | May need a lower welding shade | Stay within recommended range |
| MIG welding | Shade depends on amperage | Check gas MIG vs flux core setup |
| Stick welding | Often brighter at higher amps | Match rod and amperage |
| Plasma cutting | Uses cutting guidance | Do not assume grind mode is enough |
Check Labels, Ratings, and the Manual
A proper welding helmet should have manufacturer information, model details, lens information, or documentation that explains the shade range and intended use. If the helmet came with no manual, look up the exact model from the manufacturer rather than relying on a seller description.
For auto-darkening helmets, check whether the helmet is intended for the process you plan to use. Some helmets have lower shade ranges for cutting and grinding modes, while others are meant for welding only. Sensor count, reaction, optical rating, battery access, and replacement cover lenses also affect practical safety.
If a helmet is very old, cracked, modified, missing labels, or fitted with an unknown lens, treat it as questionable. Replacement lenses and cover plates are cheaper than risking your eyes. When the lens source is unknown, replace it with a known filter that matches the helmet and task.
Common Shade Mistakes Beginners Make
- Using an unmarked dark lens because it “looks dark enough.”
- Leaving an auto-darkening helmet in grind mode.
- Using one shade for every process and amperage.
- Confusing the clear cover lens with the filter lens.
- Welding with scratched, cracked, or dirty lenses.
- Using cutting goggles for arc welding.
- Ignoring weak batteries or blocked sensors.
- Choosing a shade so dark that the joint cannot be seen safely.
What If the Helmet Is Too Dark?
A helmet that is too dark can make the joint, puddle, and travel path hard to see. That can cause poor starts, wandering beads, bad torch angle, and unsafe body position. Beginners sometimes think darker is always safer, but visibility still matters when the shade remains within the correct safety range.
Improve visibility before lowering shade too far. Clean the cover lens, add work lighting, reposition the part, use a lighter background, and check whether smoke or lens scratches are blocking the view. Then choose the proper shade according to process guidance.
New welders sometimes blame shade when the real problem is body position. If your head is too far from the joint, the torch blocks the view, or your hands force an awkward angle, the puddle becomes hard to see at any shade. Fix the stance and work position before changing the helmet again.
Lighting outside the helmet helps before and after the arc. A clean work light can make the joint easier to line up before the lens darkens. It will not replace the welding shade, but it can reduce the temptation to use a shade that is too light just to find the joint.
What If the Helmet Is Too Light?
A lens that is too light can expose your eyes to excessive brightness and may increase the risk of eye injury. Signs of a problem can include discomfort, squinting, afterimages, headache, or the sense that the arc is painfully bright. Stop welding and check the shade immediately.
Do not “tough it out” through a bright arc. Check the shade setting, mode, batteries, sensors, cover lens, and helmet manual. If anything seems wrong, use a different helmet or replace the lens before continuing.
How to Tell a Passive Lens From a Cover Lens
A passive welding filter is the dark lens that provides the shade. A cover lens is usually clear and protects the filter from spatter and scratches. Some helmets have an outside cover lens and an inside cover lens. Those clear plates are not what makes the helmet safe for viewing an arc.
If you remove a clear cover plate and see a separate dark filter, the shade marking should be on the filter. If every piece is clear or only lightly tinted, stop and verify the helmet design. Do not improvise with stacked plastic, sunglasses, camera filters, or other non-welding materials.
When to Replace the Lens or Helmet
- The shade marking cannot be read.
- The filter lens is cracked, deeply scratched, pitted, or loose.
- The helmet shell is cracked or warped.
- The auto-darkening filter flickers or fails to darken.
- The battery compartment is damaged or corroded.
- The sensors are damaged, blocked, or unreliable.
- The helmet cannot be matched to a manual or rating.
- You cannot get replacement cover lenses that fit correctly.
A beginner helmet does not need fancy graphics or the largest viewing area. It does need a known shade range, reliable lens, clean cover plates, stable headgear, and a shell that covers the face and neck area properly for the work.
Simple Shop Test Before Welding
Before the first bead, put on safety glasses, lower the helmet, and look at the joint with the machine off. Confirm you can see the work area before the arc starts. Then check the shade or auto-darkening setting one more time. This habit catches dirty lenses, wrong mode, poor lighting, and bad headgear fit before there is arc exposure.
How Shade Affects Learning
The wrong shade can slow down learning. Too light can be uncomfortable and unsafe. Too dark can hide the puddle, joint line, and bead edges. A beginner then guesses at travel speed and angle, which creates poor habits.
Good shade selection should make the arc comfortable while still letting you see the weld zone clearly enough to control the puddle. That is why OSHA’s guidance starts dark and then moves lighter without going below the minimum. It protects the eyes while keeping the weld visible enough to work.
Safety Glasses Still Matter
A welding helmet protects against arc light and face hazards, but safety glasses protect your eyes when the helmet is raised. Grinding, brushing, chipping slag, cutting wire, and moving metal can send debris toward your eyes. Wear safety glasses under the helmet and during cleanup.
Clear safety glasses do not replace a welding shade. They are impact protection, not arc-viewing protection. For that difference, read Do Clear Safety Glasses Protect From Welding Flash?.
Quick Pre-Weld Helmet Check
- Confirm the helmet is welding-rated.
- Read the lens shade marking or selected auto-darkening shade.
- Match shade to process and amperage.
- Check weld mode, not grind mode.
- Inspect sensors, batteries, and delay setting if auto-darkening.
- Clean cover lenses and replace damaged plates.
- Wear safety glasses underneath.
- Stop immediately if the lens flickers or feels too bright.
Trusted Safety References
Helmet shade is a safety topic, so use recognized references rather than guessing. Review OSHA eye and face protection requirements, OSHA welding hazards guidance, and AWS safety resources.
FAQ
Where is the shade number on a welding helmet?
On a passive helmet, the shade number is usually marked on the filter lens near the edge. On an auto-darkening helmet, check the shade knob, digital menu, label, and manual.
What shade is best for beginner welding?
There is no single best shade for every beginner. The correct shade depends on the process and amperage. Use the helmet manual and a recognized shade chart.
Can I weld with shade 10?
Shade 10 may be suitable for some welding conditions, but not all. Check the process, amperage, helmet manual, and minimum shade guidance before welding.
Is an auto-darkening helmet always the right shade?
No. Auto-darkening helmets need the correct shade setting, working sensors, good batteries, proper mode, and a clean lens. The user still has to set and check the helmet.
Can sunglasses work as welding shade?
No. Sunglasses are not welding filters and should never be used to view a welding arc. Use a welding-rated helmet or hand shield with the correct shade.
Final Advice
To know your welding helmet shade, identify the lens marking or selected auto-darkening setting, confirm the helmet rating, and match the shade to the process and amperage. If the shade is unknown, damaged, too light, or unreliable, stop and replace the lens or helmet before welding.