Do You Drag or Push When Stick Welding?
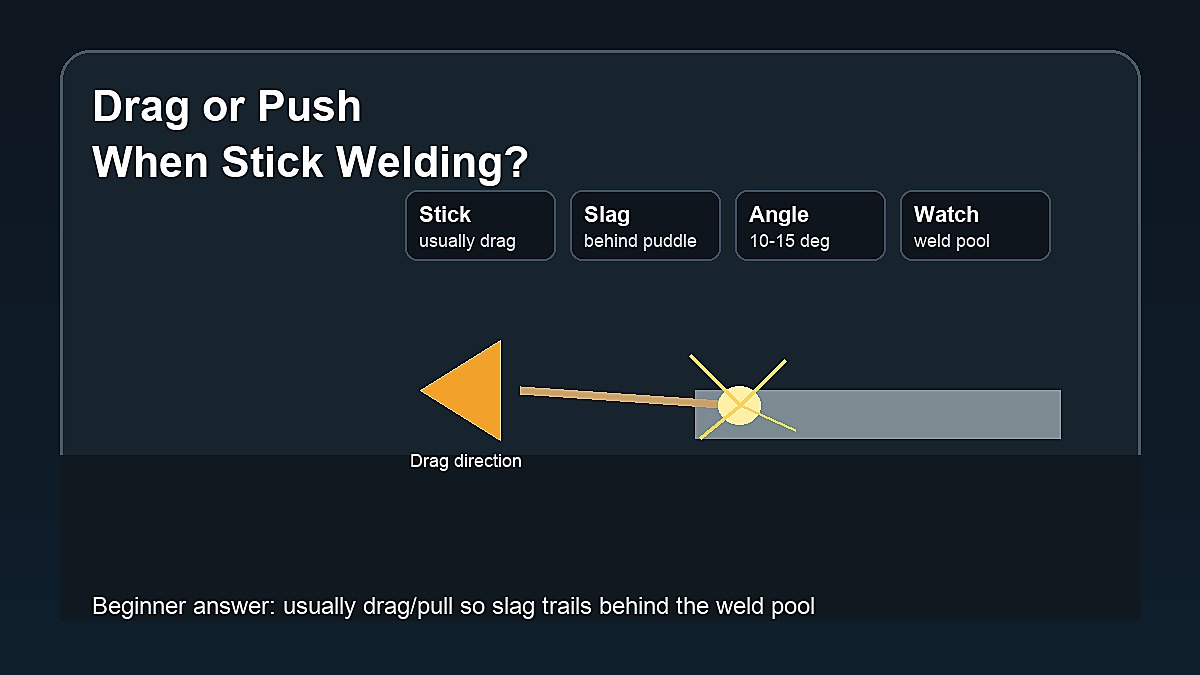
Do you drag or push when stick welding? Most beginners should drag, also called pull, when stick welding. Stick electrodes create slag, and dragging helps keep that slag behind the molten weld pool instead of pushing it into the joint.
The simple rule is: with stick welding, keep a slight drag angle and watch the weld pool. Pushing the rod can work poorly because the flux slag may run ahead of the puddle, causing slag inclusion, poor fusion, an unstable bead, and extra cleanup.
Mark Dawson beginner note: do not turn “drag” into a huge lean angle. A small angle is usually enough. Too much angle can make the arc long, narrow the bead, and reduce control.
Quick Answer
For most flat and horizontal stick welding, drag the rod about 10 to 15 degrees in the direction of travel. The electrode points slightly back toward the finished weld while you move forward. This keeps slag behind the puddle and helps the weld pool tie into the joint. Pushing is more common in some MIG situations, not in normal stick welding.
| Question | Beginner Answer | Why |
|---|---|---|
| Flat stick weld | Drag/pull | Keeps slag behind puddle |
| Horizontal stick weld | Usually drag | Better slag control |
| Vertical-up stick weld | Use position technique | Angle depends on rod and puddle |
| Overhead stick weld | Slight drag/control angle | Keep puddle small and controlled |
Why Stick Welding Is Usually Dragged
Stick rods have flux coating. When the rod burns, the flux creates shielding gas and slag. The slag protects the weld as it cools, but it must stay out of the molten metal. If slag gets trapped inside the weld, the defect is called slag inclusion.
Dragging puts the electrode angle in a position that helps the slag trail behind the weld pool. The arc is at the front of the puddle, the molten metal fills behind it, and the slag follows. This is the main reason stick welding advice often says, “If there is slag, drag.”
That phrase is not perfect for every welding process, but it is a useful beginner rule for stick welding. For process basics, read Stick Welding and Advantages and Disadvantages of Stick Welding.
Correct Rod Angle for Beginners
A good starting angle is about 10 to 15 degrees from vertical, leaning back toward the finished weld. Keep the rod close enough to maintain a short arc. The exact angle depends on rod type, joint shape, welding position, amperage, and how the puddle behaves.
Too much drag angle can make the bead narrow and ropey. It can also increase spatter and make the arc harder to control. Too little angle can let slag crowd the front of the puddle. Beginners should make small angle changes and inspect the bead after chipping slag.
Drag Angle vs Work Angle
Travel angle and work angle are different. Travel angle is whether you drag or push along the direction of travel. Work angle is how the rod points into the joint from side to side. On a fillet weld, the work angle often aims between the two pieces so both sides fuse.
A beginner can drag correctly and still make a bad weld if the work angle is wrong. If the rod points too much at one plate, the other side may lack fusion. Watch both toes of the weld and make sure the puddle ties into each side.
What Happens If You Push Stick Welding?
Pushing a stick rod can drive slag toward the front of the weld pool. That slag can get trapped under the bead or between passes. The bead may look uneven, dirty, or hard to clean. Fusion may suffer because the arc is not controlling the puddle cleanly.
Pushing can also make the puddle harder to read. Instead of seeing the front edge of the molten pool clearly, the flux and slag can crowd the view. Beginners need a clear view of the puddle to learn travel speed, arc length, and tie-in.
Flat Position Tips
Flat stick welding is the best place to learn the drag technique. Set the rod at a slight drag angle, keep a short arc, and move steadily. The puddle should follow the arc, and the slag should trail behind. If the slag runs ahead, slow down, adjust angle, or check amperage.
After the bead cools, chip and brush the slag. A good practice bead should have consistent width, smooth tie-in, and no deep undercut. If the bead is tall and cold, amperage may be low or travel speed may be too fast.
Vertical and Overhead Are Different
Vertical and overhead stick welding require more control. The beginner rule still helps, but the rod angle must work with gravity and the specific electrode. Vertical-up welding often uses a small weave or stepping motion to support the puddle. Overhead welding needs a small, controlled puddle and correct amperage.
Do not use a huge drag angle overhead. Keep the arc short, use the rod recommended for the position, and practice on scrap before welding a real part. If molten metal or slag is falling, stop and reset the technique.
Rod Type Changes the Feel
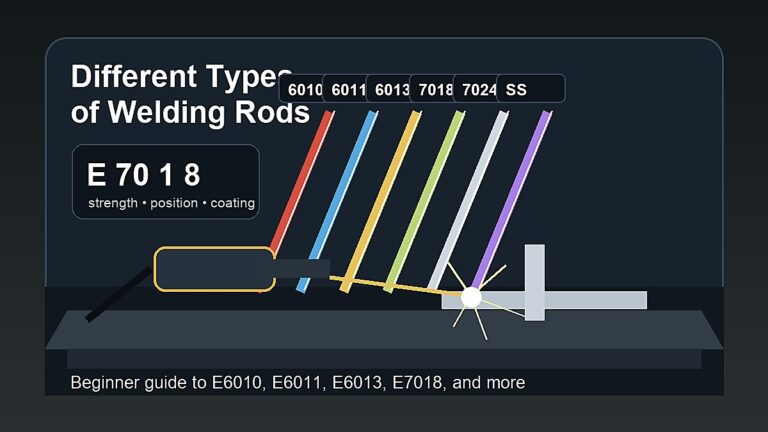
6010 and 6011 rods have a digging arc and fast-freeze behavior. They may use a different motion than smoother rods. 6013 can feel easier for light practice. 7018 often likes a steady drag with a short arc and proper rod storage. For rod sizes and ranges, see Arc Welding Rod Size Chart.
Do not force every rod to behave the same. If the slag is hard to remove, the bead is uneven, or the rod sticks constantly, check rod type, amperage, polarity, arc length, and travel angle together.
6010 and 6011 Rod Technique
6010 and 6011 rods are often used with a digging arc. Some welders use a whip-and-pause or slight stepping motion rather than one smooth drag. Even then, the rod is not usually pushed like a MIG gun. The motion is about controlling the keyhole, puddle, and freeze rate.
Beginners should first learn simple beads before trying aggressive whipping. If the puddle keeps opening too much or the bead becomes uneven, reduce the motion and return to a steady short arc. Rod manipulation should solve a problem, not create one.
7018 Rod Technique
7018 is commonly run with a steady drag angle and short arc. It does not usually need a large weave on flat practice beads. Keep the rod close, maintain steady travel speed, and let the slag trail behind. Long arc length can make 7018 porosity and spatter worse.
Because 7018 slag can cover the bead smoothly, beginners may not see problems until after chipping. Clean between passes and check the toes of the weld. Trapped slag at the edge often points to angle, travel speed, or bead placement problems.
How Travel Speed Fits In
Drag angle alone cannot fix travel speed. Moving too fast can leave a narrow bead with poor tie-in. Moving too slowly can pile up metal and let slag crowd the puddle. A steady travel speed lets the arc melt the front of the joint while the filler and slag settle behind it.
Watch the leading edge of the weld pool rather than the sparks. Look for the molten metal wetting into both sides of the joint. If the bead shape changes suddenly, pause after the weld, chip the slag, and inspect before continuing.
Arc Length Matters as Much as Direction
A beginner can drag correctly and still make a poor weld with a long arc. Long arc length increases spatter, makes the arc wander, and can reduce control. Keep the arc short enough that the rod does not stick but close enough to focus heat into the joint.
If the rod sticks constantly, do not solve it by pulling far away from the work. Check amperage, rod condition, polarity, and metal cleanliness. A long arc may feel easier for a moment, but it usually makes the weld worse.
Troubleshooting Slag Inclusion
Slag inclusion means nonmetallic slag is trapped in the weld. A bad push angle can contribute because slag may run ahead of the puddle. The same defect can also come from low amperage, poor cleaning between passes, travel speed that is too slow, or bead placement that leaves pockets.
If you see slag trapped along the edge after chipping, do not weld over it. Grind or clean the defect out on practice work, then adjust the next bead. Try a slightly shorter arc, a steadier drag angle, and better cleaning before blaming the rod.
Troubleshooting Undercut
Undercut is a groove melted beside the weld that does not get filled. Too much drag angle can make undercut worse by concentrating the arc at the edge and pulling the puddle away. High amperage, fast travel, and long arc length can also cause it.
To reduce undercut, bring the rod angle closer to normal, shorten the arc, and slow down slightly so filler metal has time to fill the toes. Make one change at a time on scrap so you can see which adjustment helped.
How to Know You Are Dragging Correctly
A good drag angle feels steady. The arc stays close to the joint, the puddle remains visible, and slag follows behind instead of rolling under the arc. The finished bead should have even ripples, reasonable width, and no obvious slag pockets after cleaning.
You should not need to fight the rod. If your wrist angle feels extreme or the holder blocks your view, reset your body position. Comfort and control matter because stick welding is manual from start to finish.
Fillet Weld Example
On a flat fillet weld, aim the rod so the work angle splits the corner between the vertical and horizontal plate. Then use a slight drag angle in the direction of travel. The molten pool needs to touch both plates and fill the corner evenly.
If the weld climbs one plate and misses the other, the work angle is wrong. If slag gets trapped along one toe, the travel speed or rod angle may be wrong. Small adjustments are better than swinging the rod around wildly.
Butt Weld Example
On a butt weld, keep the rod centered on the joint and use a slight drag angle. If the plates are thick, the joint may need beveling and multiple passes. Do not try to compensate for poor joint preparation by leaning the rod too far.
For a root pass, the correct technique depends on rod type, joint gap, and position. Beginners should practice basic beads and simple joints before trying pipe-style open-root techniques.
Signs Your Angle Is Wrong
- Slag runs ahead of the weld pool.
- Bead is tall, ropey, or narrow.
- Edges show undercut.
- Slag is trapped along the toes.
- Arc sounds harsh or unstable.
- Spatter is excessive.
- One side of a fillet weld does not fuse.
Practice Drill
Use clean mild steel scrap and one rod type. Run three short beads: one with a slight drag, one with too much drag, and one with a push angle. Chip the slag and compare the beads. This teaches the difference faster than reading the rule alone.
Write the amperage beside each bead with soapstone or marker. Keep notes on rod type, angle, and how the slag removed. The goal is to connect hand position with the finished bead, not just memorize a rule.
Common Beginner Mistakes
- Pushing the rod because MIG advice said to push.
- Using too much drag angle.
- Holding a long arc while trying to drag.
- Ignoring work angle on fillet welds.
- Judging the bead before removing slag.
- Using the wrong rod for the position.
- Changing travel angle before checking amperage and arc length.
Safety Notes
Stick welding involves arc flash, UV radiation, electric shock, hot slag, sparks, burns, fumes, fire, and grinding hazards. Dragging or pushing does not change the need for PPE. Keep your helmet down, wear dry gloves, use ventilation, and protect bystanders from the arc.
Review OSHA welding hazards guidance, OSHA welding fume guidance, and AWS safety resources. For more site guidance, read Arc Welding Safety.
FAQ
Should you push or pull a stick weld?
For most stick welding, pull or drag the rod. This helps keep slag behind the weld pool.
What angle should I use for stick welding?
A common starting point is a 10 to 15 degree drag angle, with a short arc and correct work angle for the joint.
Why is pushing bad in stick welding?
Pushing can drive slag ahead of the puddle, which increases the risk of slag inclusion and poor fusion.
Do you drag 7018?
Yes, 7018 is commonly run with a steady drag angle and short arc. Keep rods dry and follow the electrode instructions.
Does vertical stick welding use the same angle?
Not exactly. Vertical welding needs position-specific control. The puddle, rod type, and direction of travel matter more than a single flat-position angle rule.
Final Advice
When stick welding, drag the rod in most beginner situations. Use a slight angle, keep a short arc, watch the puddle, and let the slag trail behind the weld instead of pushing it into the joint. Good angle control makes every later stick lesson easier, especially on real practice joints outdoors.