How to Change the Battery in a Miller Classic Welding Helmet
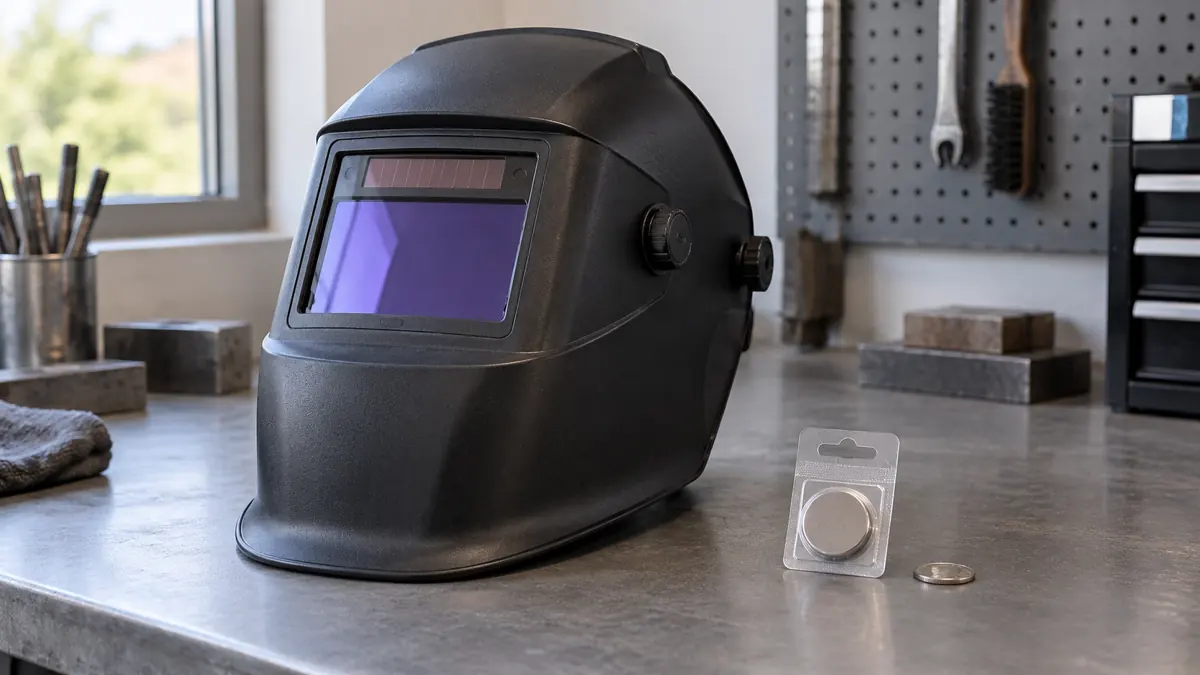
To change the battery in a Miller Classic welding helmet, first identify the filter version. The current Classic ClearLight variable-shade filter uses one CR2450 in a slide-out tray. The VSi uses a CR2450 under a coin-operated cap, with a different orientation. Older Classic variable-shade filters can use two AAA batteries. Some Classic fixed-shade auto-darkening filters have no user-replaceable battery.
That difference matters before you buy a cell or open a compartment. A tutorial for another Classic may show a perfectly valid procedure for a filter you do not own.
Identify the filter before opening anything
Read the helmet and filter labels, then find the matching manual through Miller’s manuals and parts lookup. Check the model, serial range and manual revision. If a previous owner replaced the filter, the shell’s appearance alone may be misleading. Photograph the labels and controls if you need help from Miller or a distributor.
| Filter version | Battery arrangement | What to match |
|---|---|---|
| Classic ClearLight variable shade, covered by OM-288583F | One CR2450, slide-out tray | Section 8-1 and the actual tray markings |
| VSi, covered by OM-288583F | One CR2450, coin-operated cap | Section 8-2 and the cap diagram |
| Older Classic variable shade, covered by OM-252052G | Two AAA alkaline batteries | The older manual and compartment markings |
| Fixed-shade auto-darkening versions covered by OM-288583F | Internal rechargeable, non-replaceable solar cell | Section 8-3; do not open the sealed filter |
Miller’s Classic Series specification sheet lists replacement battery 217043, a CR2450, for the current VS and VSi. It also lists different replacement filter numbers for those versions. A matching family name does not make every filter or battery holder interchangeable.
Prepare a clean place to work
Set the helmet on a clean, dry bench away from active welding. Give yourself enough room to keep the cover, holder and old battery together. A small parts dish helps prevent a cap from rolling into metal dust.
Have the correct replacement battery and the matching manual beside you. Use a coin only where the manual calls for one. If you find corrosion, a cracked holder, damaged wiring or loose contacts, stop the routine replacement and have the assembly assessed. Forcing a new cell against a damaged contact can hide the original fault.
Keep coin cells and removed batteries away from children. Do not leave them loose on the bench after the job. Follow the battery maker’s disposal instructions and local collection requirements.
Classic ClearLight variable-shade: replace the tray battery
The following sequence applies to the tray arrangement in Miller manual OM-288583F, section 8-1.
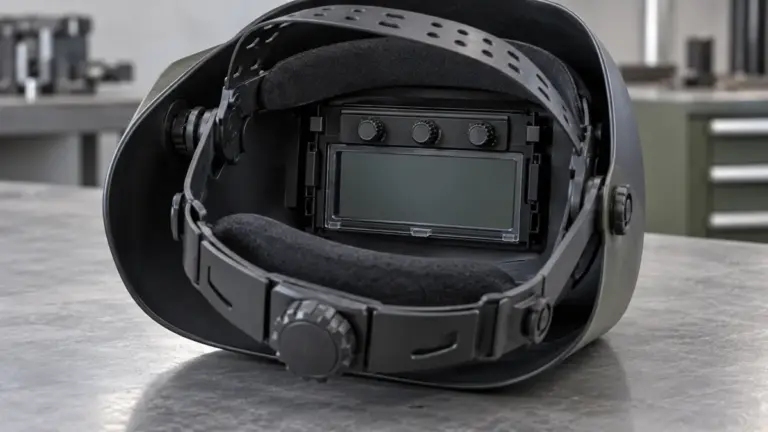
- Access the filter assembly as directed for your helmet. Follow the manual’s illustrated retention arrangement. Remove the assembly only as instructed; do not pry open the sealed auto-darkening filter.
- Slide out the battery tray. Remove the old cell without bending the holder or contacts.
- Fit one CR2450. For this specific arrangement, Miller specifies the negative (−) face up, toward the outside of the helmet. Check the diagram and holder markings before insertion.
- Reinstall the tray. Miller describes the LEDs lighting in sequence and the lens flashing twice after insertion.
- Restore the assembly and protective covers. Make sure everything is fully retained before handling the helmet as ready for use.
Here, “up” describes the orientation in Miller’s diagram. Turning the helmet over on your bench changes which direction looks upward. Use “toward the outside of the helmet” and the polarity markings to avoid that ambiguity.
The manual’s battery section cross-references section 7-2 for assembly access, although that section is titled inside-lens-cover replacement. If its illustrations do not clearly match your retention system, get model-specific guidance from Miller rather than guessing how a clip releases.
Classic VSi: replace the battery under the cap
For the VSi arrangement in section 8-2, use a coin to turn the battery cap counterclockwise. Install the specified CR2450 with the positive (+) face up, toward the inside of the helmet. Align the cap arrows at the 6 and 12 o’clock positions, then turn the cap a quarter-turn clockwise.
This is the main reason to keep the VSi instructions separate from the tray instructions. “CR2450” identifies the cell, but it does not tell you which face belongs toward the helmet interior. Follow the holder you actually have.
What if yours has AAA batteries or no battery door?
Older Classic variable-shade instructions in OM-252052G describe sliding the battery cover left, replacing two AAA alkaline batteries and closing the cover. Match each battery to its compartment polarity marks. Do not convert that compartment to coin cells or assume a newer filter’s procedure applies.
For the fixed-shade auto-darkening versions in OM-288583F, Miller describes an internal rechargeable, non-replaceable solar cell. Use the charging and troubleshooting instructions for that exact filter. Cutting the case open or soldering a replacement cell is outside the battery service described by the manufacturer.
“Fixed shade” here means the darkened shade is fixed. These particular filters still darken automatically. A conventional passive shaded lens is a different arrangement, so the words on a product listing need careful reading.
Check the helmet before returning to welding
A successful battery change is one part of checking the helmet. Inspect the restored lens covers, retainers and shell, then use the operating check specified for your filter. The VSi reset check calls for two darkening flashes followed by a clear state. Do not treat an indicator light alone as proof that the entire helmet is ready.
Check the selected operating mode and appropriate shade before starting work. The current Classic Black 287803 offers Weld, Cut and Grind modes. An operating filter left in Grind mode will not behave like one selected for welding. Review sensitivity and delay against the manual, too, especially if you moved controls while accessing the holder.
If the expected response is missing, recheck the exact cell type, polarity and holder seating. Persistent failure, flickering or visible damage needs further diagnosis. Keep the helmet out of welding use until the fault is resolved. If it fails to darken during welding, stop immediately.
For background on the sensors and filter electronics, see how auto-darkening welding helmets work. Use the model-specific manual for the actual battery service.
Common questions
Does every Miller Classic use a CR2450?
No. Current VS and VSi models listed above use that cell, while older variable-shade designs may use AAA batteries. The fixed-shade auto-darkening versions described here have a non-replaceable internal cell.
Should the positive side always face up?
No. The current tray and VSi cap instructions specify different orientations. Read the exact filter’s diagram and markings.