Best Auto-Darkening Welding Helmet for the Money
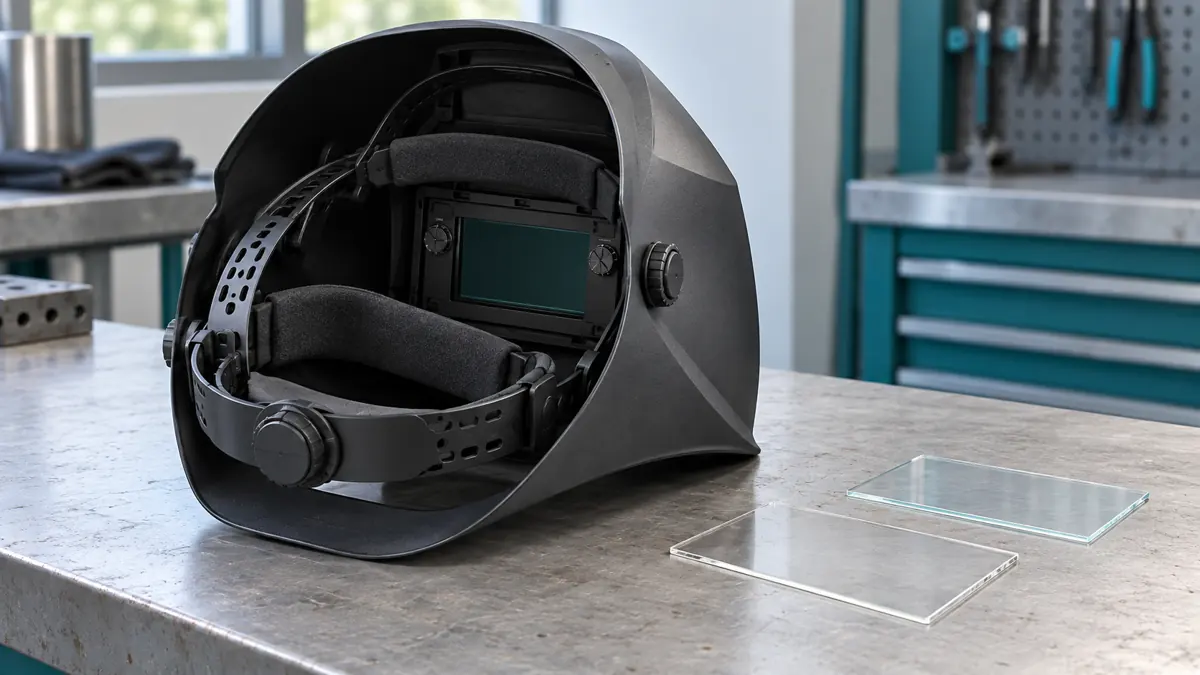
For the best auto-darkening welding helmet for the money, compare what you need to do with what you would actually pay. The Hobart Creator Black is a sensible starting point for a lower-cost variable-shade helmet. The Miller Digital Performance adds finer shade adjustment and a sensitivity-setting aid. The Lincoln VIKING 2450 ADV adds a larger viewing area, external controls, and a modular task light.
Our shortlist spans three price levels because value changes with the job. Someone making occasional mild-steel practice welds may gain little from an expensive control system. Someone changing tasks throughout a shift has a different reason to consider it. First establish the required protection and operating range; then decide which conveniences earn their price.
Research note: US advertised prices and manufacturer literature checked October 15, 2026. These are specification-based recommendations. WeldingPilot has not hands-on tested these helmets or measured their optical quality, comfort, darkening reliability, or lifespan.
Three options at different price levels
| Exact model | Advertised item price | Published features to compare | Value question |
|---|---|---|---|
| Hobart Creator Black 770866 | $115.84 at Hobart Weld Shop | 7.1 sq. in. view; shades 9–13; three sensors; analog adjustments | Does this cover your work without paying for extra controls? |
| Miller Digital Performance Black, ClearLight 4x, 296757 | $264.90 at Atlas Welding Supply | 7.2 sq. in. view; weld 8–13 and cut 5–8; half-shade settings; AutoSense | Would the adjustment features solve a repeated setup problem? |
| Lincoln VIKING 2450 ADV Black K3028-5 | $425.00 at Welding Supplies from IOC | 9.3 sq. in. view; shades 5–13; four sensors; external controls; modular LED light | Do the window and task-change features justify the additional cost? |
These are examples from named sellers, not the lowest prices across the market. Prices exclude applicable tax, delivery and additional accessories. Promotions, stock and supplied versions can change. Price evidence: Creator offer, Digital Performance offer, and 2450 ADV offer. No rebate has been deducted.
Hobart Creator: start here when the basic functions cover the job
The Creator combines a variable 9–13 welding shade with sensitivity and delay adjustments. Hobart lists three independent sensors, a 7.1-square-inch viewing area and grind mode. The controls are analog rather than a digital menu.
Its appeal is the relatively low starting cost in this comparison. If its shade range matches your process, it fits securely, and its controls are easy for you to use, paying more needs a specific reason. A premium feature that you rarely use has limited value to your setup.
The boundary is the operating range. The Creator does not offer the lower selectable shade range listed for the other two models. Check the required shade and any low-current TIG conditions in the exact instructions. See Hobart’s Creator specifications.
Miller Digital Performance: compare the adjustment features
For Black 296757, Miller lists a 7.2-square-inch viewing area, three sensors, half-shade settings, a shade-2.5 light state, and weld, cut and grind modes. The published ranges are 8–13 for welding and 5–8 for cutting. AutoSense helps set sensitivity for the welding environment.
Miller’s Digital Performance specification sheet describes AutoSense as a button-activated setting aid. It is not a reason to skip the mode, shade or function checks. The same sheet lists a 5-amp TIG rating; check that this matches your intended application and supplied version.
Compare it if adjusting sensitivity repeatedly is part of your normal work or you want finer shade increments. The window is only slightly larger than the Creator’s on paper, so window size alone would be a weak reason for the price difference. See Miller’s current product page.
Lincoln VIKING 2450 ADV: compare task lighting and external controls
The K3028-5 is the ADV configuration, not the older K3028-4. Lincoln’s 2450 ADV literature lists a 9.3-square-inch viewing area, digital controls, a modular LED light, and an external grind/light control. Its specification table lists four sensors and an adjustable 5–13 range.
Those features are worth investigating if you frequently reposition parts, move between welding and grinding, or struggle to illuminate the joint before starting. Try the controls with your normal gloves and evaluate the light in your actual work arrangement. A task light cannot compensate for a dirty cover lens or unsuitable shade.
At the quoted price, it needs a clearer justification than “more features.” Confirm that the light and all listed components are included in the seller’s exact package. The Lincoln 2450 ADV brochure and specifications identify the model and relevant replacement parts.
When is the extra cost justified?
At the prices above, the Miller costs $149.06 more than the Creator, and the Lincoln costs $160.10 more than the Miller. Use those differences to ask a concrete question: what problem would the additional purchase solve?
- Occasional practice with a suitable shade range: start with fit, clear vision and straightforward controls. There may be no useful reason to move beyond the lower-cost option.
- Frequent environment or process changes: compare the actual adjustment workflow. A setting aid or accessible control matters only if you understand and use it correctly.
- Restricted visibility before arc starts: check lighting, cover-lens condition and posture first. Then evaluate a brighter light state or task light in a demonstration.
- Low-current TIG: filter suitability at the intended current is a requirement, not an optional convenience. Do not infer it from price, viewing area or sensor count.
These are editorial decision rules, not measured productivity findings. We have not calculated time savings, reduced fatigue or a financial payback period for any model.
Include the parts you will have to replace
The useful comparison is the complete purchase plus a realistic maintenance plan. Ask for the exact outside and inside cover-plate numbers, their local pack prices, the specified battery, and the replacement headgear. Note which covers are included in the box before adding extras.
Build a small quote sheet with four entries: delivered helmet price, required starting accessories, spare covers, and service or warranty terms. Compare the same quantities for each model. Do not invent a three-year total using an assumed battery or filter life that neither you nor the manufacturer has established.
A replacement ADF quote is useful context, but it is not a prediction that the filter will fail. Warranty length also does not tell you everything: ask which components are covered, what proof of purchase is needed, and who handles the claim locally.
What specifications cannot decide for you
A larger viewing area describes window size. It does not prove a clearer image or better visibility from your normal position. Optical classifications and brand names such as ClearLight or 4C should be checked in their technical context, rather than converted into our own unsupported ranking.
Likewise, more sensors do not guarantee reliable operation with every fixture or hand position. Evaluate the intended process and follow the prescribed checks. None of the models here has undergone an independent WeldingPilot trigger-response test.
Fit requires personal assessment. With the arc off, wear your usual safety eyewear, adjust the headgear, and look down at a typical joint. Check whether the helmet moves, presses on glasses, or makes you change posture to see. Arrange a return policy or supervised demonstration before committing to an expensive upgrade.
Keep protection requirements ahead of the shortlist
OSHA’s eye and face protection standard requires a filter shade appropriate to the operation. It also addresses flying-object protection and prescription-eye-protection compatibility. Use the required primary eye protection under the helmet, as described in OSHA’s eye-protection guidance.
Check the exact manual for your model, including its process limitations, covers, power supply and test procedure. Confirm welding mode before striking an arc, and stop if the filter behaves inconsistently. A helmet that is damaged or unsuitable for the task is not good value at a discount.
For the selection basics, use our beginner helmet guide. For task-specific shade decisions, see the welding lens shade chart. A standard helmet alone does not provide respiratory protection; evaluate that need separately.
Common value questions
Which model would you shortlist first?
Start with the Creator if its operating range and fit cover your needs. Compare the Digital Performance when its adjustment tools address a recurring problem. Compare the 2450 ADV when its external controls, window and light are relevant enough to justify the higher quote.
Is a passive helmet better value?
It can be worth considering when a suitable fixed shade and that working style fit the task. This shortlist compares auto-darkening models. Our helmet types guide explains the broader choice before you spend money on electronics.
Should I subtract an advertised rebate?
Only after confirming the exact eligible model, purchase dates, seller conditions, claim deadline and your eligibility. Compare the amount payable at checkout separately from any later reimbursement.
Do I need to replace a working helmet to get better value?
No. If it remains suitable, undamaged and serviceable, first address cover lenses, fit, lighting and setup. Upgrade when there is a defined need that maintenance cannot solve.