How to Choose a TIG Welder for Beginners
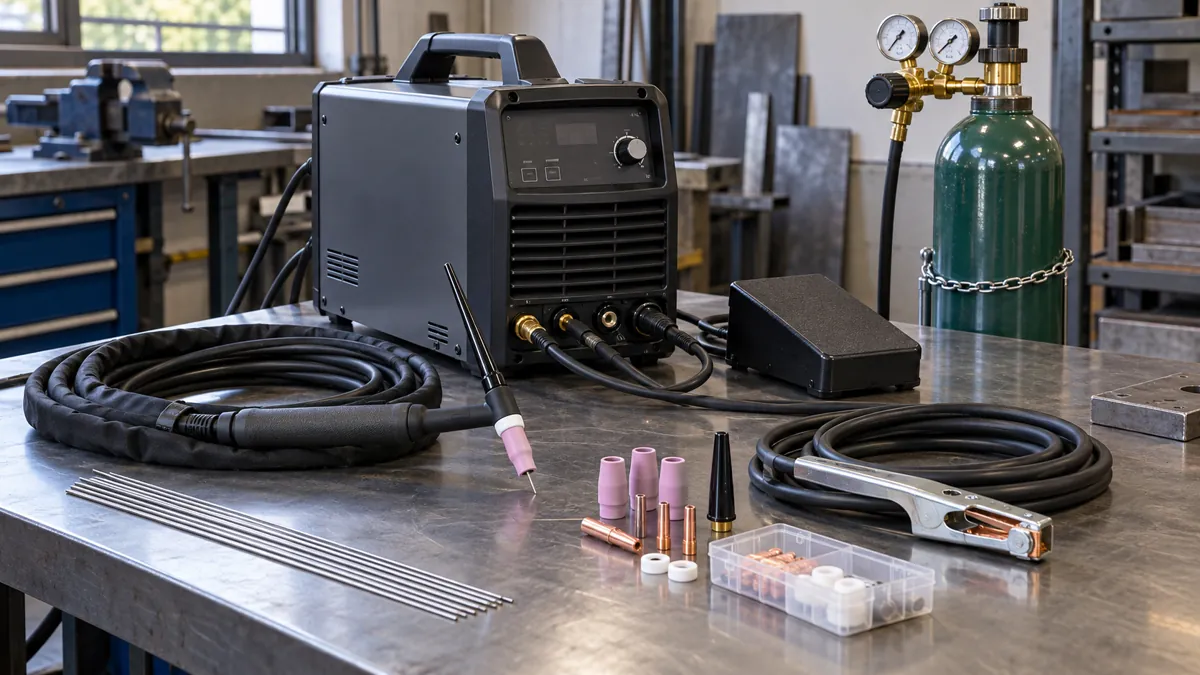
Choose your first TIG welder around the metal you will weld, the electricity available in your workspace and the controls you need to practise. For ordinary steel and stainless-steel learning projects, a suitable DC TIG machine can be enough. If aluminum is part of your realistic project plan, look for a machine explicitly rated for AC TIG. Then compare the complete setup cost, not just the price of the power source.
A large amp number and a long feature list can hide a poor match. A machine may accept your outlet voltage but deliver less output on that supply. A package may include a torch yet leave out the pedal, gas equipment or adapters you expected. Work through those details before choosing a brand.
Start with a project description, not a shopping list
Write down the material, approximate thickness, joint type and where you will work. “Small mild-steel practice joints at a bench” is useful. “Anything I might weld someday” makes almost every expensive option sound necessary.
Also decide whether you actually want to learn TIG. If your immediate goal is fast fabrication rather than precise torch-and-filler control, compare the processes first. Our beginner TIG guide explains what the process asks of the operator.
Use this shortlist as a starting point, then check the exact model’s manual and application ratings:
| Your likely use | Capability to investigate first | Question that can change the purchase |
|---|---|---|
| Steel or stainless-steel practice at a bench | DC TIG, useful current control and a compatible torch | Does the package provide the control and gas equipment you expect? |
| Steel plus planned aluminum projects | AC/DC TIG explicitly specified | What is the AC TIG output and duty cycle on your available supply? |
| Thin material or small delicate parts | Low-current starting and stable control | Can a demonstration use material comparable to your project? |
| Longer welds or sustained higher-current work | Rated output, duty cycle and torch cooling | Can the complete system sustain the intended work pattern? |
These are selection priorities, not thickness guarantees. Miller’s TIG selection guide similarly separates material, thickness, input power, portability and adjustment needs. Its model ranges illustrate the questions to ask; they do not establish a universal best machine.
Check AC/DC capability before comparing extras
Input AC and welding-output AC are different specifications. A DC TIG machine can run from an AC wall supply. “AC input” on a listing therefore does not mean it can provide AC TIG output.
For a beginner planning conventional aluminum TIG work, AC/DC TIG is the practical capability to look for. DC-only equipment can suit steel and stainless steel, but buying it with an expectation of ordinary AC aluminum work creates an immediate mismatch. Specialized alternatives are not a sensible reason to ignore the intended process when making a first purchase.
Read the process table, not just the words “multiprocess” or “TIG capable.” Ask the seller to identify the AC TIG mode in the manual. A machine’s stick or MIG capability does not answer that question.
On suitable AC equipment, balance and frequency adjustments provide different forms of arc control. Balance concerns the portions of the AC cycle; output frequency affects the arc’s shape and focus. Neither should be confused with high-frequency arc starting. Miller explains those AC controls in its inverter TIG guidance. For your shortlist, ask whether the controls are clear enough to learn without changing several variables accidentally.
Match the welder to your actual power supply
Before paying, compare the manual’s supply voltage, frequency, phase and electrical installation requirements with the workspace. A plug that fits is only one part of the check. Have a qualified electrician assess an uncertain circuit or any required installation.
For a dual-voltage machine, read the output ratings separately for each input voltage. Do not assume the advertised maximum applies on both. Ask: “On the supply I will use, what TIG output and duty cycle does this model provide?” Keep the relevant specification page with your quote.
A useful comparison sheet has separate spaces for input supply and welding output. It prevents a seller’s convenient voltage label from standing in for the performance you need. Miller’s first-welder buying guide also treats amperage requirements and available input power as linked decisions.
Read the current range and duty cycle together
Maximum current matters when your planned material calls for it, but the lower end matters too. For small or thin parts, ask how the machine starts and controls the arc at the low end of its usable range. A minimum number printed on a screen does not, by itself, demonstrate easy starts on your material.
Duty cycle tells you about permitted welding time at a specified output under stated conditions. For a rating expressed over ten minutes, a hypothetical 30% at 150 amps means three minutes of welding and seven minutes of cooling at that rated condition. This is an explanation of the rating, not a recommended setting or a claim about a particular machine.
Compare ratings at the same current, process and stated conditions. “60% duty cycle” is incomplete without the rest of the specification. A beginner making short practice runs may have different needs from someone planning long seams, but both must follow the manual’s limits and cooling instructions.
Choose arc-starting and current controls you can use
High-frequency start versus lift start
High-frequency starting allows non-contact arc initiation. Lift starting uses the machine’s specified touch-and-lift sequence. It is different from striking the tungsten like a match. The exact available modes and procedures depend on the equipment; Miller’s manual finder provides equipment-specific start-method instructions; search for your machine and its serial number.
For a first bench setup, put non-contact starting high on the shortlist if it fits your budget. That is an editorial preference for reducing an extra handling task while learning, not a claim that lift-start machines cannot produce good work. Ask about any installation or interference precautions in the manual.
Pedal, fingertip control and torch switch
A foot pedal can be convenient at a seated bench; a compatible fingertip control may better suit another working position. A torch switch that starts and stops a preset sequence is not automatically a variable current control.
Confirm the exact control model, connector compatibility and whether it is included. Ask the seller to demonstrate how the chosen setup changes current during a weld. Miller’s TIG basics guide shows remote control, torch, gas and work-clamp connections as separate parts of setup.
Buy a complete usable setup
Ask for an itemized quote. Mark each item as included, already owned or still needed:
- Power source, suitable input connection and any required electrical work.
- Compatible TIG torch, leads, work clamp and the chosen remote control.
- Appropriate shielding-gas supply, regulator or flowmeter, hose and connections.
- Tungsten, matching torch consumables, suitable filler and identified practice material.
- Required protection, fume controls, fire precautions and a workable practice area.
- Training, delivery, taxes and any cylinder rental or deposit arrangements.
Use local written quotes rather than a generic online starter-budget number. Gas-cylinder arrangements and included accessories can change the comparison substantially. Our TIG shielding-gas guide helps you check the gas side before ordering.
Check the torch as carefully as the machine. An air-cooled torch avoids adding a separate liquid-cooling system, but it still has its own ratings. A water-cooled setup adds a cooler, hoses and maintenance requirements. Miller’s torch-selection guidance discusses this cost, cooling and handling tradeoff. Match the torch to the work rather than assuming the supplied one suits every output the power source can produce.
Put useful controls ahead of feature count
For the first shortlist, prioritize the right output mode, a suitable usable current range, dependable control, clear instructions and a complete compatible package. Pulse functions, memory slots and more detailed waveform adjustments may become useful for specific work. A long menu is not evidence that they will help your first practice joints.
Ask yourself what each paid upgrade will solve. “I need AC TIG for planned aluminum practice” is a concrete reason. “This one has more settings” needs more thought. Preserve room in the budget for instruction and practice material.
Ask for a demonstration and a support plan
Before ordering, give the seller your material and supply details. Request a demonstration of arc starts, current control and a representative joint using the proposed package. A bead on different material at an unexplained setting answers less than it appears to.
For a used machine, have a competent technician assess its condition. Ask who can service that exact model, whether torch consumables and controls are available, what the warranty covers, and who pays transport for repairs. Obtain the return terms in writing.
WeldingPilot buying check: you should be able to explain why the machine fits your material, how it will be powered, what is missing from the box and where help will come from. If one answer is still vague, resolve it before paying.
Include a safe workspace in that decision. TIG still involves radiation, electrical, fume, gas-cylinder and fire hazards. OSHA’s welding hazard guidance covers the main categories; use it alongside the equipment instructions and appropriate training.
Questions beginners ask before buying
Do I need a 200-amp TIG welder?
No single maximum-current number fits every beginner. Match the machine to your intended material and joints, then check usable output on your supply, low-end behavior and duty cycle. A “200-amp” label alone leaves those questions unanswered.
Can a multiprocess welder be a good first TIG machine?
Yes, if its actual TIG modes, controls and supplied accessories suit your plan. Verify AC TIG separately if aluminum matters. Compare the complete TIG package with a dedicated machine rather than comparing bare power-source prices.
Should I buy used to save money?
Compare the inspected machine’s total usable cost, remaining support and repair exposure with a new package. Missing controls or an unavailable replacement part can change an attractive asking price. Condition needs assessment, not a guess from photographs.