Flux Core Welding Settings for Beginners
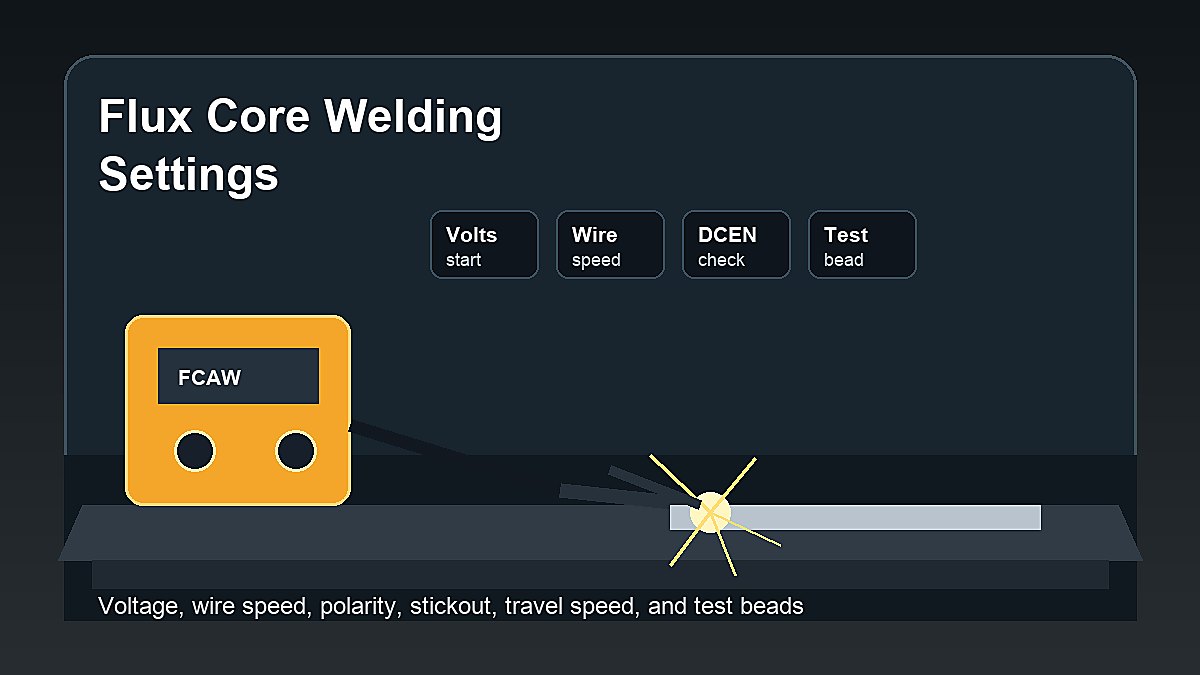
Flux core welding settings for beginners should always start with the machine chart, the wire label, and the welder manual. There is no single perfect voltage or wire speed that works for every machine, wire size, joint, position, and metal thickness. Good settings are a starting point, then the test bead tells you what to adjust.
For beginner self-shielded flux core welding, the most important settings are polarity, voltage, wire feed speed, stickout, travel speed, and gun angle. If one of those is wrong, the bead can look bad even when your hand movement is not the main problem.
Mark Dawson beginner note: do not chase settings from random comments before checking polarity and wire type. Wrong polarity, wrong contact tip, dirty metal, or too much stickout can make any voltage and wire speed chart look useless.
Quick Answer
Start flux core welding settings by matching the wire size and metal thickness on your welder chart. Confirm the polarity required by your exact wire, usually DCEN for many self-shielded flux core wires, but always check the label. Run a test bead on scrap, then adjust one setting at a time: voltage for arc shape, wire speed for feed and heat, stickout for stability, and travel speed for bead profile.
| Setting | What It Controls | Beginner Check |
|---|---|---|
| Polarity | Current direction | Check wire label and manual first |
| Voltage | Arc length and bead wet-out | Start from chart, adjust slowly |
| Wire speed | Wire feed and amperage effect | Match voltage and material thickness |
| Stickout | Arc stability and shielding | Keep it consistent |
| Travel speed | Heat input and bead shape | Watch puddle edges |
1. Check Wire Type Before Settings
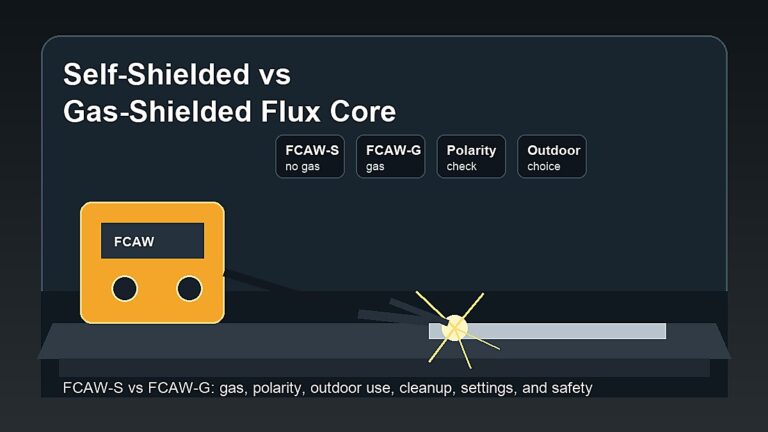
Flux core settings depend on the wire. Self-shielded flux core wire is different from gas-shielded flux core wire. Many beginners use self-shielded wire because it does not require a gas cylinder, but the wire label still matters. Wire diameter, classification, polarity, position rating, and recommended settings can vary.
Common hobby machines often use 0.030 inch or 0.035 inch self-shielded wire, but that does not mean every machine runs both sizes well. Match the wire to the drive roll, liner, contact tip, and machine output. For the full setup path, read How to MIG Weld Flux Core for Beginners.
2. Set Polarity First
Polarity is the first hard check. Many self-shielded flux core wires use DCEN, also called electrode negative, but you should not treat that as a universal rule. Some wires and machines have different requirements. Read the wire label and the welder manual before welding.
Wrong polarity can cause excessive spatter, poor arc behavior, weak-looking beads, and frustration that no wire-speed adjustment fixes. New welders who get a terrible bead from the first inch should stop and confirm polarity before changing technique.
3. Use the Chart as a Starting Point
Most beginner flux core welders include a chart inside the machine door or in the manual. That chart usually gives a starting voltage and wire speed for wire size and metal thickness. Use it. The chart is not perfect, but it is better than guessing.
After the first test bead, adjust based on what the weld is doing. If you change voltage, wire speed, stickout, travel speed, and angle all at once, you will not know what helped. One change at a time is slower, but it teaches you how the machine responds.
4. What Voltage Changes
Voltage affects the arc and bead shape. Too little voltage may make the bead tall, narrow, rope-like, or cold-looking. Too much voltage may create more spatter, undercut, or a flatter bead that is hard to control. The right voltage helps the puddle wet into the joint without becoming wild.
On many small machines, voltage may be controlled by lettered taps or a simple dial. Do not worry if your machine does not show exact volts. Use the machine chart and make small changes. Your test bead is the real feedback.
5. What Wire Feed Speed Changes
Wire feed speed controls how fast wire enters the puddle. On many wire-feed welders, wire speed also strongly affects welding current. Too little wire speed can make the arc burn back or feel inconsistent. Too much wire speed can make the wire stub into the work, pile metal into the joint, or create a harsh arc.
Beginners often turn wire speed randomly because it is easy to reach. Instead, start with the chart, listen to the arc, look at the bead, and adjust in small steps. Good wire speed should feel steady, not like the wire is repeatedly crashing into the plate.
6. Stickout and Contact Tip Distance
Stickout is the length of wire between the contact tip and the work. In flux core welding, stickout matters because it affects arc stability, heat, and shielding from the flux. Too much stickout can make the arc unstable and may contribute to porosity or poor bead shape. Too little can make the gun hard to control and can damage the tip.
Use the wire and machine guidance for contact-tip-to-work distance, then keep it consistent. If your stickout changes during the bead, the weld changes with it. A beginner can improve quickly just by holding the gun distance steady.
7. Drag Angle and Travel Speed
Flux core with slag is commonly dragged or pulled. A modest drag angle helps slag trail behind the puddle. Pushing can let slag move where you do not want it. Keep the angle steady and avoid leaning the gun so far that visibility or bead shape suffers.
Travel speed controls how long the heat stays in the joint. Too fast can make a narrow bead with poor tie-in. Too slow can create a large bead, excess heat, and burn-through on thinner material. Watch the puddle edges and the bead profile after cleanup.
8. Test Beads: The Beginner Settings Method
The best beginner method is simple. Cut scrap metal close to the same thickness as the project. Clean it. Set the machine from the chart. Run a short bead. Chip the slag. Brush the weld. Inspect. Change one setting. Run another bead. Compare.
Write down what you changed. A small notebook can teach you faster than memory. Record wire size, metal thickness, polarity, voltage tap, wire speed, stickout, and what the bead looked like. That turns practice into a useful settings log.
Common Symptoms and Setting Clues
| Symptom | Possible Causes | First Checks |
|---|---|---|
| Heavy spatter | Wrong polarity, voltage mismatch, long stickout | Check polarity before tuning |
| Wire stubbing | Wire speed too high for voltage, poor ground | Check chart and ground clamp |
| Tall rope bead | Low voltage, slow travel, poor angle | Adjust one variable at a time |
| Porosity | Contamination, moisture, long stickout, wind | Clean metal and check technique |
| Slag inclusion | Poor cleanup, wrong angle, trapped slag | Chip and brush between passes |
Do Not Copy Settings Blindly
Online settings can be helpful, but they are not magic numbers. A setting that works on one 140 amp machine with 0.035 inch wire may not work the same on another machine, a different brand of wire, a different joint, or a different power supply. Use outside settings as rough context, not as law.
Your welder chart, wire label, and test bead matter more than a random number. If you want a broader process comparison, read Stick vs Flux Core Welding for Beginners.
Settings for Thin Metal
Flux core can be difficult on thin sheet metal because it tends to run hot and creates more cleanup than gas MIG. Beginners should use scrap practice pieces and short beads. If the metal burns through, reduce heat input, move faster, use stitch welding, or choose a better process for thin sheet.
Do not assume a small machine automatically makes thin metal easy. Wire size, voltage, wire speed, travel speed, joint fit-up, and heat buildup all matter. Auto body panels and very thin material are not the easiest place to learn flux core.
Settings for Thicker Steel
Thicker steel may need more output than a small beginner machine can provide in one pass. Beveling, multiple passes, slower travel, or a larger machine may be needed, but critical welds require training and inspection. Do not use beginner settings guesses for trailers, lifting points, structural work, or vehicle frames.
If the bead sits on top without tying in, you may not have enough heat, the travel speed may be wrong, the joint may need better prep, or the machine may be too small for the task. Practice on non-critical coupons before trusting any thick weld.
Flat, Horizontal, Vertical, and Overhead Positions
Welding position can change how settings feel. Flat practice beads are usually easiest because gravity helps the puddle stay where you want it. Horizontal, vertical, and overhead welds can need more control, smaller beads, different travel habits, and extra attention to slag. Beginners should not assume a setting that worked flat will feel the same overhead.
Start in the flat position until you can make repeatable beads. Then move to simple lap joints and T-joints. Vertical and overhead practice should come later, with proper PPE and non-critical scrap. For process difficulty comparisons, read Stick vs Flux Core Welding for Beginners.
Wire Feed Problems That Look Like Bad Settings
Sometimes the voltage and wire speed are close, but the machine feeds poorly. A worn contact tip, wrong tip size, wrong drive roll, tangled wire, too much drive-roll tension, too little tension, or a dirty liner can make the arc feel inconsistent. Beginners may keep turning the dials when the real issue is mechanical.
Before chasing settings, listen to the wire feed and inspect the gun. The wire should feed smoothly without birdnesting, slipping, or burning back into the tip. A clean contact tip and correct drive roll can make a small beginner machine feel much more predictable.
Beginner Settings Workflow
Use the same workflow every time: identify wire size, check polarity, clean the steel, set chart values, run a short bead, clean the slag, inspect, then adjust one variable. This routine prevents random knob turning and helps you understand what each change did.
Completely new welders should keep the first session simple. Use clean mild steel, one wire size, one joint type, and one welding position. The fewer variables you change, the faster you learn what voltage and wire speed actually do.
Example: Fixing a Messy First Bead
Imagine your first flux core bead is loud, spattery, and sitting high on the plate. Do not immediately turn every dial. First confirm the ground clamp is clean and tight. Then check polarity. Next confirm the contact tip and wire size match. After that, compare voltage and wire speed to the chart and run another short bead.
If the second bead improves, keep going in small steps. If nothing changes, inspect the wire feed path, drive roll tension, and contact tip. This slow process feels less exciting than welding more inches, but it teaches you how settings and setup work together.
Keep the scrap piece nearby after practice. Looking back at old beads helps you see progress and remember which settings worked. A beginner who saves notes and test coupons usually learns faster than one who only changes knobs by feel. That habit makes troubleshooting much less random and future setup much faster during real practice sessions later.
Internal Setup Checks Before Tuning
- Correct wire type and diameter installed.
- Drive roll matches flux core wire.
- Contact tip matches wire size.
- Polarity matches the wire label.
- Ground clamp is clean and secure.
- Metal is cleaned and clamped.
- Stickout is consistent.
- Slag is removed before inspection.
Safety Notes
Flux core welding creates arc light, fumes, smoke, sparks, spatter, slag, hot metal, and fire risk. Wear a welding helmet, safety glasses, gloves, flame-resistant clothing, and suitable footwear. Use ventilation or fume control, especially with flux core smoke and any unknown material.
Do not weld coated, galvanized, painted, oily, or unknown scrap without proper training and hazard control. Review OSHA welding, cutting, and brazing guidance, AWS safety and health fact sheets, and Miller flux-cored welding basics.
FAQ
What polarity should I use for flux core welding?
Many self-shielded flux core wires use DCEN, but always check the wire label and welder manual. Gas-shielded flux core and some wires may require different polarity.
Should I adjust voltage or wire speed first?
Confirm polarity and setup first. Then start from the chart and adjust one variable at a time. Wire speed and voltage work together, so random changes make troubleshooting harder.
Why does my flux core weld have so much spatter?
Common causes include wrong polarity, poor voltage and wire speed balance, long stickout, dirty metal, poor ground, or low-quality wire. Check polarity first.
Can I use MIG settings for flux core?
No. Solid wire MIG and flux core are different. Use flux core settings from the machine chart, wire label, or manual.
Final Advice
Flux core welding settings are not one magic chart. Start with the manual, wire label, and machine chart. Confirm polarity, run test beads, chip the slag, inspect the weld, and adjust one setting at a time. That simple habit will teach you more than copying numbers without understanding what they change. For more technique help, use Flux Core Welding Tips for Beginners.