How to MIG Weld Flux Core for Beginners
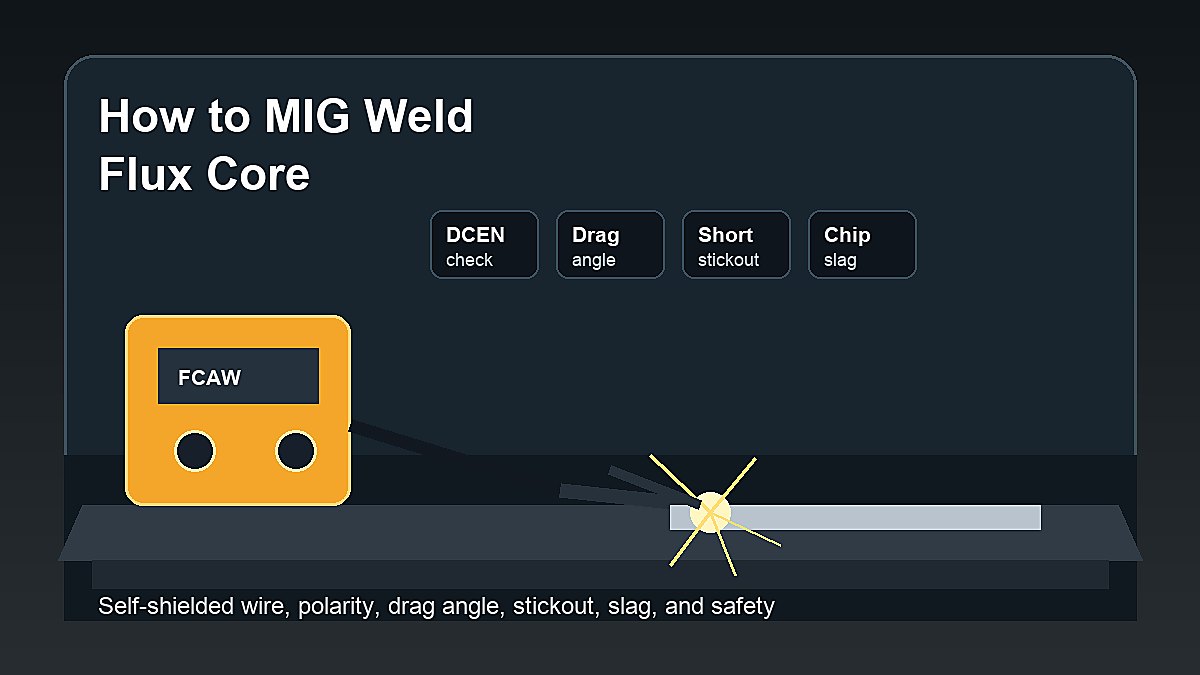
How to MIG weld flux core for beginners starts with understanding that most people are really talking about wire-feed flux core welding, also called FCAW. It feels similar to MIG because the machine feeds wire through a gun, but self-shielded flux core wire protects the weld with flux inside the wire instead of using an external gas bottle.
Flux core is popular with beginners because it can work outdoors better than gas MIG, handles light repair work well, and keeps the setup simple. The tradeoff is more smoke, spatter, slag, and cleanup. This guide explains the beginner setup, polarity, wire choice, stickout, gun angle, travel speed, weld inspection, and safety habits.
Mark Dawson beginner note: do not treat flux core as “MIG without rules.” The wire label, welder manual, polarity, stickout, travel speed, and slag cleanup matter. A bad setup can make a beginner blame technique when the machine is simply configured wrong.
Quick Answer
To MIG weld flux core, install self-shielded flux core wire, set the polarity required by the wire and machine manual, prepare clean steel, use proper PPE and ventilation, keep a steady drag angle, hold consistent stickout, run practice beads on scrap, chip and brush the slag, then inspect the bead for porosity, undercut, slag inclusion, and lack of fusion.
| Step | Beginner Check | Why It Matters |
|---|---|---|
| Wire | Use self-shielded flux core wire | No gas bottle needed for common beginner setup |
| Polarity | Check wire label and manual | Wrong polarity can make welds poor immediately |
| Metal prep | Remove heavy rust, paint, oil, moisture | Contamination causes porosity and weak welds |
| Technique | Use drag angle and steady stickout | Helps slag trail behind the puddle |
| Cleanup | Chip and brush slag after each pass | Prevents trapped slag and improves inspection |
Flux Core vs MIG: What Is Different?
MIG welding usually means solid wire plus shielding gas. Flux core welding uses a tubular wire with flux inside. Self-shielded flux core wire creates shielding from the flux as the wire burns, so wind is less of a problem than it is with gas MIG. That is why beginners often use flux core outside or in garage repair situations.
The tradeoff is cleanup. Flux core creates slag over the weld, similar in concept to stick welding. You need to chip and brush the weld before judging the bead or adding another pass. If you want a broader comparison, read Gasless MIG Welding for Beginners and How to MIG Weld Without Gas.
Step 1: Choose the Right Flux Core Wire
Start with wire that matches your machine, material, and project. Many beginner machines run common self-shielded flux core wire sizes such as 0.030 inch or 0.035 inch, but you should not guess. Check the welder manual, drive roll size, contact tip size, and wire label before loading the spool.
Self-shielded wire and gas-shielded flux core wire are not the same. Beginners usually want self-shielded wire because it does not need an external shielding gas cylinder. If the wire requires gas, your setup changes.
Step 2: Check Polarity Before Welding
Polarity is one of the biggest beginner setup checks. Many self-shielded flux core wires run on DCEN, also called electrode negative, but you must follow the wire label and machine manual. Some machines ship configured for solid wire MIG, so the leads may need to be changed for flux core.
Wrong polarity can cause excessive spatter, unstable arc behavior, poor penetration, and ugly beads. Before adjusting technique, confirm polarity. This one check can save a beginner hours of frustration.
Step 3: Prepare the Metal
Flux core can tolerate less-than-perfect conditions better than clean gas MIG, but it is not magic. Remove heavy rust, paint, oil, grease, moisture, and unknown coatings. Clean mild steel is still the best practice material for a beginner.
Clamp the work securely and avoid safety-critical repairs while learning. Trailer frames, vehicle structure, lifting points, pressure vessels, and structural members should be handled with proper training and inspection.
Step 4: Set Voltage and Wire Speed
Use the chart inside the welder door, the manual, or the wire manufacturer’s starting recommendations. Set voltage and wire speed for the material thickness and wire size. Run a test bead on scrap before welding the actual project.
Change one thing at a time. If you change voltage, wire speed, stickout, angle, and travel speed together, you will not know what improved the weld. For general machine setup thinking, review Flux Core Welding Tips for Beginners.
Step 5: Use Drag Angle
Flux core is commonly run with a drag or pull angle. That means the gun points back toward the weld bead as you move, helping the slag trail behind the puddle. A simple phrase many welders use is “if there is slag, you drag.”
Do not use an extreme angle. Keep it modest and consistent. Too much angle can create a tall bead, poor visibility, or uneven tie-in. Beginners should focus on seeing the puddle edges and keeping the gun steady.
Step 6: Keep Stickout Consistent
Stickout is the distance from the contact tip to the work. Flux core often uses a slightly longer stickout than short-circuit gas MIG, but the correct amount depends on the wire and machine guidance. The beginner goal is consistency, not guessing a new distance every inch.
If stickout changes constantly, the arc changes too. Your bead may become uneven, spattery, or hard to control. Brace your hands when safe, do a dry run before welding, and keep the gun distance steady.
Step 7: Start With Straight Practice Beads
Before welding a real bracket, frame, or repair, run straight beads on scrap mild steel. Lay the plate flat, mark a few straight lines, and practice keeping the gun angle, stickout, and travel speed consistent. Do not worry about fancy patterns at first. A steady straight bead teaches more than a rushed weave.
After each bead, chip the slag, brush the weld, and compare the result to the previous bead. Look at width, height, spatter, tie-in, and whether the bead wandered. This simple loop builds the same inspection habit used in Welding Basics.
Step 8: Watch Travel Speed
Travel speed controls bead shape and heat input. Move too fast and the bead may be narrow with poor tie-in. Move too slow and the bead may pile up, overheat the work, or create excess buildup. Watch the puddle, not only the arc.
Practice straight beads on scrap before joints. Then move to lap joints and T-joints. This gives you a better feel for heat, speed, and puddle control before the joint becomes more complicated.
Step 9: Chip Slag and Inspect
After a flux core bead cools enough to handle safely, chip and brush the slag. Do not judge the weld only by the slag-covered surface. Look for bead consistency, tie-in, porosity, undercut, slag inclusion, and places where the bead sits on top without fusing well.
If you add another pass over slag, you can trap slag inside the weld. Clean between passes. This habit matters even on practice coupons because it teaches inspection discipline.
Beginner Joint Practice Order
Start with bead-on-plate practice. Then try a lap joint where one piece overlaps another. After that, practice a T-joint. Butt joints and outside corners can wait until your basic control improves. This order lets you build skill without making the joint too difficult too soon.
For every joint, tack the parts first, check fit-up, and make sure the work is clamped. Gaps and moving parts make flux core harder. If the bead looks bad, do not immediately blame the wire. Check fit-up, prep, polarity, stickout, and travel speed.
How to Read a Flux Core Bead
A decent beginner bead should be fairly consistent, tied into both sides of the joint, and free from obvious holes or trapped slag. Too much spatter, a rope-like bead, or a bead sitting high on top of the metal may point to setup or technique problems.
Porosity can come from contamination, moisture, wind, wire issues, or technique. Undercut can come from too much heat, poor angle, or travel problems. Slag inclusion often comes from poor cleanup, wrong angle, or letting slag run ahead of the puddle. For deeper troubleshooting, use the Welding Defects hub as the site grows.
Settings: What Beginners Should Change First
Start with the chart, then test. If the wire is stubbing into the plate, wire speed may be too low or voltage may not match. If the arc feels too harsh and the bead is messy, settings, polarity, stickout, or wire feed may be wrong. Do not make five changes at once.
A practical order is: confirm polarity, confirm wire and contact tip size, clean the metal, set voltage and wire speed from the chart, run a test bead, then adjust one setting at a time. Write down what changed. Notes make practice more useful.
Outdoor Flux Core Tips
Self-shielded flux core is often chosen for outdoor work because it does not rely on a gas cloud from a cylinder. That does not mean wind, dirt, and poor fit-up do not matter. Strong wind can still affect the arc, blow smoke into your face, or make the work area harder to control.
Use a stable work surface, block excessive wind when practical, and keep your face out of the fume path. Make sure sparks cannot reach dry leaves, cardboard, fuel, sawdust, rags, or nearby vehicles. Outdoor convenience should not become casual fire safety.
Troubleshooting by Symptom
If the weld has pinholes, check for contamination, moisture, wire problems, and technique. If the bead is tall and rope-like, check travel speed, voltage, stickout, and angle. If there is heavy spatter, confirm polarity first, then check wire speed, voltage, stickout, and metal prep.
If slag is trapped in the weld, clean more carefully between passes and watch the puddle angle. Dragging helps keep slag behind the puddle. If the arc feels erratic, inspect the contact tip, drive roll tension, wire path, and ground clamp. Many beginner problems are setup problems hiding as technique problems.
What Not to Weld While Learning
Do not start on trailer repairs, vehicle structure, lifting hooks, pressure tanks, critical brackets, roll cages, or anything that could hurt someone if the weld fails. Practice beads and simple non-critical projects are better places to learn. Flux core can make strong welds, but beginner practice should not be treated as qualified repair work.
For a first practice session, keep the goal simple: make five short beads, clean each one, and write down what changed. This turns practice into feedback instead of random sparks. Once straight beads become consistent, move to simple joints and repeat the same inspection routine with patience. Good notes make the next session easier.
Common Beginner Problems
- Wrong polarity for the wire.
- Using gas-shielded flux core wire without gas.
- Welding over paint, rust, oil, or moisture.
- Holding stickout too long or changing it constantly.
- Pushing instead of dragging when slag is present.
- Moving too fast and getting poor tie-in.
- Not removing slag before inspection or another pass.
- Ignoring fumes because the setup has no gas cylinder.
Flux Core Safety for Beginners
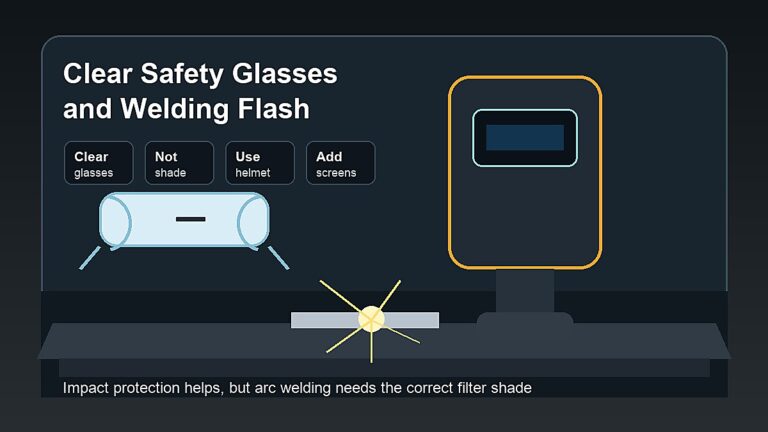
Flux core welding can create sparks, spatter, slag, fumes, heat, bright arc light, and fire risk. Wear a proper welding helmet, safety glasses, welding gloves, flame-resistant clothing, and leather footwear. Use ventilation or fume control, and keep flammables away from the work area.
Do not weld unknown coatings, sealed containers, galvanized material, or contaminated scrap without proper training and hazard control. Read your machine manual and wire label. Useful safety references include OSHA welding, cutting, and brazing guidance, AWS safety and health fact sheets, and Lincoln Electric self-shielded flux-cored welding tips.
Beginner Practice Checklist
- Read the welder manual and wire label.
- Install the correct drive roll and contact tip.
- Set polarity for the exact wire being used.
- Clean and clamp mild steel practice pieces.
- Put on helmet, safety glasses, gloves, FR clothing, and boots.
- Run short beads on scrap before real work.
- Chip and brush slag before inspection.
- Change one setting at a time and take notes.
FAQ
Is flux core the same as MIG welding?
Flux core and MIG are both wire-feed processes, but they are not exactly the same. Gas MIG usually uses solid wire and shielding gas. Self-shielded flux core uses flux-filled wire and usually does not need gas.
Do you push or pull flux core?
Flux core is commonly dragged or pulled because slag is present. Use a modest drag angle and follow the wire and machine guidance.
What polarity is used for flux core welding?
Many self-shielded flux core wires use DCEN, but you should always check the wire label and machine manual. Do not assume every wire uses the same polarity.
Is flux core good for beginners?
Yes, it can be good for beginners because it avoids gas setup and works better outdoors than gas MIG. It does create more smoke, spatter, slag, and cleanup.
Final Advice
Flux core welding is beginner-friendly when the setup is correct. Choose the right self-shielded wire, check polarity, clean the steel, use drag angle, keep stickout steady, chip slag, and inspect every bead. Build the habit on scrap before moving to real projects, and keep safety first every time.