How to MIG Weld Without Gas for Beginners
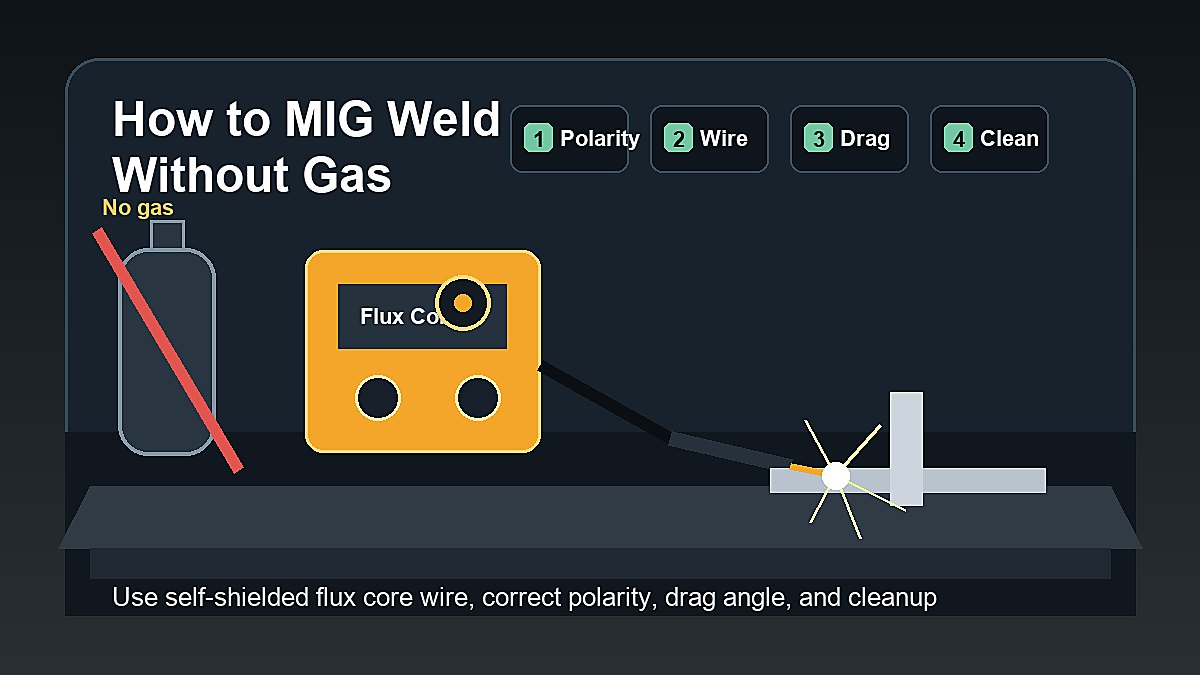
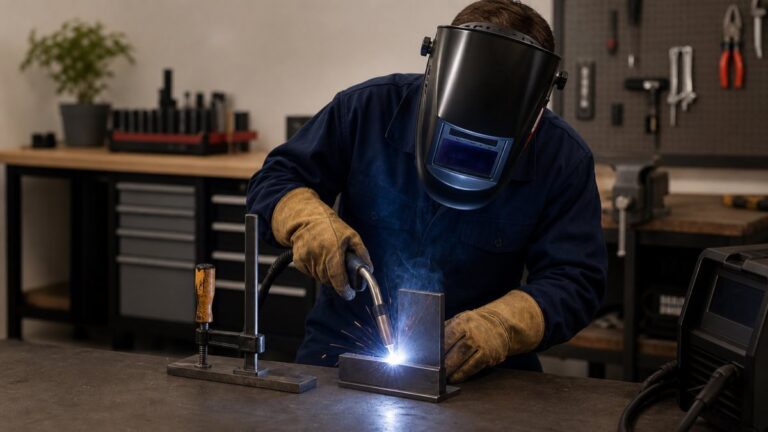
If you want to learn how to MIG weld without gas for beginners, the practical answer is to use self-shielded flux core wire in a compatible wire-feed welder. It is often called gasless MIG, but technically the process is self-shielded flux core welding. The wire has flux inside it, so you do not need a separate shielding gas bottle.
This setup is popular because it is simple, portable, and useful for outdoor practice. You do not need a gas cylinder, regulator, hose, or gas flow setting. But it is not exactly the same as clean gas MIG. Welding without gas usually creates more smoke, more spatter, and slag that must be cleaned after each weld.
Mark Dawson beginner note: do not think of gasless welding as a shortcut around setup. You still need the right wire, correct polarity, clean enough metal, steady stickout, a drag angle, proper ventilation, and careful slag cleanup.
Quick Answer: Can You MIG Weld Without Gas?
Yes, you can weld with a MIG-style wire-feed machine without gas if the machine supports self-shielded flux core wire. Instead of solid MIG wire and shielding gas, you use flux-filled wire that protects the weld pool as it burns. This is commonly called gasless MIG, but the correct process name is self-shielded flux core welding.
For beginners, welding without gas can be a good first setup for outdoor mild-steel practice and small home repairs. It is less ideal when you need very clean cosmetic welds, thin sheet metal control, aluminum, stainless work, or low-spatter indoor fabrication.
What You Need to Weld Without Gas
- A wire-feed welder that supports flux core welding
- Self-shielded flux core wire, not solid MIG wire
- Correct drive roll and contact tip for the wire size
- Correct polarity for the wire
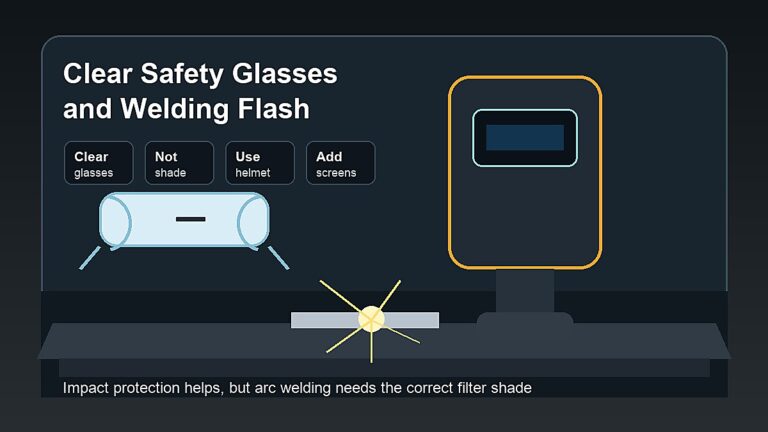
- Welding helmet, gloves, safety glasses, and flame-resistant clothing
- Wire brush and chipping hammer for slag cleanup
- Clean mild steel practice pieces
- Clamps and a stable work surface
- Ventilation or fume control
- Fire-safe workspace and fire control nearby
If you are still building your setup, read What Do Beginners Need to Start Welding? and Home Welding Setup for Beginners.
Before You Switch From Gas MIG to No Gas
If your machine was previously set up for gas MIG, do not just remove the gas bottle and start welding. You may need to change polarity, replace solid wire with self-shielded flux core wire, change the drive roll, swap the contact tip, and adjust the settings chart. This is where many beginner problems start.
Gas MIG and gasless flux core may use the same gun style, but the setup is different. Solid wire without gas is not a beginner shortcut; it is a recipe for contamination. Self-shielded wire is the part that makes no-gas welding possible.
Step 1: Confirm Your Welder Can Run Flux Core Wire
Not every wire-feed machine is set up the same way. Some machines are built for gas MIG only, some are flux-core-only, and many small machines can run both gas MIG and flux core with the correct setup. Check the manual before buying wire or changing polarity.
Look for the wire sizes the machine supports, the recommended polarity for self-shielded wire, the drive roll type, and the material thickness chart. If the machine chart does not mention flux core or self-shielded wire, do not assume it will run well without gas.
Step 2: Use Self-Shielded Flux Core Wire
To weld without gas, you need self-shielded flux core wire. Solid MIG wire normally needs shielding gas. If you put solid wire in the machine and skip the gas, the weld will usually be contaminated and weak. The wire choice is the difference between “gasless MIG” and simply welding incorrectly.
Common beginner flux core wire sizes include 0.030 in and 0.035 in, depending on the machine and material. Match the wire to your drive roll, contact tip, and setup chart. Do not choose wire only because it was cheap or available.
Drive Roll, Tension, and Wire Feed
Wire feed problems can make gasless MIG feel impossible. Flux core wire is softer than solid wire, so too much drive tension can deform it, while too little tension can let it slip. If the wire feed is jerky, the arc will be inconsistent even if your hand movement is good.
- Use the drive roll style recommended by the welder manual.
- Match the groove to the wire diameter.
- Use the correct contact tip size.
- Keep the gun cable as straight as practical while feeding wire.
- Do not overtighten spool tension or drive roll tension.
When the wire feeds smoothly, you can focus on technique. When the wire feed is unstable, every bead becomes a guessing game.
Step 3: Set Polarity Correctly
Polarity is one of the easiest ways to ruin a beginner gasless weld. Many self-shielded flux core wires run on DC electrode negative, often called DCEN, but you must check your exact wire label and machine manual. Some setups differ, and guessing is not a good habit.
If polarity is wrong, you may see heavy spatter, an unstable arc, poor bead shape, and frustrating results. When a new beginner says “my gasless MIG welder is terrible,” polarity is one of the first things to check.
Step 4: Prepare Clean Mild Steel
Flux core is often more forgiving than gas MIG outdoors, but clean metal still matters. Start with clean mild steel practice coupons. Remove paint, oil, moisture, heavy rust, and coatings from the weld area. Dirty metal can cause porosity, spatter, slag problems, weak fusion, and hazardous fumes.
Do not start on thin auto body panels, galvanized metal, unknown scrap, or structural repairs. Choose practice metal thick enough to run short beads without burning through immediately, but not so thick that your machine cannot melt into it properly.
Choose the Right Joint for First Practice
Start with straight beads on flat scrap before trying to join two pieces. Straight beads teach you how the arc sounds, how the puddle moves, and how the slag forms. Once those beads become more consistent, move to lap joints and T-joints. Butt joints are useful too, but gaps and fit-up can make them harder for beginners.
Do not make your first practice a real repair. A non-critical practice coupon is much easier to learn from because you can cut it, grind it, break it, and compare results without risking anything important.
Step 5: Set Wire Speed and Voltage
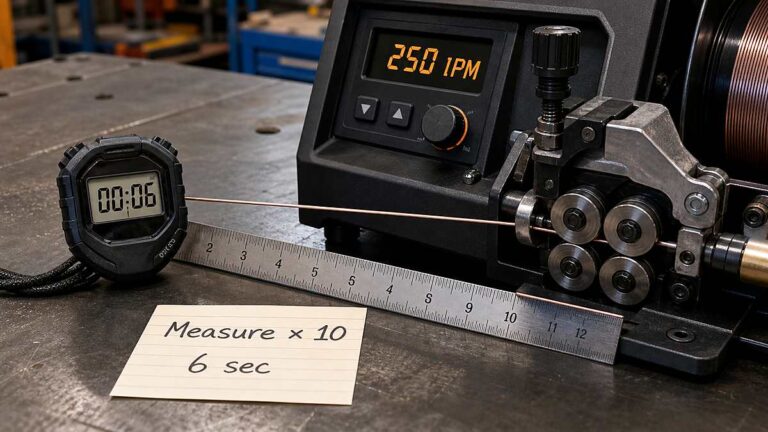
Start with the chart inside the welder or the manufacturer manual. Match the wire size and material thickness as closely as you can. Then make test beads on scrap. Change one setting at a time so you know what helped.
| Problem | Possible Cause | What to Check |
|---|---|---|
| Wire stubs into the plate | Wire speed high or voltage low | Return to chart and adjust slowly |
| Burn-through | Too much heat or slow travel | Use thicker practice metal or reduce heat |
| Heavy spatter | Polarity, settings, stickout, dirty metal | Check setup before blaming the welder |
| Porosity | Contamination, long stickout, poor prep | Clean metal and improve technique |
| Slag inclusion | Pushing, poor cleanup, bad angle | Drag the gun and clean each pass |
Step 6: Drag the Gun
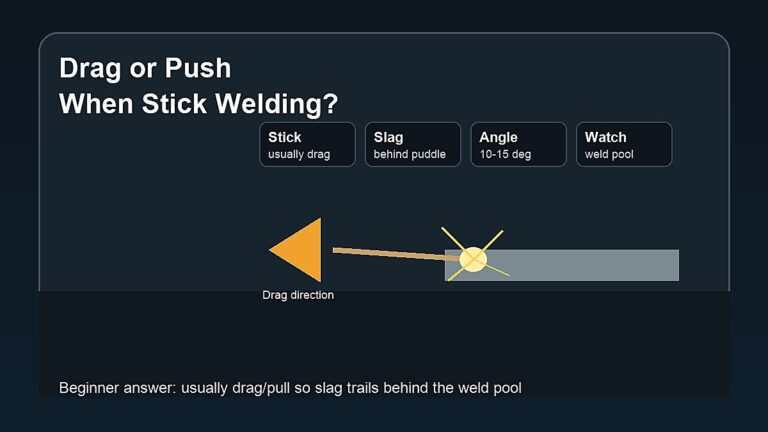
When welding without gas using self-shielded flux core wire, beginners are commonly taught to drag or pull the gun. The simple phrase is “if there is slag, drag.” Dragging helps keep slag behind the puddle instead of letting it run ahead and get trapped in the weld.
Use a modest travel angle and keep your movement steady. Too much angle can make the bead uneven. Moving too fast can cause poor tie-in. Moving too slow can overheat the metal and make the bead too wide or tall.
Travel Speed and Bead Shape
Travel speed is one of the biggest differences between a bead that looks controlled and one that looks messy. If you travel too fast, the weld may be narrow, ropey, and poorly tied into the edges. If you travel too slowly, the bead may become too wide, overheated, or likely to burn through thinner material.
For beginner practice, make short beads and compare them after cleaning. Try one bead slightly faster and one slightly slower while keeping the same settings. This teaches you what travel speed does without changing too many variables at once.
Step 7: Keep Stickout Steady
Stickout is the distance between the contact tip and the workpiece. Beginners often hold the gun too far away because they want a clearer view. A long stickout can make the arc unstable and increase spatter. A changing stickout makes your bead inconsistent.
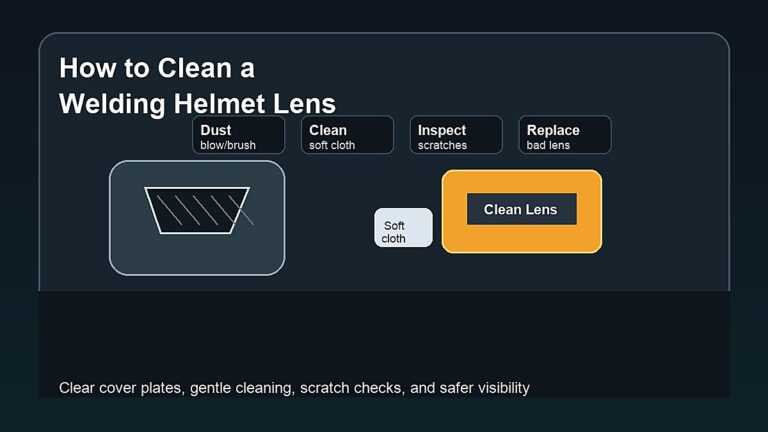
Use the wire and machine guidance as a starting point, then focus on holding the gun at a consistent distance. Good lighting and a clean helmet lens make this easier.
Step 8: Clean Slag After Every Weld
Gasless welding leaves slag. You need to chip and brush it away before inspecting the bead or making another pass. Wear safety glasses while cleaning because slag chips and wire brush debris can fly.
If slag remains trapped in the weld, the bead may be weak or full of inclusions. For deeper troubleshooting, read Welding Defects and Flux Core Welding Tips for Beginners.
How to Inspect Your Practice Welds
After cleaning the slag, look for consistency. A good practice bead should be reasonably even in width, tied into both sides, and free from obvious holes, heavy undercut, trapped slag, and severe spatter. A beginner bead does not need to be perfect, but it should teach you what changed from one attempt to the next.
- Porosity: small holes that may point to contamination, technique, or wire issues.
- Undercut: grooves at the edge of the weld that can come from heat or travel problems.
- Slag inclusion: trapped slag caused by poor angle, poor cleaning, or bad bead placement.
- Cold lap or poor tie-in: weld sitting on top without melting properly into the base metal.
Write down your settings beside each practice bead. This makes improvement easier because you are not relying on memory.
Outdoor Welding Without Gas
One reason beginners like gasless MIG is outdoor use. Because self-shielded flux core wire does not depend on external gas, light wind is less of a problem than it is with gas MIG. That does not mean outdoor welding is automatically safe or easy.
Keep the welder dry, protect cords, avoid wet ground, and clear flammable material. Leaves, cardboard, paint cans, fuel, rags, and stored household items do not belong near sparks and hot slag. Use good lighting so you can see the puddle and avoid poor body position.
Best First Practice Plan
- Read the welder manual and wire label.
- Install self-shielded flux core wire.
- Set the correct polarity.
- Put on PPE and clear fire hazards.
- Clean mild steel scrap and clamp it securely.
- Run straight beads in the flat position.
- Drag the gun with steady stickout.
- Chip and brush slag after each bead.
- Adjust one setting at a time.
- Move to lap joints and T-joints after your beads become consistent.
Common Beginner Mistakes
- Using solid MIG wire without gas: use self-shielded flux core wire instead.
- Forgetting polarity: wrong polarity can make the weld look terrible.
- Pushing instead of dragging: slag can run ahead of the puddle.
- Skipping slag cleanup: you cannot judge the weld until it is cleaned.
- Starting on thin metal: burn-through can make learning frustrating.
- Ignoring fumes: flux core smoke needs ventilation or fume control.
- Using beginner welds for critical repairs: practice welds are not inspection-qualified welds.
For broader beginner help, read Beginner Welding Mistakes and Gasless MIG Welding for Beginners.
What You Should Not Weld Without Gas as a Beginner
Do not use beginner gasless welding for vehicle frames, trailers, hitches, pressure vessels, lifting points, structural supports, sealed containers, tanks, or anything where weld failure could hurt someone. Those jobs need proper procedure, training, and inspection.
Also avoid unknown coated metals, galvanized material, and containers that may have held fuel, oil, chemicals, or pressure. The danger is not only weld quality. It can include toxic fumes, fire, explosion, and serious injury.
When Gas MIG Is Still the Better Choice
Welding without gas is useful, but gas MIG is still better for many clean indoor jobs. Gas MIG usually produces less slag, less smoke, and smoother-looking welds on clean mild steel. If your goal is clean shop fabrication, thin sheet-metal practice, or lower cleanup, gas MIG may be worth the extra setup.
Gasless MIG is strongest as a practical beginner option when portability, simple setup, and outdoor usability matter more than cosmetic bead appearance. The best process depends on your workspace and project, not only the machine price.
FAQ
Can I MIG weld without gas?
Yes, if your machine supports self-shielded flux core wire. You cannot simply use solid MIG wire and skip the gas. The wire must be designed for gasless welding.
Is welding without gas good for beginners?
It can be good for beginners because the setup is simple and does not require a gas bottle. It also creates more smoke, spatter, and slag, so cleanup and ventilation matter.
What wire do I need to weld without gas?
You need self-shielded flux core wire that matches your machine, drive roll, contact tip, and material thickness. Check the wire label and welder manual.
Do you push or pull when welding without gas?
For self-shielded flux core wire, beginners are commonly taught to pull or drag the gun because the process creates slag.
Why are my gasless welds full of spatter?
Common causes include wrong polarity, poor settings, long stickout, dirty metal, unstable wire feed, or pushing the gun. Start with the machine chart and verify setup.
Final Advice
To MIG weld without gas, use self-shielded flux core wire, set polarity correctly, prepare clean mild steel, drag the gun, keep stickout consistent, and clean slag after every bead. It is a practical beginner setup for outdoor mild-steel practice, but it still needs safe working habits, ventilation, and realistic limits.
Safety References
- OSHA welding, cutting, and brazing hazards and solutions
- OSHA welding, cutting, and brazing standards
- American Welding Society safety and health fact sheets
For the complete beginner learning path, visit the Flux Core Welding hub for setup, wire, polarity, technique, troubleshooting and safety guidance.