
Welding defects are visible or hidden discontinuities that may result from joint design, preparation, material, consumables, settings, shielding, technique or service conditions. A bead that looks smooth is not automatically sound, and a visible imperfection is not evaluated correctly without knowing the applicable acceptance criteria.
This hub organizes beginner troubleshooting into a repeatable sequence connected to welding basics, process setup and safety. Use it to identify likely causes and improve practice welds, not to approve structural, vehicle, pressure, lifting or other critical work without qualified inspection.
Beginner Weld Troubleshooting Roadmap
1. Identify the process and expected result
Start with What Is Welding? and the process comparison. MIG, TIG, stick and flux core use different shielding and consumables, so the same visible symptom may have different causes. Know the joint type, position, material and expected bead profile before diagnosing a problem.
2. Check preparation and fit-up
Confirm that the base metal is correctly identified and cleaned using a method suitable for the alloy. Remove oil, moisture, paint, heavy rust and contamination where required. Check bevel, root opening, alignment, tacks, clamping and access. Poor fit-up can make a reasonable machine setting look wrong and can concentrate stress or trap slag.
3. Verify consumables and shielding
Match wire, electrode, filler rod, gas, polarity and diameter to the material and process. Inspect consumables for moisture, damage or contamination. Use the Welding Rods and Electrodes hub for selection context. For gas-shielded processes, check flow, leaks, drafts, torch parts and distance from the work.
4. Return to a known starting setting
Use the machine chart, manufacturer guidance or qualified procedure as a baseline. Test on scrap of comparable material and thickness. Change one variable at a time: current, voltage, wire-feed speed, travel speed, angle, arc length or gas flow. Multiple simultaneous adjustments make the real cause harder to identify.
5. Inspect the complete weld area
Clean the bead safely, then examine starts, stops, crater, toes, face and surrounding base metal. Compare both sides where accessible. Look for repeated patterns rather than one isolated mark. Visual inspection cannot reveal every internal discontinuity or prove mechanical performance; critical work may require qualified nondestructive or destructive testing.
Common Welding Defects and Likely Causes
Porosity
Porosity appears as gas pockets or pinholes. Common contributors include contamination, moisture, poor gas coverage, leaks, drafts, incorrect flow, excessive stickout or unsuitable consumables. Check cleanliness and shielding before simply increasing heat.
Undercut
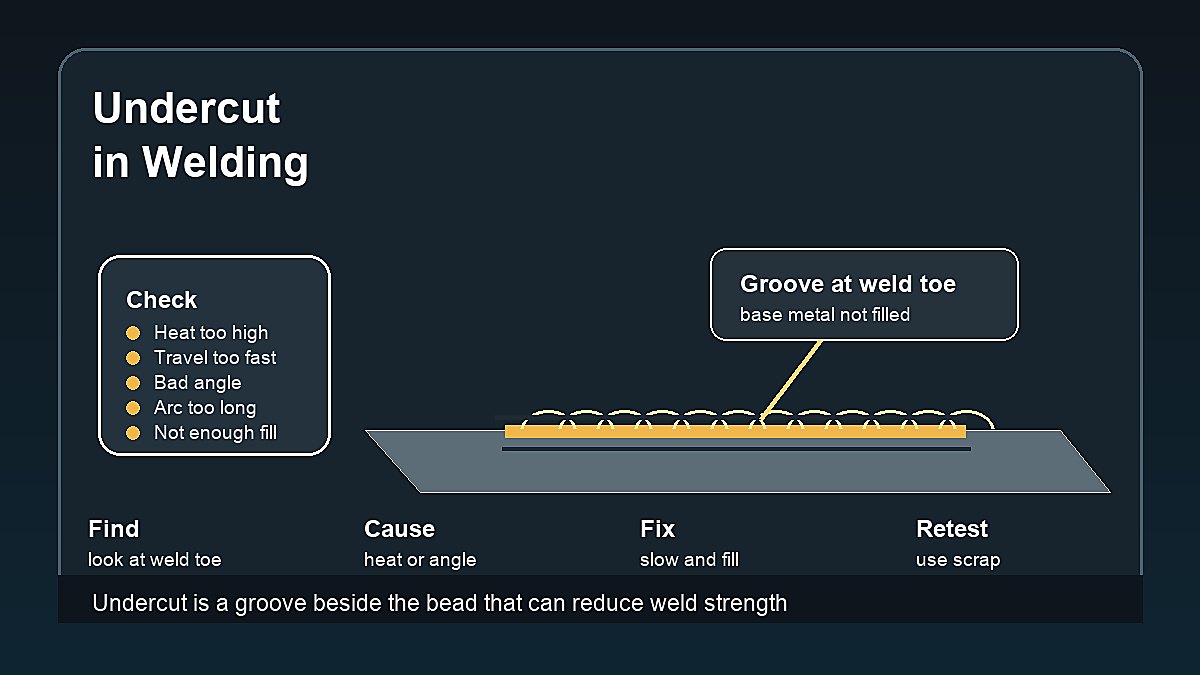
Undercut is a groove at the weld toe that is not adequately filled. Excessive heat, fast travel, long arc, incorrect angle or poor manipulation can contribute. Reduce variables systematically and make sure the puddle fills both edges.
Slag inclusion
Slag trapped in the weld is associated with flux-based processes. Incomplete cleaning between passes, poor joint access, low heat, incorrect angle, wide uncontrolled weaving or bad bead placement may contribute. Chip and brush each pass as required before continuing.
Overlap and lack of fusion
Overlap rolls weld metal onto the base without proper tie-in. Lack of fusion means weld metal has not fused adequately to the base or previous pass. Low effective heat, slow or poorly directed travel, incorrect angle, contamination, excessive filler or poor joint preparation may contribute.
Cracks
Cracks require serious attention and should not be treated as a cosmetic problem. Material chemistry, hydrogen, restraint, joint design, filler choice, heat input, cooling, crater shape and service stress may be involved. Stop and obtain qualified guidance for important work rather than grinding over the symptom.
Connect Defects to the Welding Process
Use the MIG Welding hub for wire feed, gas and gun control; the TIG Welding hub for tungsten, gas and contamination; and the Stick Welding hub for arc length, electrodes and slag. The home setup guide helps check power, workspace, clamps, ventilation and fire control.
Safety and Inspection Limits
Wear suitable PPE and control fumes, fire, electricity, hot metal and grinding debris while troubleshooting. Do not repeatedly weld and grind an unknown or safety-critical part without understanding the procedure and material. Review Welding Safety before testing changes.
For broader technical and safety context, consult American Welding Society standards and publications and OSHA welding hazards and solutions. Acceptance requirements depend on the applicable code, drawing, specification, procedure and service.
Latest Welding Defect Guides
-
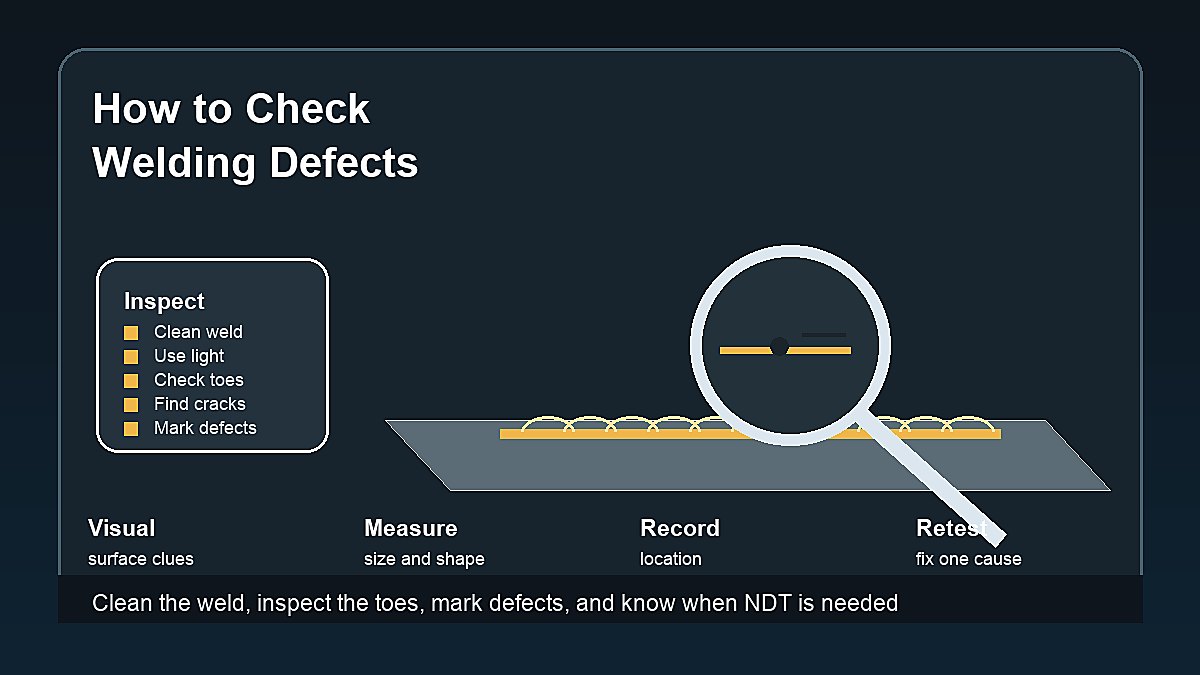
How to Check Welding Defects
Learn how to check welding defects with visual inspection, cleaning, defect signs, measurements, photos, safety steps, and when professional inspection is needed.
-
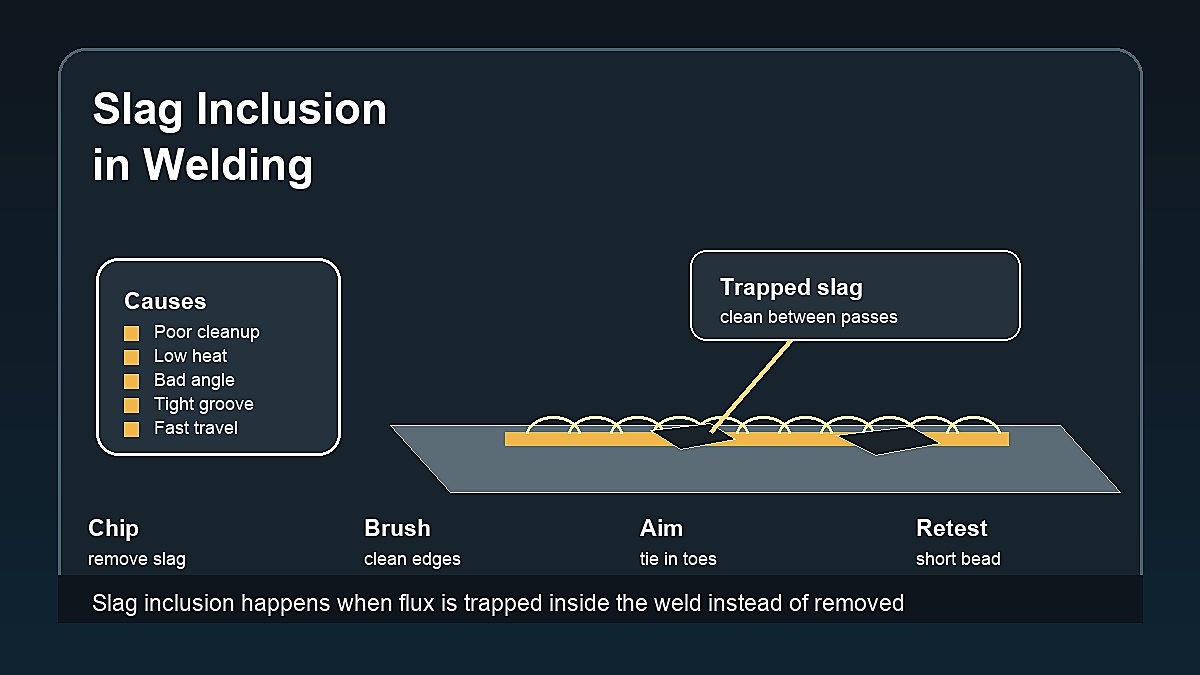
Slag Inclusion
Beginner guide to slag inclusion in welding: what it looks like, why it happens, how to fix trapped slag, how to prevent it, and…
-
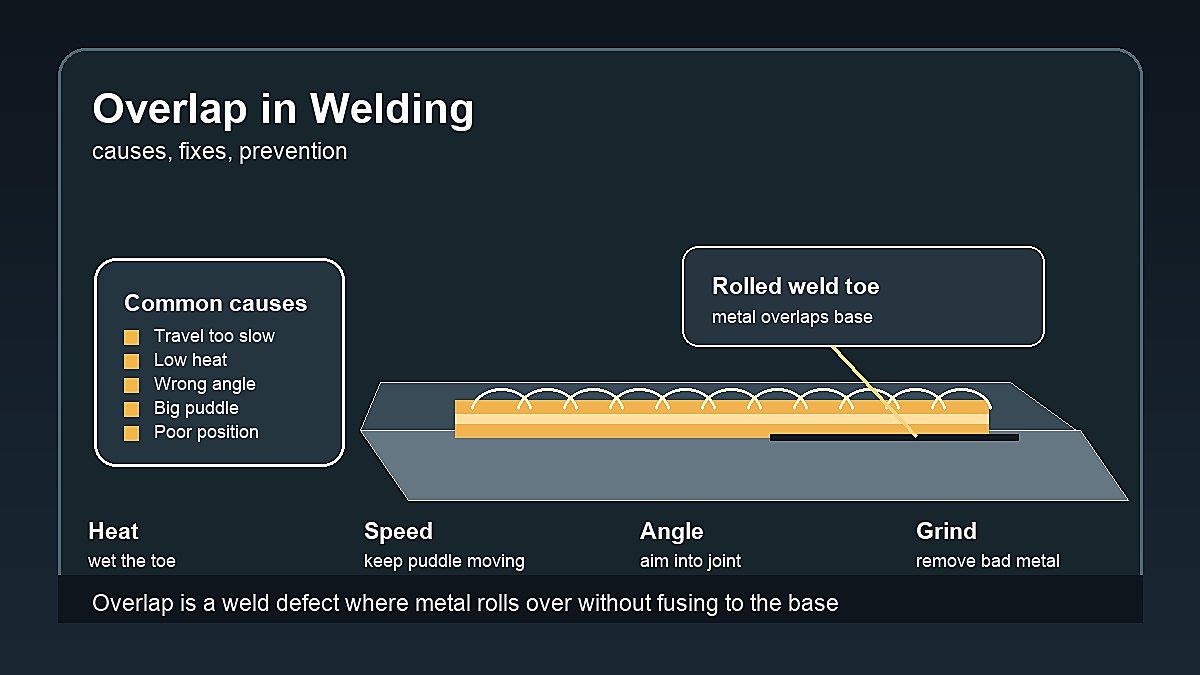
Overlap in Welding
Beginner guide to overlap in welding, including what it looks like, common causes, process-specific fixes, prevention, inspection limits, and safety warnings.
-
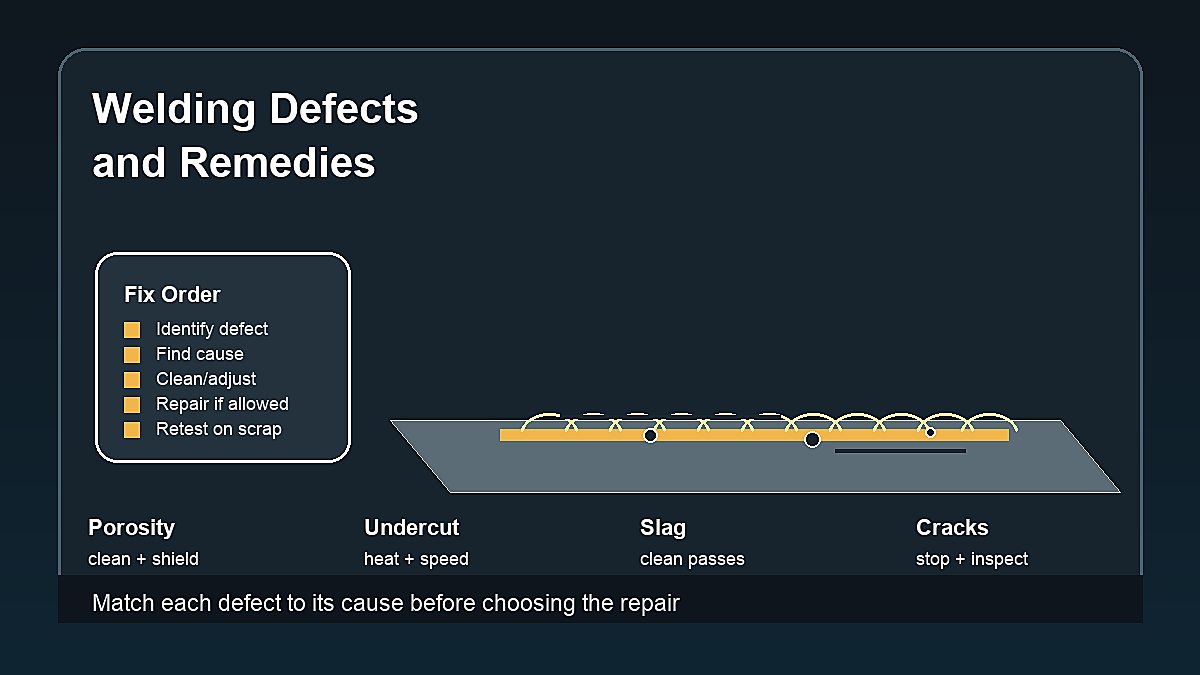
Welding Defects and Remedies
Beginner guide to welding defects and remedies, including how to match porosity, undercut, slag inclusion, cracks, lack of fusion, spatter, and burn-through to practical…
-
What Is an Undercut in Welding?
Learn what an undercut in welding is, what causes it, why it matters, how to prevent it, how to fix it, and when to…
Welding Defects FAQ
What is the most common cause of welding defects?
There is no single cause. Preparation, contamination, consumables, shielding, settings, fit-up and technique often interact. Return to a known baseline and change one variable at a time.
Can a weld look good but still be weak?
Yes. A smooth surface does not reveal every internal discontinuity or confirm fusion, penetration, mechanical properties or compliance with an applicable standard.
Should I grind out every visible defect?
Not without understanding the defect, material, joint and repair procedure. Grinding can remove evidence or reduce thickness. Critical repairs need qualified evaluation and an approved method.
How do beginners reduce weld defects?
Use known clean material, correct consumables, manufacturer starting settings, secure fit-up and focused scrap practice. Record each change and inspect the result before changing another variable.