What Is an Undercut in Welding?
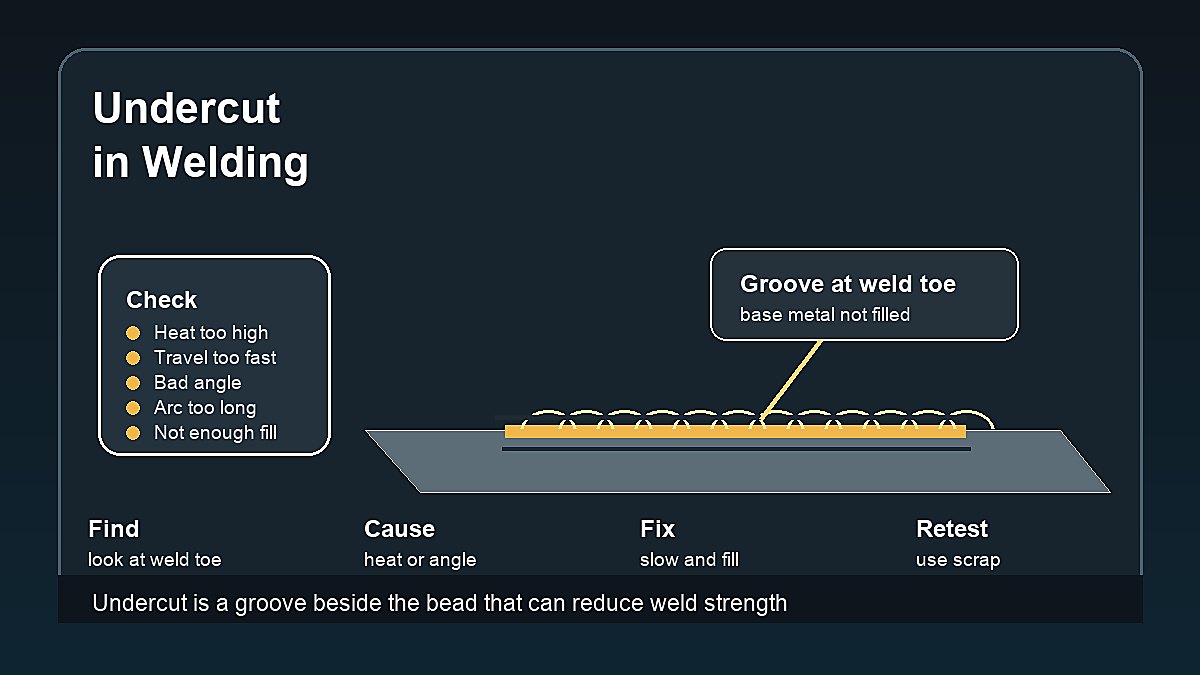
If you are asking what is an undercut in welding, the short answer is this: undercut is a groove melted into the base metal beside the weld bead that does not get filled back in. It usually appears along the edge, or toe, of the weld.
Undercut can happen in MIG, TIG, stick, and flux core welding. Beginners often see it as a dark line or small channel beside the bead. The weld may look like it has tied in, but the base metal next to it has been carved away instead of filled.
Mark Dawson beginner note: undercut is easy to miss when you only look at the center of the bead. Train your eyes to check both edges of the weld, because the toe of the weld tells you a lot about heat, travel speed, and angle.
Quick Answer
An undercut in welding is a groove along the edge of the weld bead where base metal has melted away and was not replaced with weld metal. It can reduce effective thickness, create a stress riser, and make the weld weaker if it is excessive. Common causes include too much heat, travel speed that is too fast, wrong torch or electrode angle, long arc length, and not pausing long enough to fill the edges.
| Undercut Clue | Likely Cause | Beginner Fix |
|---|---|---|
| Groove at weld toe | Too much heat or fast travel | Reduce heat or slow slightly |
| One side only | Poor angle or poor aim | Aim arc into both edges |
| Edges not filled | Not enough filler or pause | Let puddle wash to edge |
| Repeated on vertical weld | Technique control issue | Practice smaller beads |
| Deep sharp notch | Possible strength problem | Stop and inspect |
What Undercut Looks Like
Undercut looks like a narrow groove running beside the weld bead. It may be continuous along the whole bead or appear in short sections. Sometimes it is obvious. Other times it hides under slag, spatter, soot, or a rough bead edge.
The groove is usually at the weld toe, where the weld bead meets the base metal. On a fillet weld, it may appear along one leg of the weld. On a butt joint, it may show along either side of the bead. In pipe or out-of-position welding, undercut can appear where the puddle was not controlled long enough at the edge.
If you are new to defect names, read Common Welding Defects first. It explains how undercut fits with porosity, slag inclusion, lack of fusion, overlap, cracks, and spatter.
Why Undercut Matters
Undercut matters because it removes base metal at the edge of the weld. A shallow cosmetic groove on a practice coupon is one thing. A deep sharp notch on a loaded weld is different. The groove can reduce the cross-section of the material and concentrate stress in one line.
That stress concentration is why undercut is taken seriously in inspected welds. Codes and procedures may allow a limited amount in some applications, but beginners should not guess. For structural, trailer, vehicle, lifting, pressure, or workplace welds, use qualified procedures and inspection.
For practice welding, undercut is useful feedback. It tells you the edge of the puddle was not filled correctly. That may be a heat problem, a speed problem, an angle problem, or a filler timing problem.
How Serious Is Undercut?
The seriousness depends on depth, length, sharpness, material, load, and the job the weld must do. A tiny shallow groove on a non-critical practice bead is mostly a learning note. A long, sharp, deep groove beside a weld on a loaded part is a much bigger concern.
Sharp undercut is especially concerning because it can act like a notch. Stress can concentrate at that notch when the part is bent, vibrated, loaded, or heated and cooled. That is one reason inspected work has acceptance limits instead of relying on a quick visual guess.
When in doubt, treat undercut as a reason to pause. Clean the weld, inspect the full length, and decide whether the part is only practice or something that needs qualified review.
What Causes Undercut in Welding?
Undercut usually comes from melting the base metal at the weld edge faster than the puddle fills it. The cause is rarely one thing forever. It changes with process, joint, position, material thickness, and the welder’s movement.
- Amperage, voltage, or wire speed not matched to the job.
- Travel speed too fast to let the weld fill the edge.
- Arc length too long, which spreads and intensifies heat at the wrong place.
- Torch, gun, or rod angle pushing heat into one edge.
- Weave pattern that does not pause at the toes.
- Not enough filler metal added to replace melted base metal.
- Joint fit-up that makes one side harder to fill.
- Trying to make a large bead in one pass instead of using proper technique.
Where Undercut Usually Appears
Undercut often appears along the upper edge of horizontal and vertical welds because gravity pulls the puddle away while the arc still melts the edge. It can also show on the toe of a fillet weld when the bead is too hot or travel speed is too quick.
On butt joints, undercut may run beside the cap pass. On multi-pass welds, it may hide at the edge of an earlier pass if cleanup and placement are poor. On thin metal, it can appear quickly because the edge overheats before enough filler reaches it.
Position matters. Flat practice beads are easier to control than vertical, overhead, pipe, or awkward repair welds. If undercut appears only when you change position, body support and puddle control may be part of the problem.
MIG Welding Undercut
In MIG welding, undercut can come from too much voltage, travel speed that is too fast, incorrect gun angle, long stickout, or aiming the arc too hard into the edge without letting the puddle fill. It may show up beside a bead that otherwise looks smooth.
Beginners sometimes turn heat up to get more penetration, then move too fast and leave a groove along the toe. More heat is not always the answer. The puddle still needs enough time to wet into both sides and fill the edge.
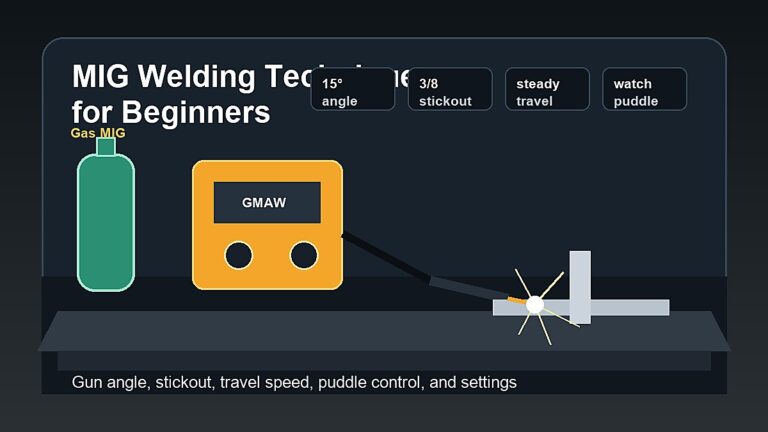
Start with the machine chart, clean the steel, keep consistent stickout, and watch the weld toes. For technique help, review MIG Welding Techniques for Beginners.
For a simple MIG test, run two beads on the same scrap. Keep the same settings, but slow the second bead slightly and focus on filling both edges. If the groove improves, travel speed was likely part of the problem. If it does not, check voltage, stickout, gun angle, and joint fit-up.
Stick Welding Undercut
In stick welding, undercut often comes from amperage that is too high, arc length that is too long, travel speed that is too fast, or rod angle that digs into the side of the joint. It is common when beginners whip or weave without controlling the puddle edges.
The fix is usually a combination of shorter arc length, steadier travel, correct amperage, and better pauses at the edge when weaving. Rod choice also matters because some electrodes dig more than others.
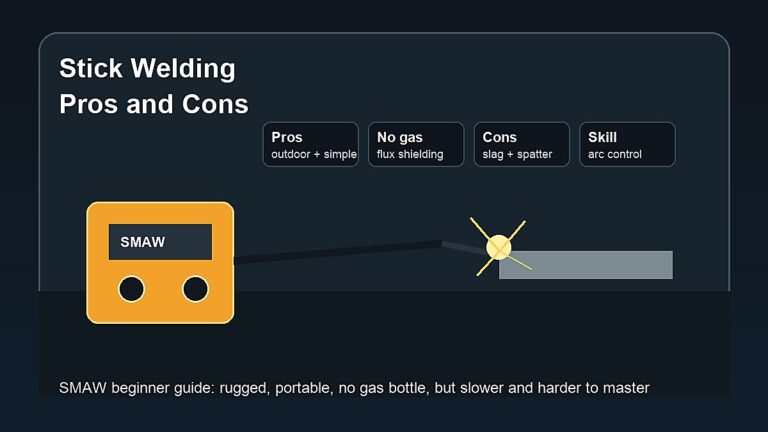
Chip slag before inspecting. Slag can hide an undercut line until the weld is cleaned. For stick fundamentals, use Stick Welding Basics for Beginners.
For stick practice, avoid running a long arc to see the puddle better. A long arc can dig into the base metal and make the bead rough. Keep the arc controlled, clean each pass, and compare the weld toes after slag removal.
TIG Welding Undercut
In TIG welding, undercut can happen when heat is too high, the torch angle is wrong, filler addition is late, or the arc spends too much time at the edge without adding enough filler. Thin metal makes the problem easier to create.
A long arc can also make the puddle harder to control. Keep the tungsten close without touching and add filler at the leading edge of the puddle. If the tungsten is contaminated, regrind it before blaming the settings.
For TIG hand position and arc control, read How to Hold a TIG Welding Torch.
For TIG practice, watch filler timing. If the puddle washes into the edge but the rod arrives late, the base metal can melt away before the groove is filled. Short beads on clean scrap help you learn the rhythm without overheating the whole part.
How to Prevent Undercut
- Clean the joint so the puddle is easier to read.
- Start with recommended settings from the machine chart or procedure.
- Keep arc length or stickout consistent.
- Use a torch, gun, or rod angle that aims into the joint without gouging one side.
- Slow enough for the puddle to fill both toes.
- Add enough filler metal where the edge needs support.
- Use smaller beads or multiple passes instead of forcing one large bead.
- Stop and inspect practice welds before repeating the same mistake.
Prevention is easier than repair. Once a deep undercut is in the weld, you may need grinding, cleaning, and a controlled repair pass. On inspected work, the repair method should follow the applicable procedure.
Inspection Checklist for Beginners
- Clean slag, soot, and spatter before judging the bead.
- Look at both weld toes, not only the center.
- Use good lighting and rotate the part if possible.
- Check whether the groove is shallow, deep, short, or continuous.
- Look for related defects such as cracks, overlap, porosity, or lack of fusion.
- Compare the start, middle, and end of the bead for heat buildup.
- Mark the worst section before grinding anything away.
This checklist is for learning and basic visual review. It is not a replacement for code inspection, destructive testing, or nondestructive testing when the weld has a real service requirement.
Can You Fix Undercut?
Some undercut can be repaired, but the correct fix depends on depth, length, material, service requirements, and inspection rules. On practice coupons, you can grind the area clean and run a proper repair bead to learn how the puddle fills the groove.
For real parts, do not assume every undercut can be covered with another pass. The area may need cleaning, grinding to sound metal, correct preheat, a qualified repair procedure, or inspection. Deep undercut near cracks or poor fusion needs extra caution.
If the weld is structural, pressure-related, vehicle-related, trailer-related, or load-bearing, get qualified guidance. A beginner repair that looks smooth may still leave a weak area underneath.
How to Practice Reducing Undercut
Use clean scrap that matches the thickness you want to weld. Run three short beads with the same settings. On the first bead, move at your normal speed. On the second, slow slightly and watch the toes. On the third, adjust angle and filler or pause timing. Compare the edges after cleaning.
Do not judge only the center of the bead. Look at the left toe, right toe, start, stop, and crater. Mark the section where undercut starts. If it appears near the end, heat buildup may be part of the problem. If it appears only on one side, angle or aim may be the issue.
Keep notes. Write down process, material thickness, settings, electrode or wire, travel speed impression, and what the weld toes looked like. That small record turns practice into a troubleshooting system.
Common Beginner Mistakes
- Looking only at bead height instead of the weld toes.
- Using too much heat to compensate for poor fit-up.
- Moving too fast on thin material.
- Holding a long arc and spreading heat.
- Weaving without pausing at the edges.
- Adding filler too late in TIG welding.
- Covering undercut without identifying the cause.
- Ignoring undercut on parts that need inspection.
Safety Notes
Inspecting and repairing undercut can involve grinding, rewelding, hot metal, sparks, fumes, electric shock, UV radiation, and fire risk. Wear proper PPE, use ventilation, control sparks, and keep flammables away from the work area.
Never repair critical welds by guesswork. Review OSHA welding hazards guidance, OSHA welding, cutting, and brazing requirements, and AWS safety resources.
FAQ
What is undercut in welding?
Undercut is a groove melted into the base metal beside the weld bead that was not filled with weld metal. It usually appears at the toe of the weld.
What causes undercut in welding?
Common causes include too much heat, fast travel speed, long arc length, wrong torch or electrode angle, poor weaving, and not adding enough filler at the weld edge.
Is welding undercut dangerous?
It can be. Deep or sharp undercut can reduce material thickness and create a stress concentration. Critical welds need qualified inspection and repair guidance.
How do you prevent undercut?
Use correct heat, steady travel speed, proper angle, short arc length, enough filler metal, and pause long enough for the puddle to fill the weld toes.
Can you weld over undercut?
Do not simply cover undercut without cleaning and diagnosing it. Some practice welds can be repaired, but critical welds need proper repair procedures and inspection.
Final Advice
Undercut is a warning sign at the edge of the weld. Learn to spot the groove, connect it to heat, speed, angle, and filler control, then fix the cause before repeating the bead. A clean weld toe is often a better sign of skill than a bead that only looks good in the middle.