Welding Safety Equipment Checklist for Home Shops
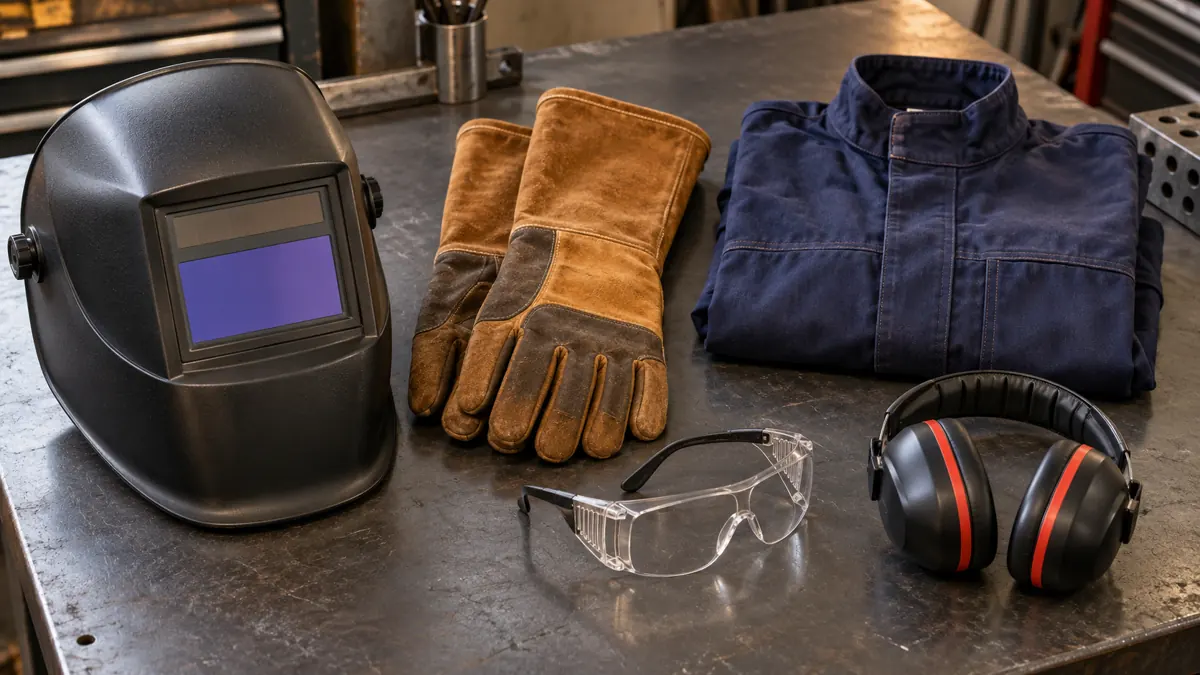
A home-shop welding safety checklist needs to cover more than the equipment you wear. Review the person, the welding station and the surrounding space. A helmet and gloves cannot control fuel storage, fumes or an unprotected person walking into view of the arc.
Use this page to check the arrangement before a noncritical practice session. For a closer look at individual PPE items, read the personal protective equipment checklist.
Check the person
Select protective clothing for the process and exposure. Miller’s welding apparel guide explains that jacket and glove choices depend on the application. Fit and coverage matter alongside heat resistance.
| Item | Check before the session |
|---|---|
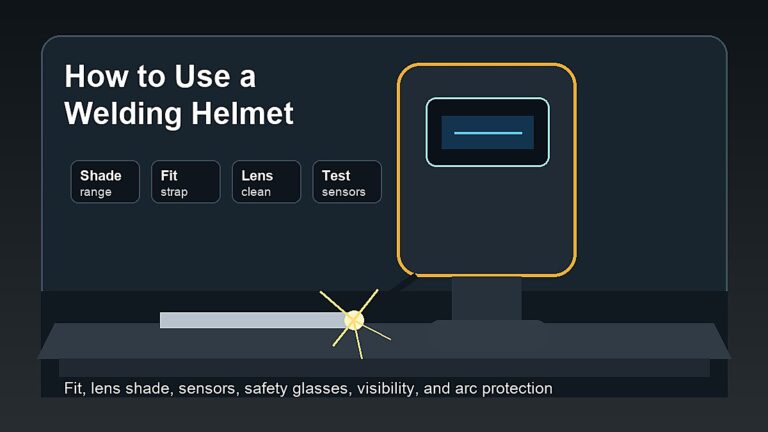
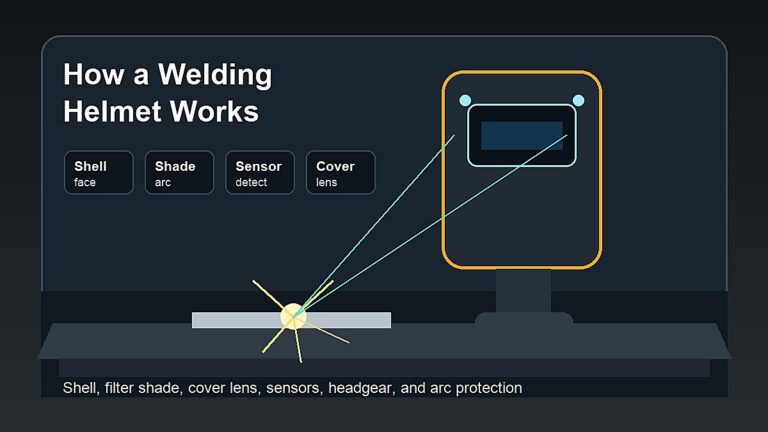
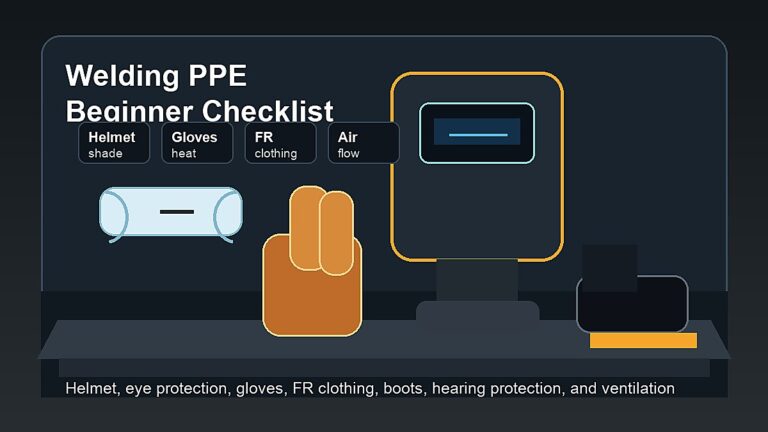
| Helmet and filter | Suitable for the process and current, intact, correctly adjusted and checked as the manual directs |
| Safety glasses | Suitable impact protection for the tasks around welding, including when the helmet is raised |
| Gloves and clothing | Appropriate protection, sound condition, dry where required and coverage without open gaps |
| Footwear | Suitable protection for hot debris, material handling and the work environment |
| Hearing and respiratory protection | Selected from the actual exposure assessment; do not choose a respirator by appearance alone |
Check the welding station
Inspect the stable work surface, clamps and accessible equipment. A damaged lead, loose workpiece or awkward cable route can interrupt control. Use the machine’s installation and inspection instructions; this checklist does not specify wiring, breaker or extension-lead sizes.
Arrange fume controls for the process and identified materials. Do not assume an open garage door controls every exposure. Seek competent advice for uncertain coatings or ventilation conditions rather than testing them with an arc.
Check the surrounding space
- Remove or properly protect combustible material and consider adjacent spaces.
- Keep fuel, solvent storage and incompatible activities away from hot work.
- Use appropriate screens and control access so other people cannot look into the arc.
- Provide suitable fire equipment and any required fire-watch arrangements.
- Keep an unobstructed route out of the area.
OSHA’s welding requirements connect fire precautions, protection of personnel and ventilation. The applicable controls depend on the location and work; this home-shop checklist is not a workplace permit or a code-compliance certificate.
Check the material and job
Know what you intend to heat. Keep beginner practice to identified, suitable coupons. Used containers, unknown coatings and safety-critical repairs require different expertise and controls. Do not move a questionable job onto a clean bench and assume that changes the risk.
If the practice plan needs grinding or cutting, include those tasks in the assessment. Welding PPE is not automatically sufficient for every surrounding tool or exposure.
Use a simple go/no-go routine
Before starting, describe the task, identify the protection and point out where the hot material will go. If you cannot answer one of those questions, stop and resolve it. Recheck when the material, process, nearby activity or workspace changes.
After the session, follow the equipment shutdown instructions and complete the required fire checks. Store PPE away from sharp scrap and contamination so damage is easier to notice next time. The session setup checklist turns these controls into a preparation and shutdown sequence.